
Saving the best for last. Better late than never….The Classic French Omelette or is it omelet? Omelet is how we Americans spell it, but the Brits and French spell it Omelette, they always do things fancier. Have you ever been to London and heard them politely ask you to “mind the gap” in their amazing British accent on the Tube, if not you can definitely watch it on youtube or take a vacation to London – like I said they do everything fancier. Okay now onto the Brunch King himself – the Omelet or should I say Omelette?
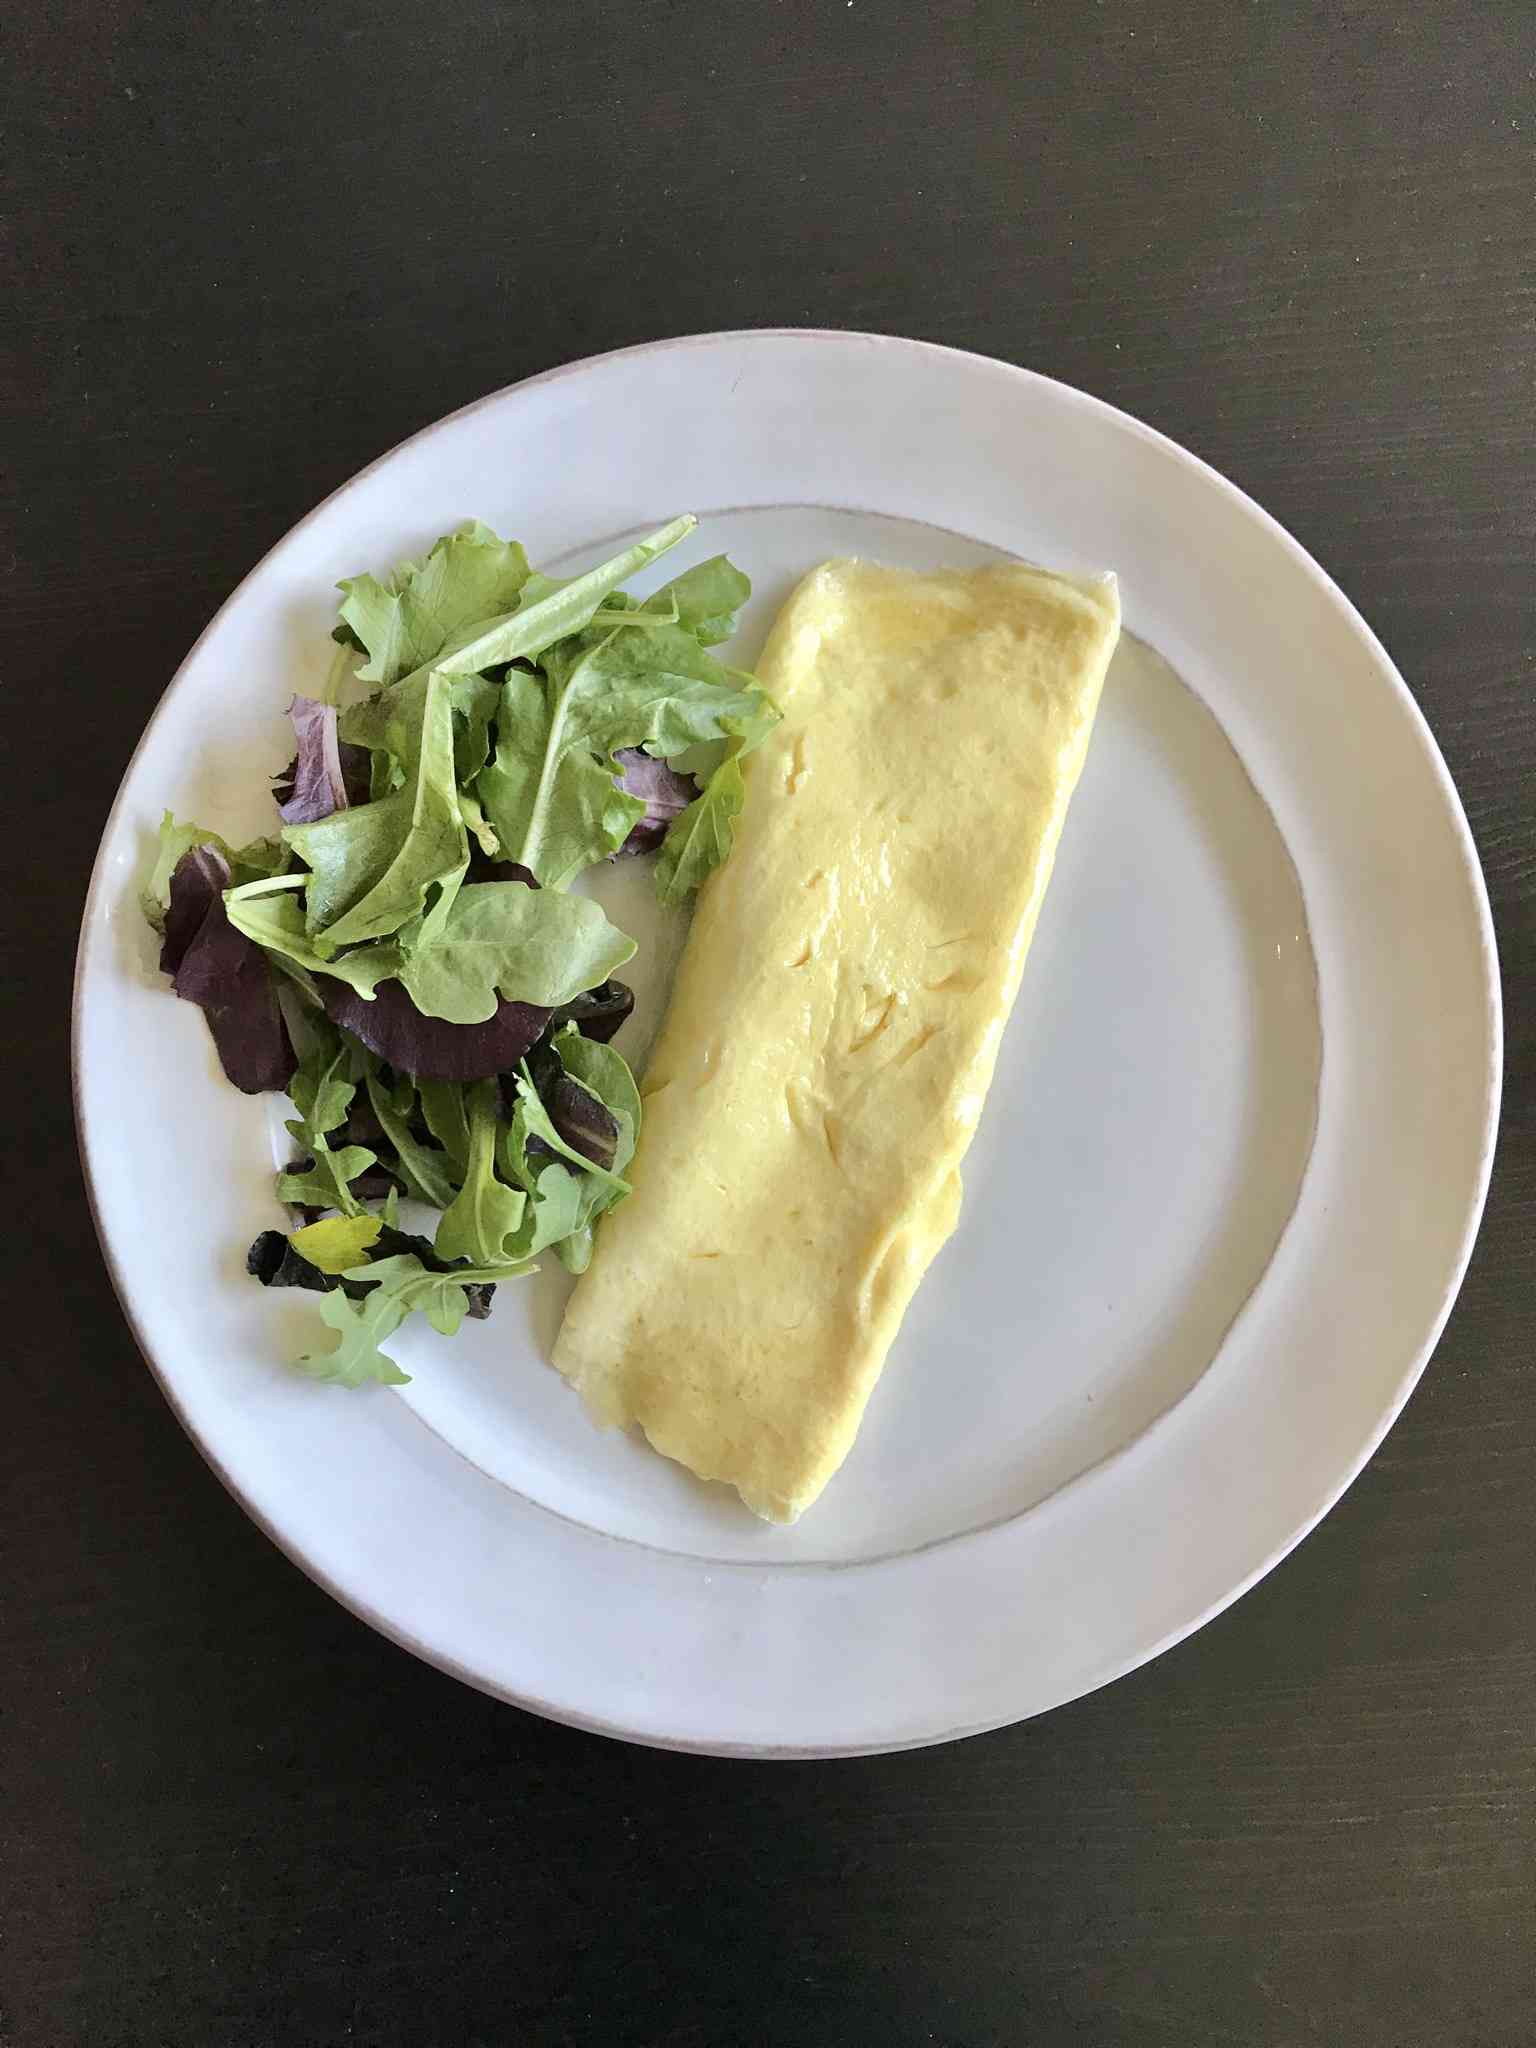
The French omelette should be silky-smooth, yellow in color, with no browning. The technique is something to master. In culinary school we practiced the omelette several times, it was even on a test one night.
It requires the following:
1. 3 Eggs – if it doesn’t have 3 whole eggs it cannot be called a French Omelette.
2. Clarified Butter – normal butter will brown making it hard to have a perfectly pretty yellow color. Click here for how to do this.
3. A non-stick pan heated to a medium-high heat.
4. A spatula
5. Any fillings for the inside, they all should be fully prepared first. For instance, if you want to add bacon, make sure to cook it to your liking ahead of time. It should not be assumed that anything you add will have additional cooking time.
6. Patience – know that this takes time to learn, so don’t give up and keep practicing!
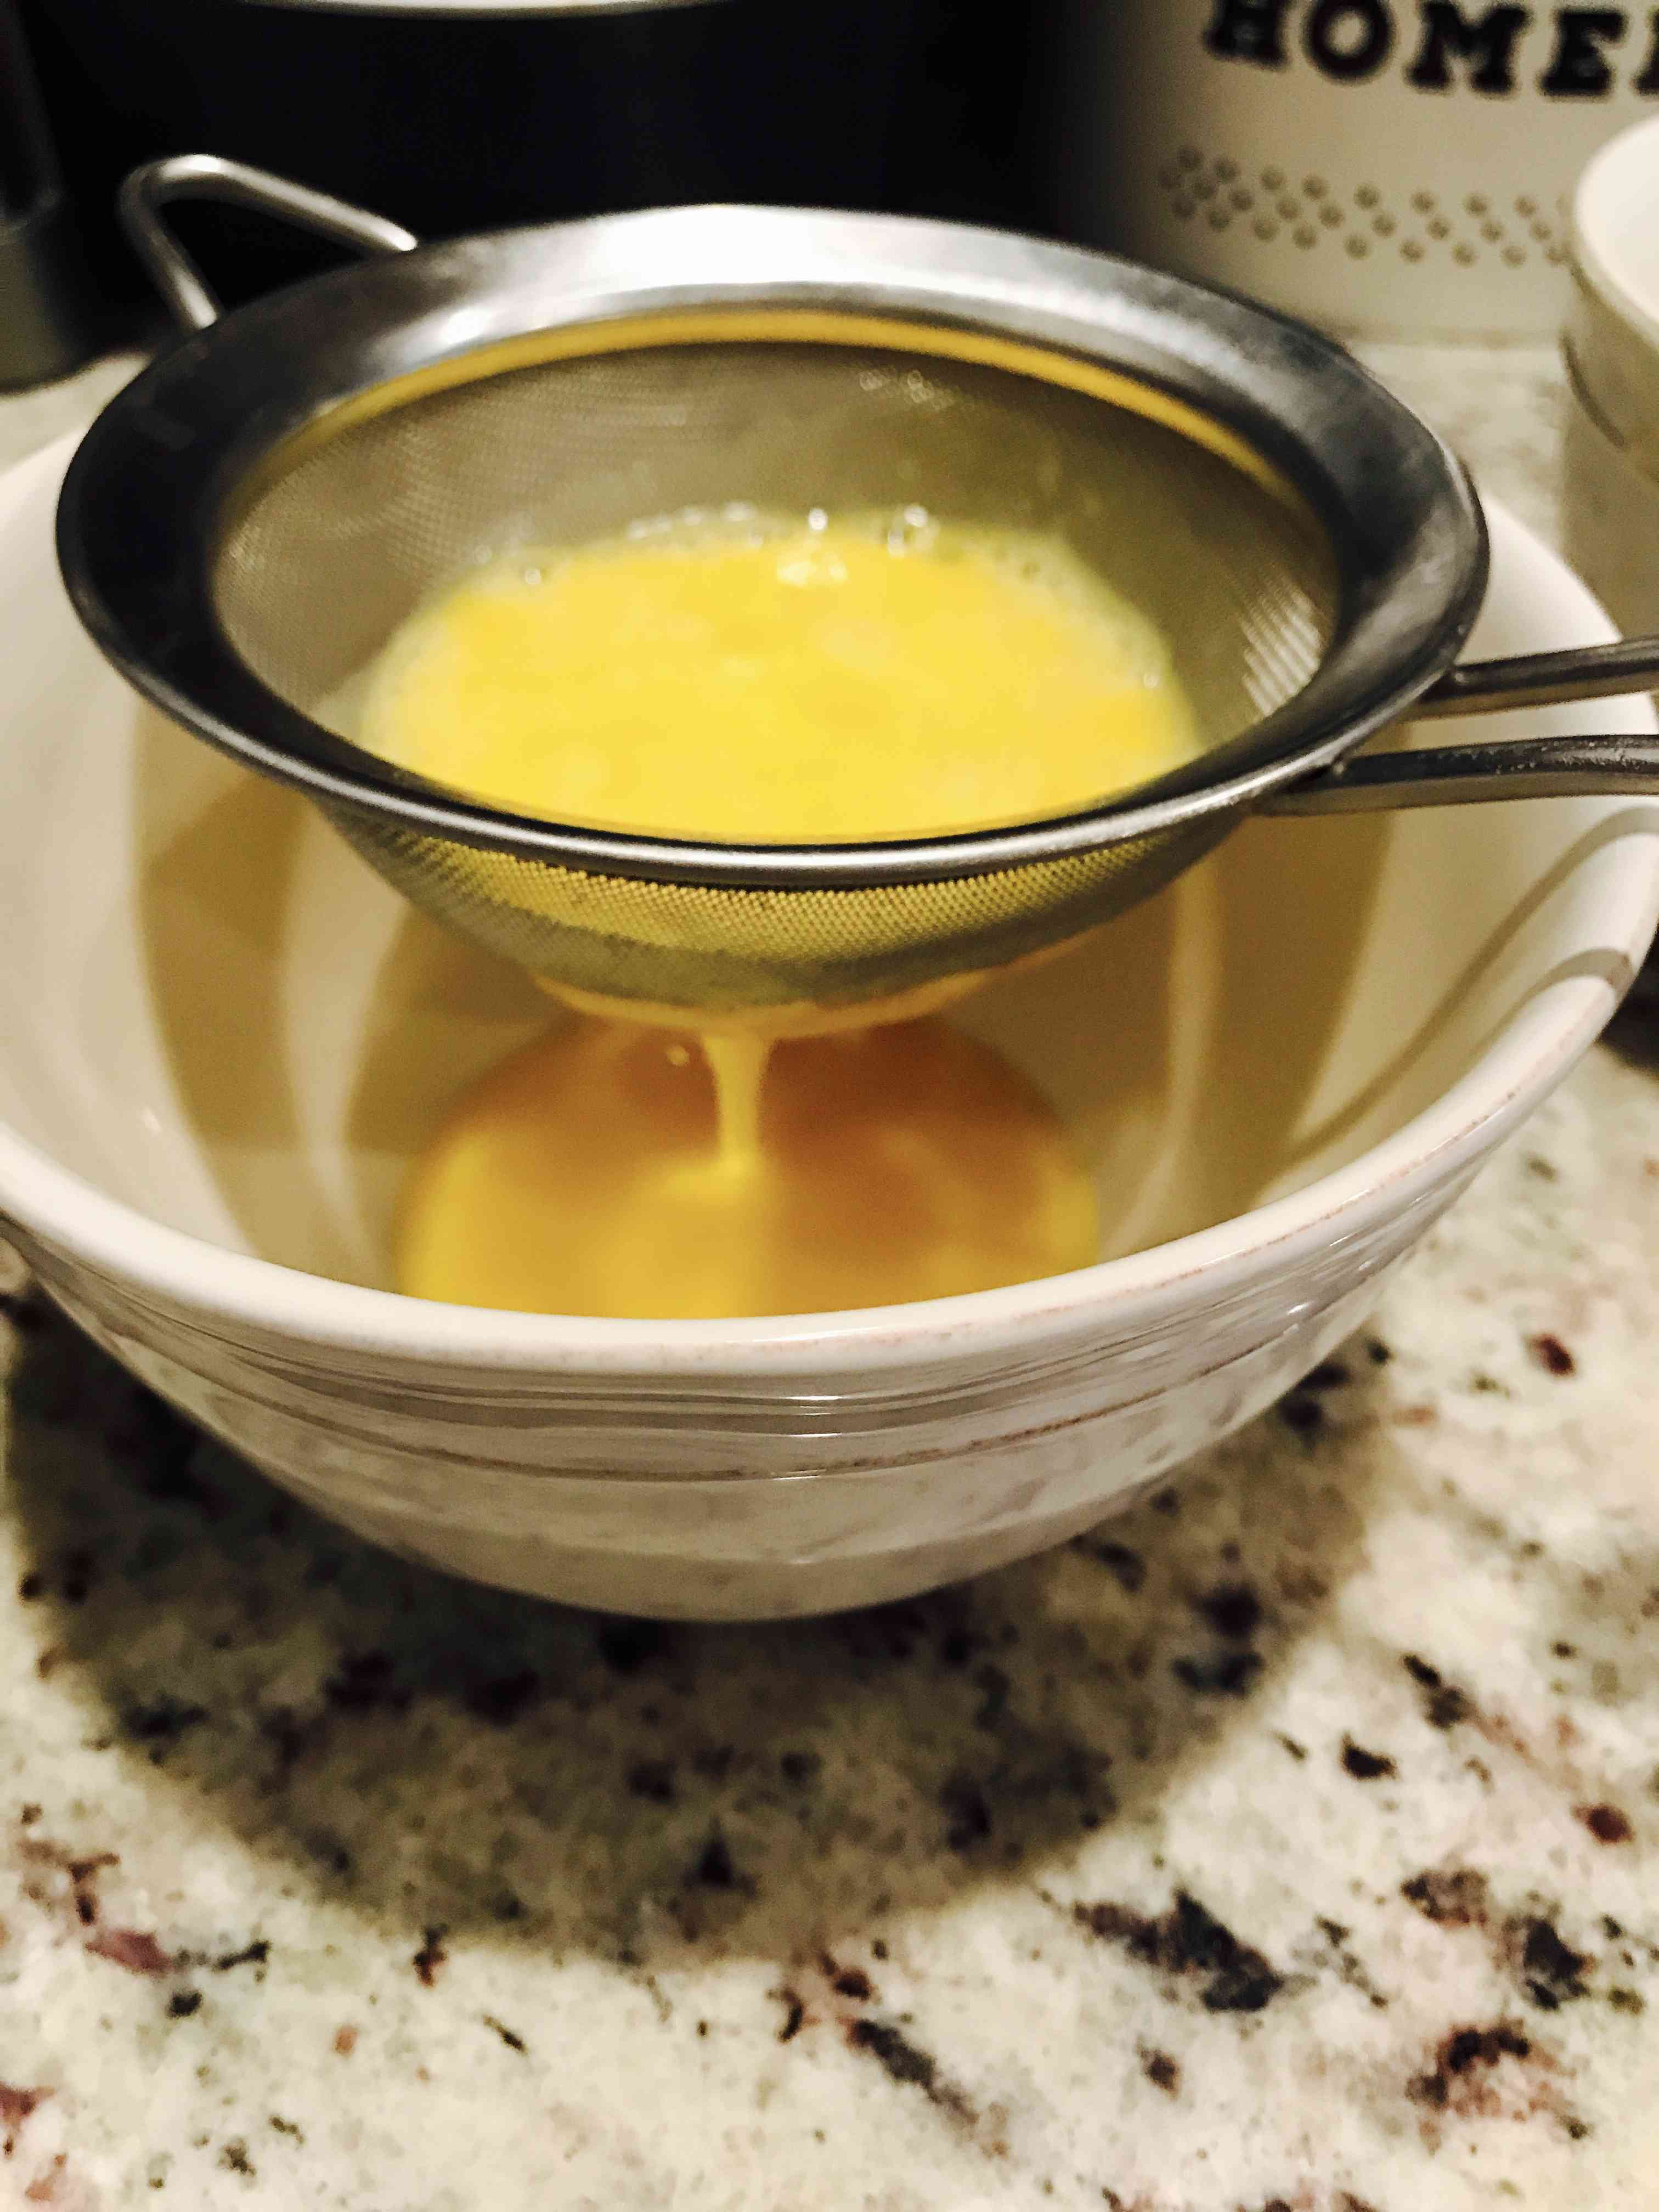
The first step is to break the three eggs in a bowl, whisk with a fork and then pass them through a strainer to separate the snotty part of the egg out of the mixture (just like you do for scrambled eggs). Season with salt. Lately I’ve been over-seasoning my eggs with salt, don’t do that :).
Unlike scrambled eggs, for an omelette, you will want the pan to be warmed up to a medium-hot heat but not too hot, because the goal is to cook the egg quickly so that it doesn’t have time to brown. This takes practice, luckily though if it’s brown in color most people will still eat it without even noticing, unless you’re making it for a French Chef. But then again, if you the egg has some brown color, you can always top it with tomatoes or something to “cover” it up. That’s a trick of the trade used in restaurants – shh don’t let the cat out of the bag.
The how to:
Heat your non-stick skillet up, add in some clarified butter (or regular butter if you’re not afraid of browning because butter will add color at a high heat).
Pour in your eggs.
As the outside of the omelette starts to cook you want to quickly use a spatula to whisk/stir the eggs in the middle. This allows the eggs to cook quickly but then settle back down so that the omelette outside doesn’t break – as the eggs move around they will fill in the egg gaps and create a smooth exterior. As you can see in my final picture, I somehow prevented the eggs from filling in the gaps (I stirred too long) so it has a little indent (there are no holes in the omelette it just isn’t as silky smooth as it should be).
Once the inside is cooked, it still should be a little wet. Add in your already prepared fillings across the center of the circle, in line with the pan handle, this is an important step so that when you fold it in thirds, the filling is perfectly in the middle of the omelette.
Then the three-fold. This is imperative if you want it to be French. And there is even a correct way to do it, but don’t worry you can always “fix it” if you need to. BUT you’re suppose to fold it 1/3 in the pan, then by holding the pan handle perpendicular to the plate, tilt the pan so that when the egg comes out of the pan it folds itself into the final 1/3. WHAT?!?! You want me to do what?!?! – It’s best explained by video…
There we have it folks – the end of the egg series.


