Easy Pie Crust
[ratings]Time estimate does not include rolling out or baking. You can make this 2 days ahead of time without freezing or freeze for longer.
Servings: 2 crusts
Calories:
Ingredients
- 2 ½ cups All Purpose Flour
- ½ tsp Salt
- 1 cup COLD Shortening
- 3 TBSP COLD Butter
- ¼ cup COLD Whole Milk
- 1 Lemon Zested (optional)
Instructions
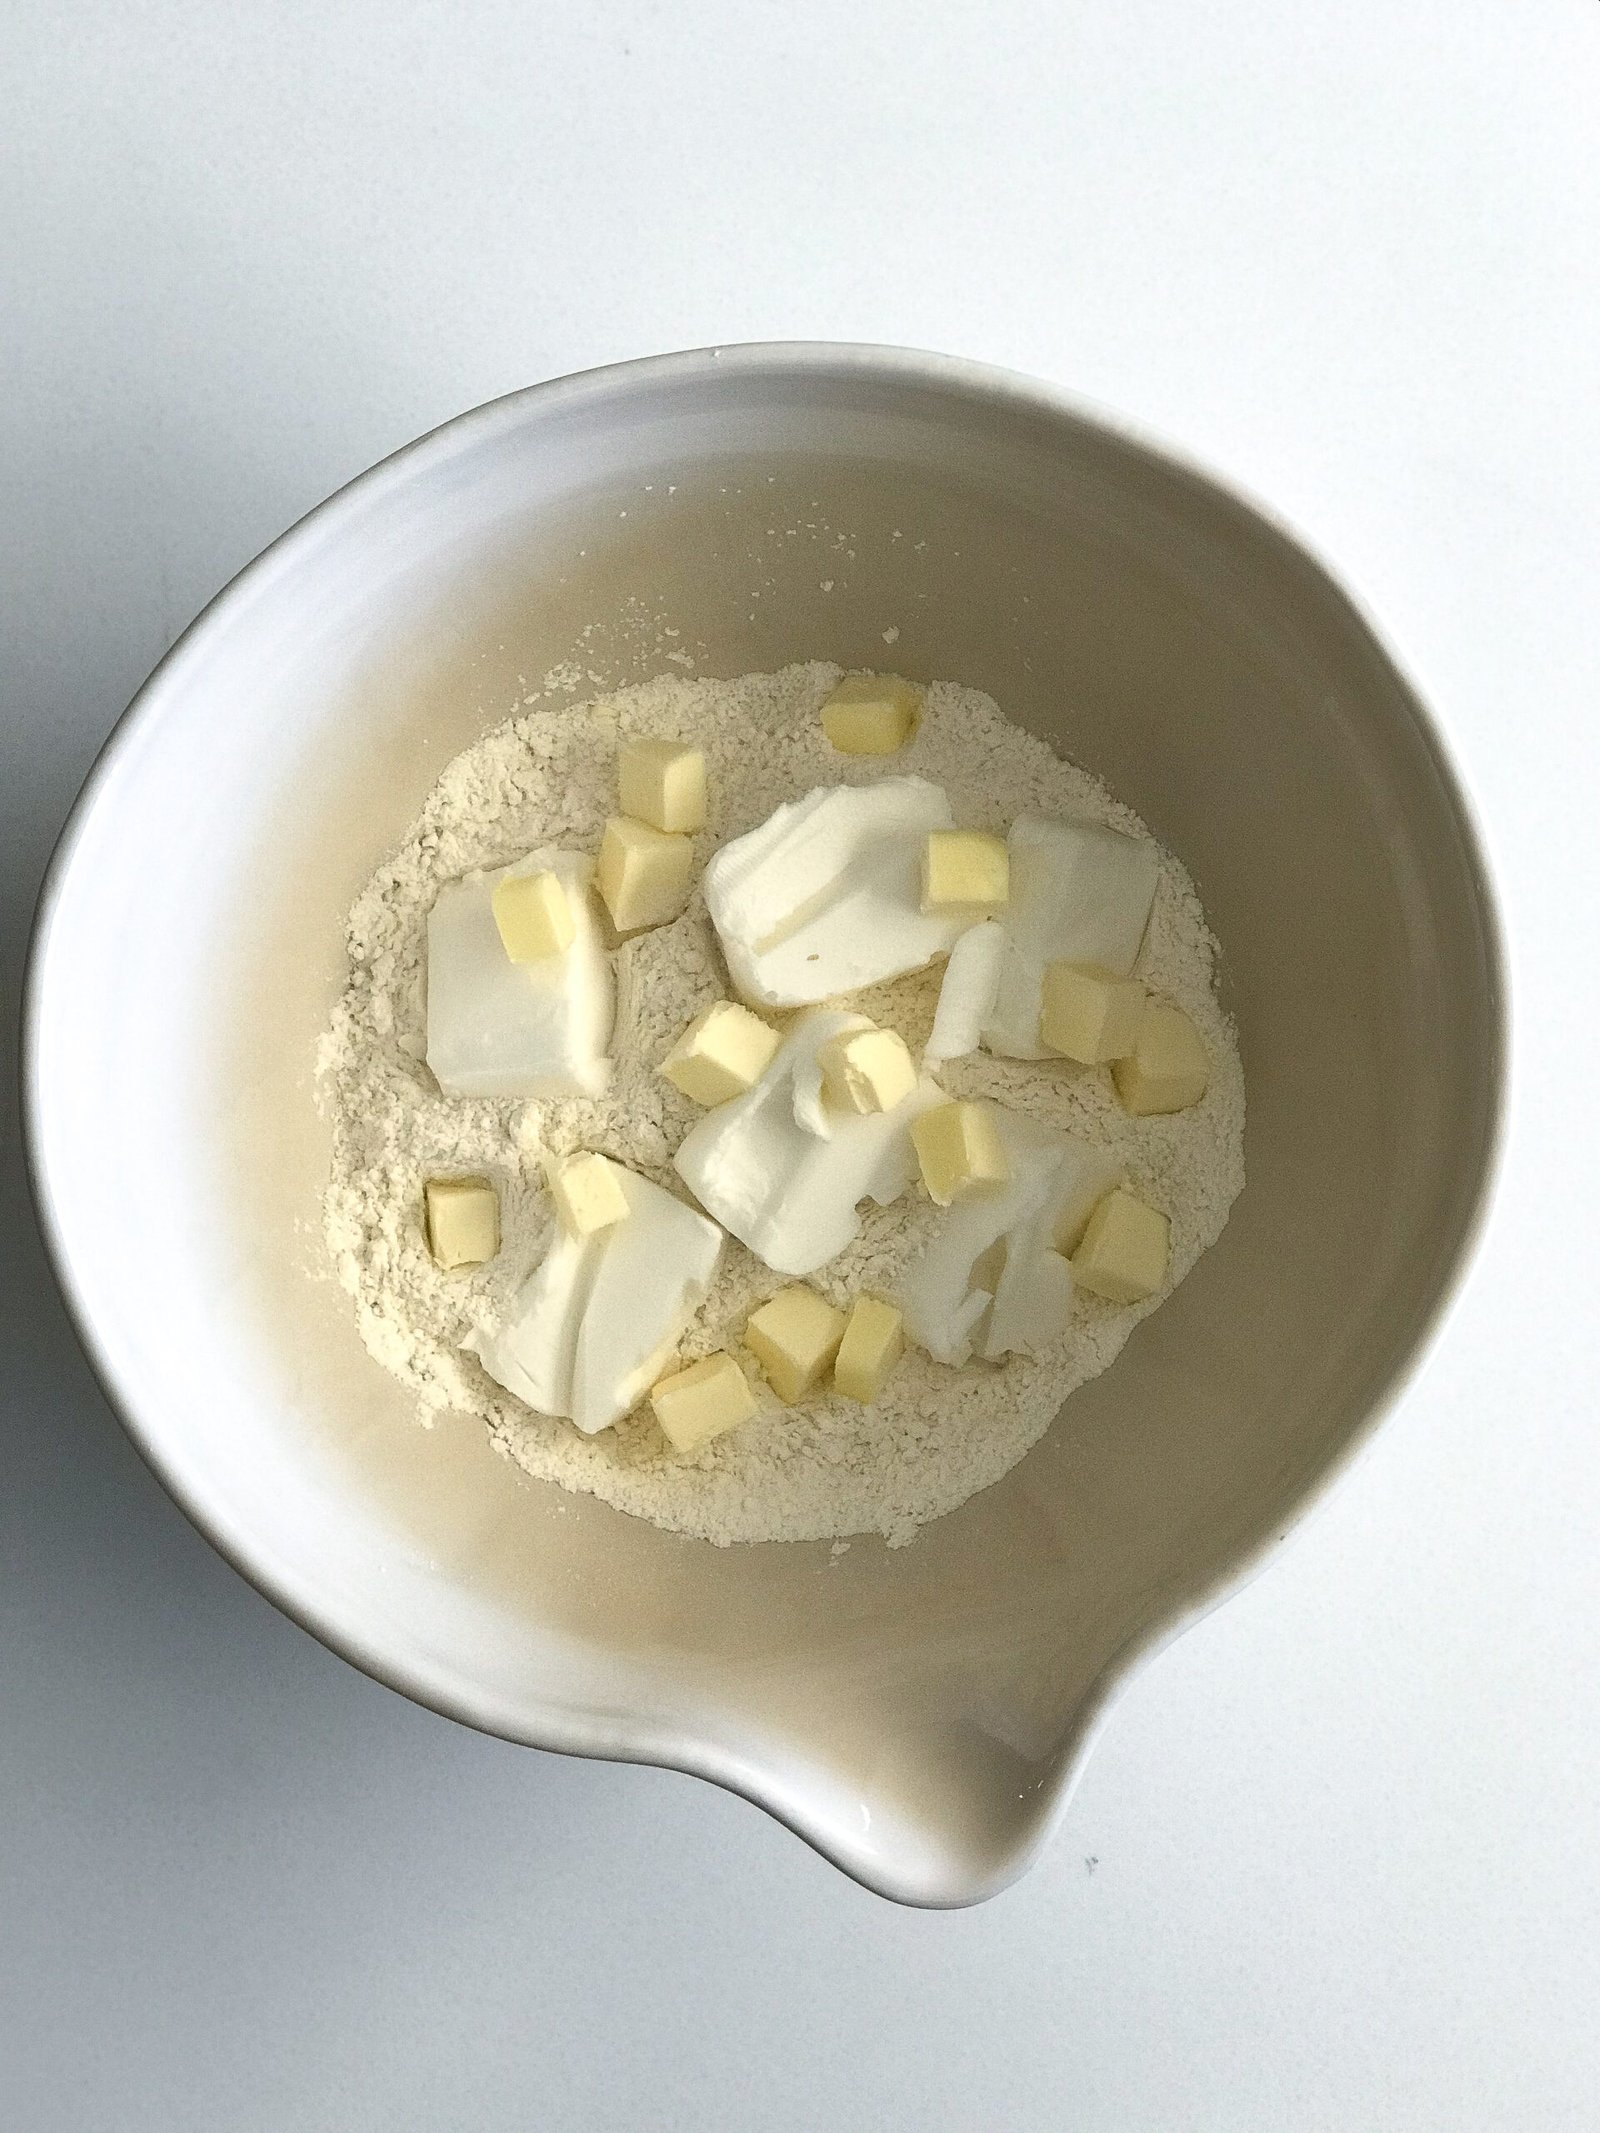
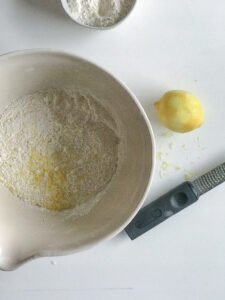
- In a bowl add your flour and salt, stir to combine the salt throughout. If you’re adding lemon zest, which I highly recommend for pot pie! You will want to add in the zest at the same time of the flour and salt.
- Break up the shortening and cube the butter into small squares. Add to the flour.

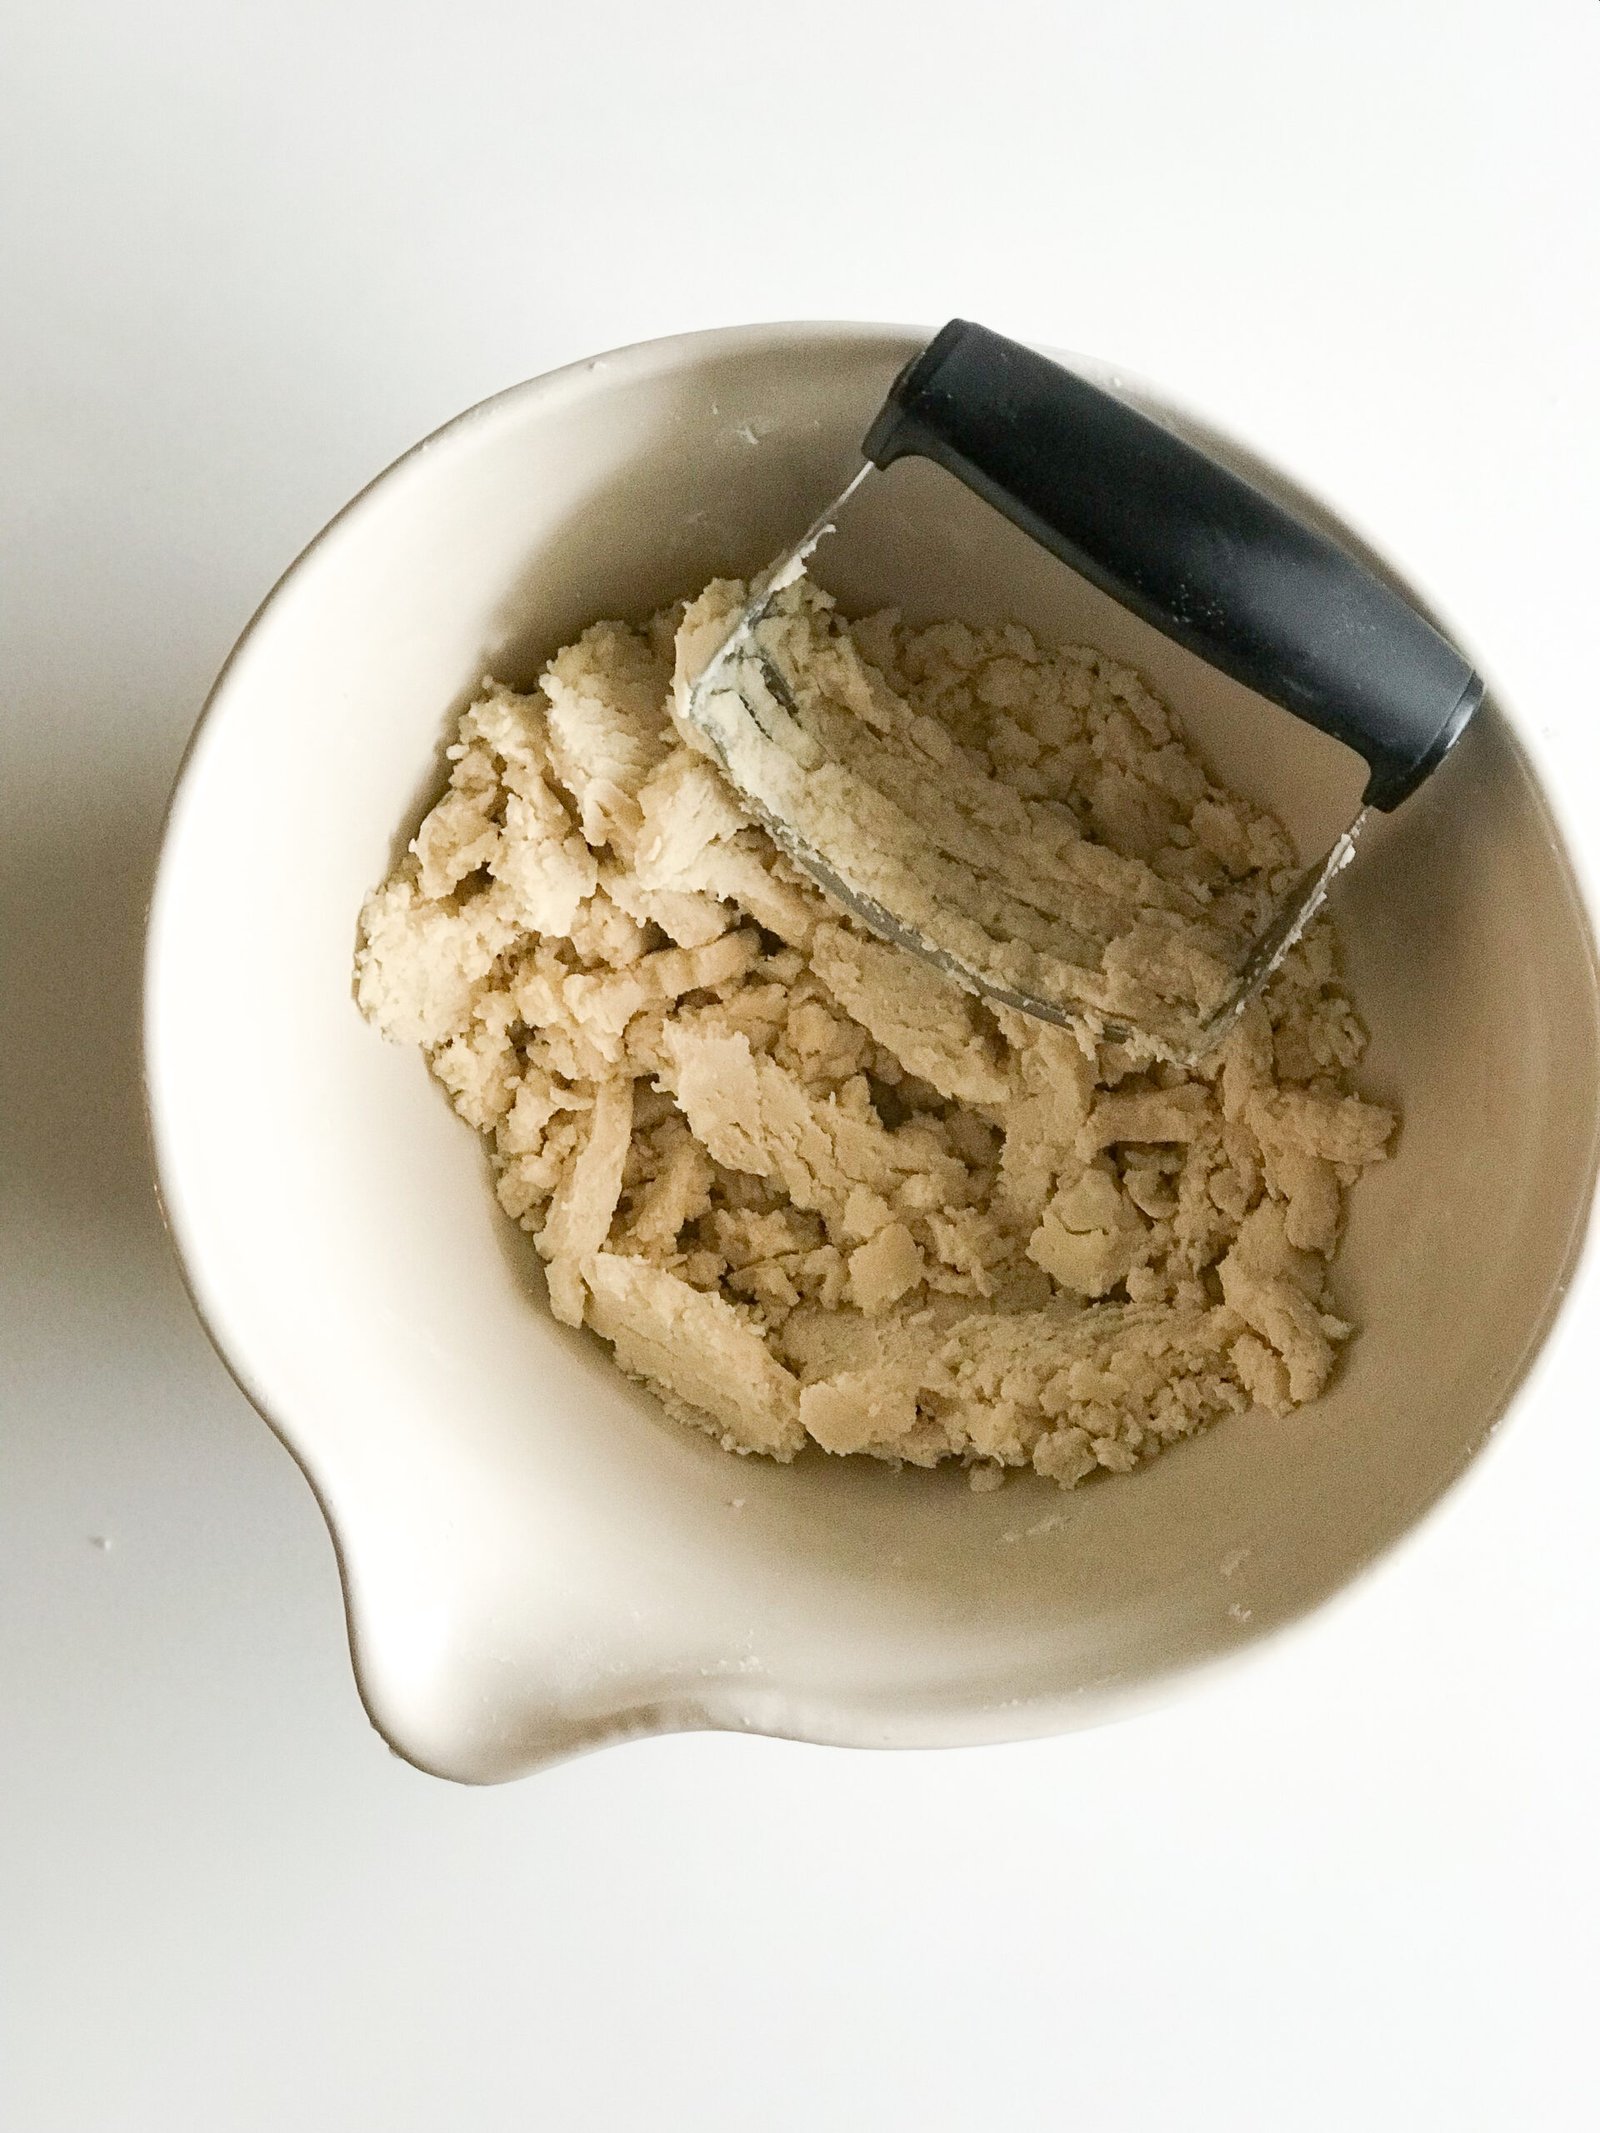
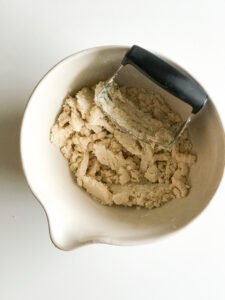
- Using a pastry cutter you will slowly combine the ingredients. You will push the pastry cutter through the ingredients and then pull it up and push back down cutting through the cold shortening and butter creating smaller and smaller individual pieces (see picture below). You want this to happen so that when it bakes it will create soft flakey layers in your crust.If you do not own a pastry cutter you can also do this step with a bench scraper. Cutting through the ingredients over and over again. This will take a little more muscle but trust me it works! This is how we did it in culinary school and I may even prefer this method.

- When you get it to this stage, you want to keep on going for 30 more times, trust me, count it out and it will then be PERFECT. You want to look for the dough to start sticking to each other, but still have individual pieces of the butter showing through.
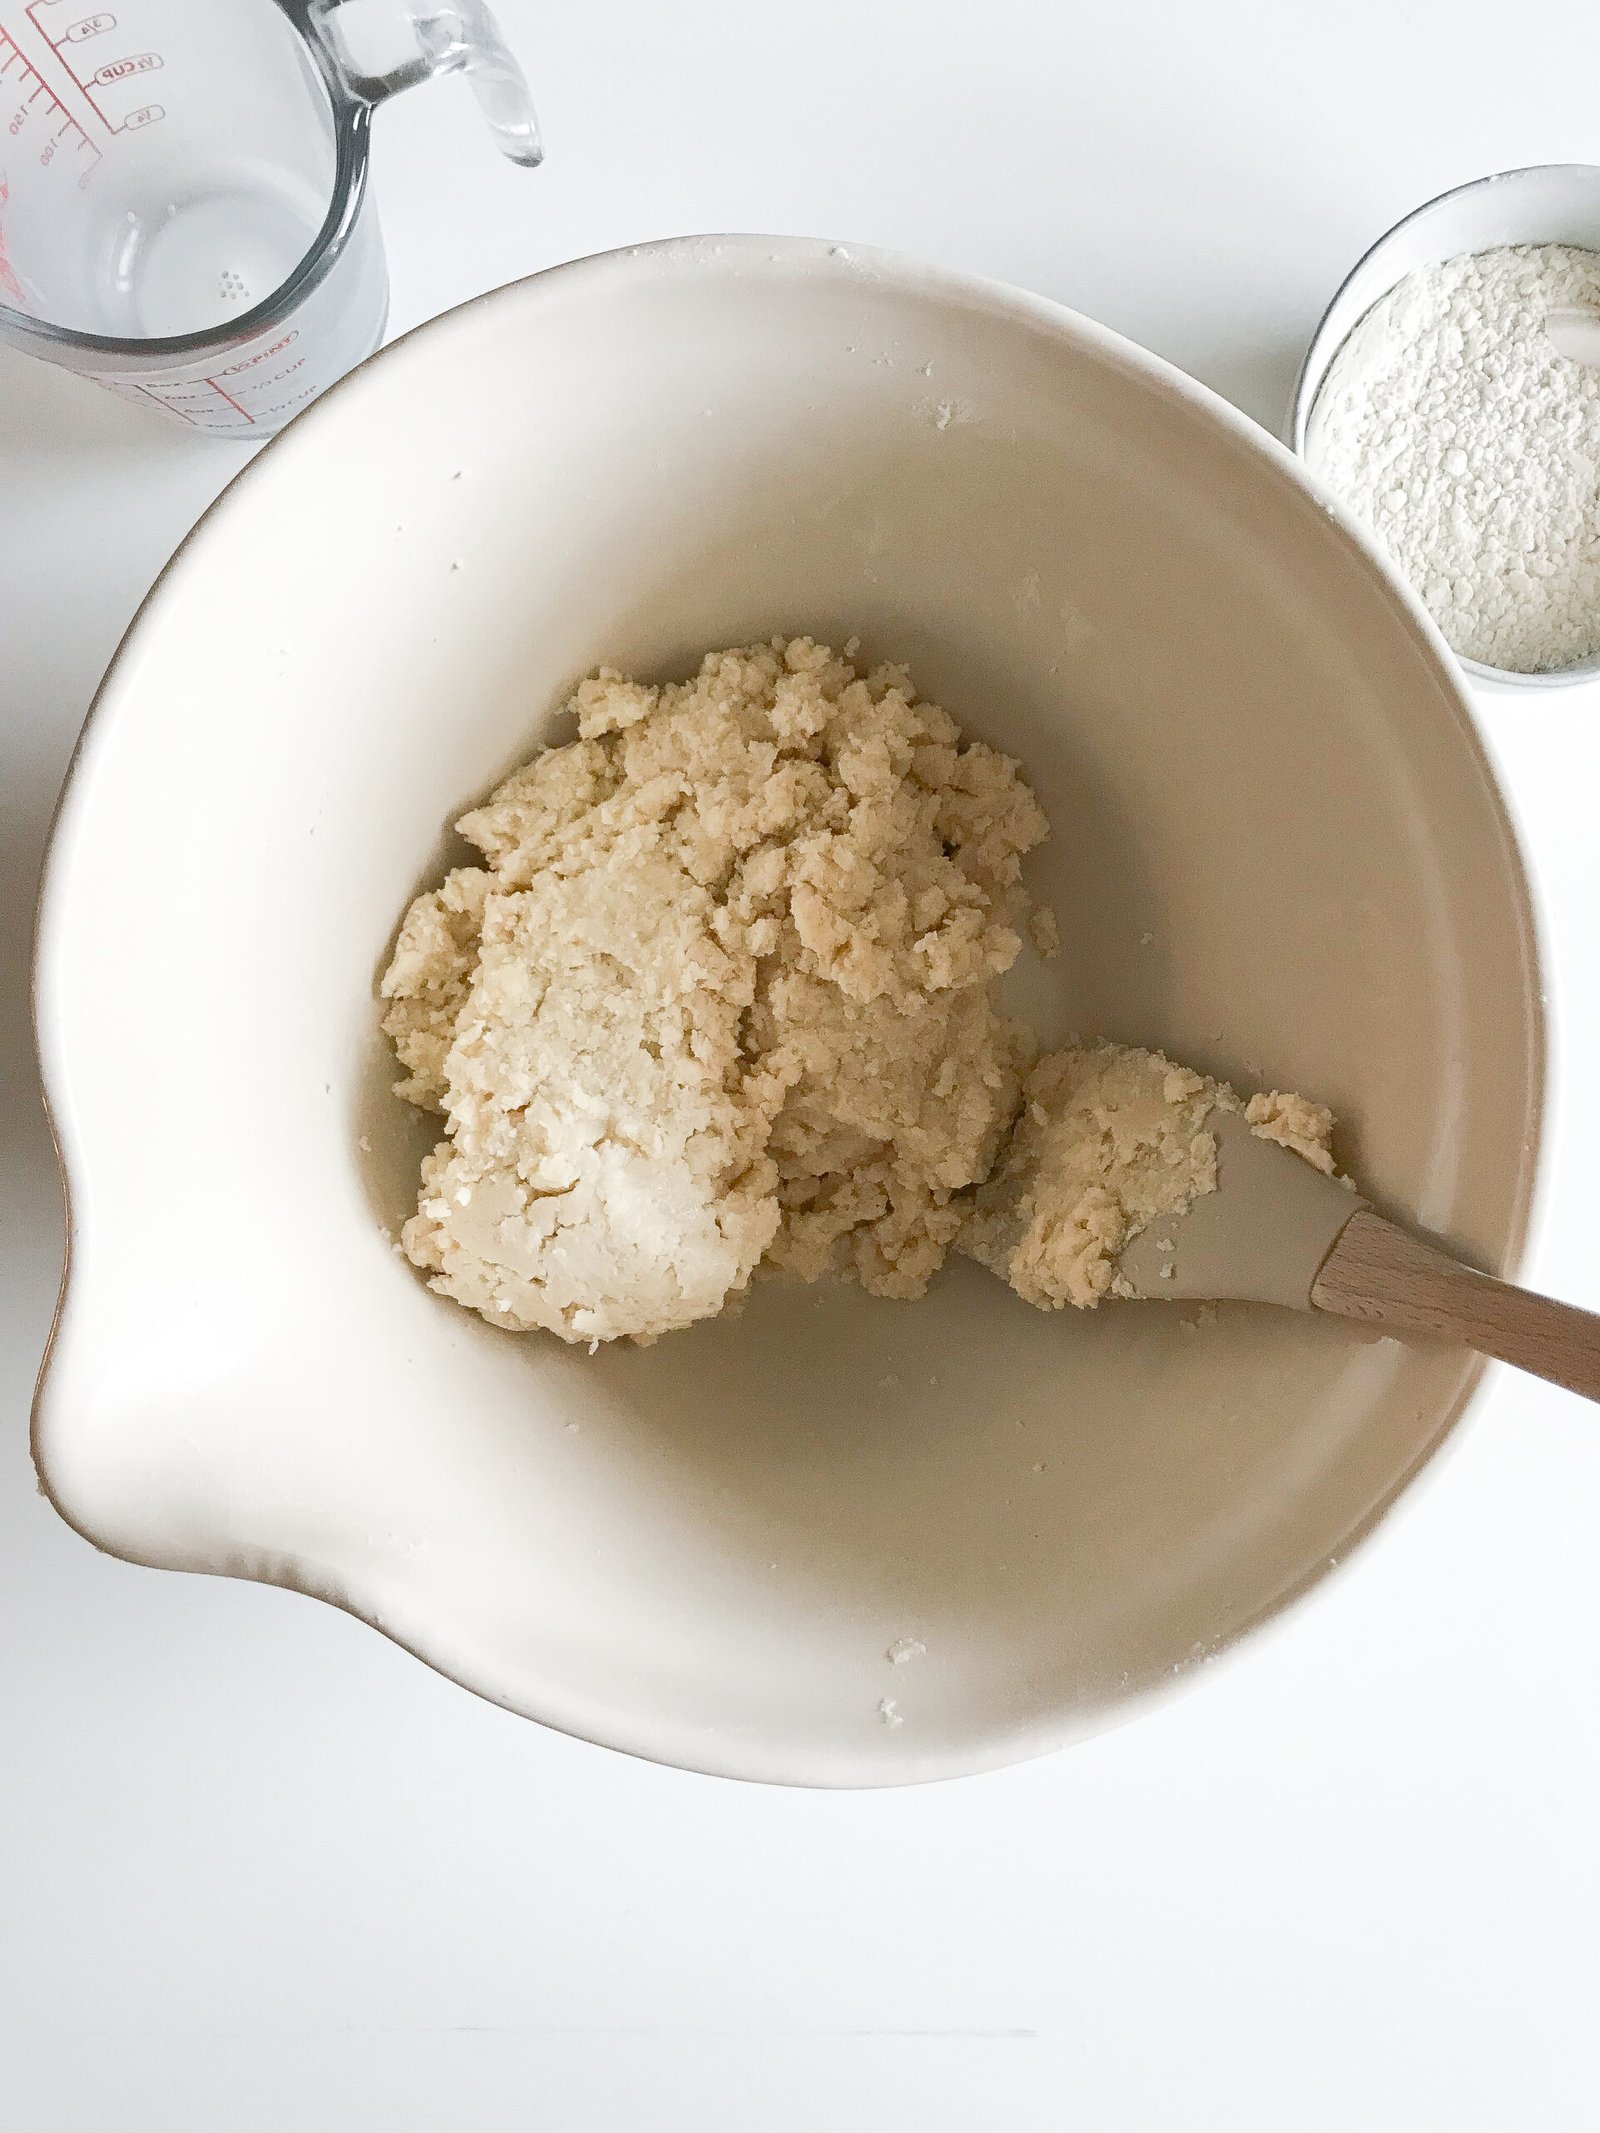
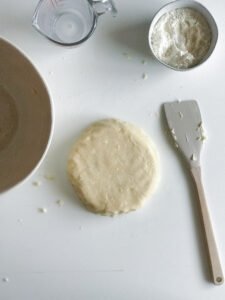
- At this point, you will take your whole milk from the fridge and pour it in the dough. I use the entire 1/4 cup of milk.If you find that the dough become too sticky after the milk is added in, you can sprinkle a little more flour in to make it easier to handle. It should not drip milk but it should be wet to the touch.

- As you can see in the disk of dough you will still see butter pieces and swirls of milk.
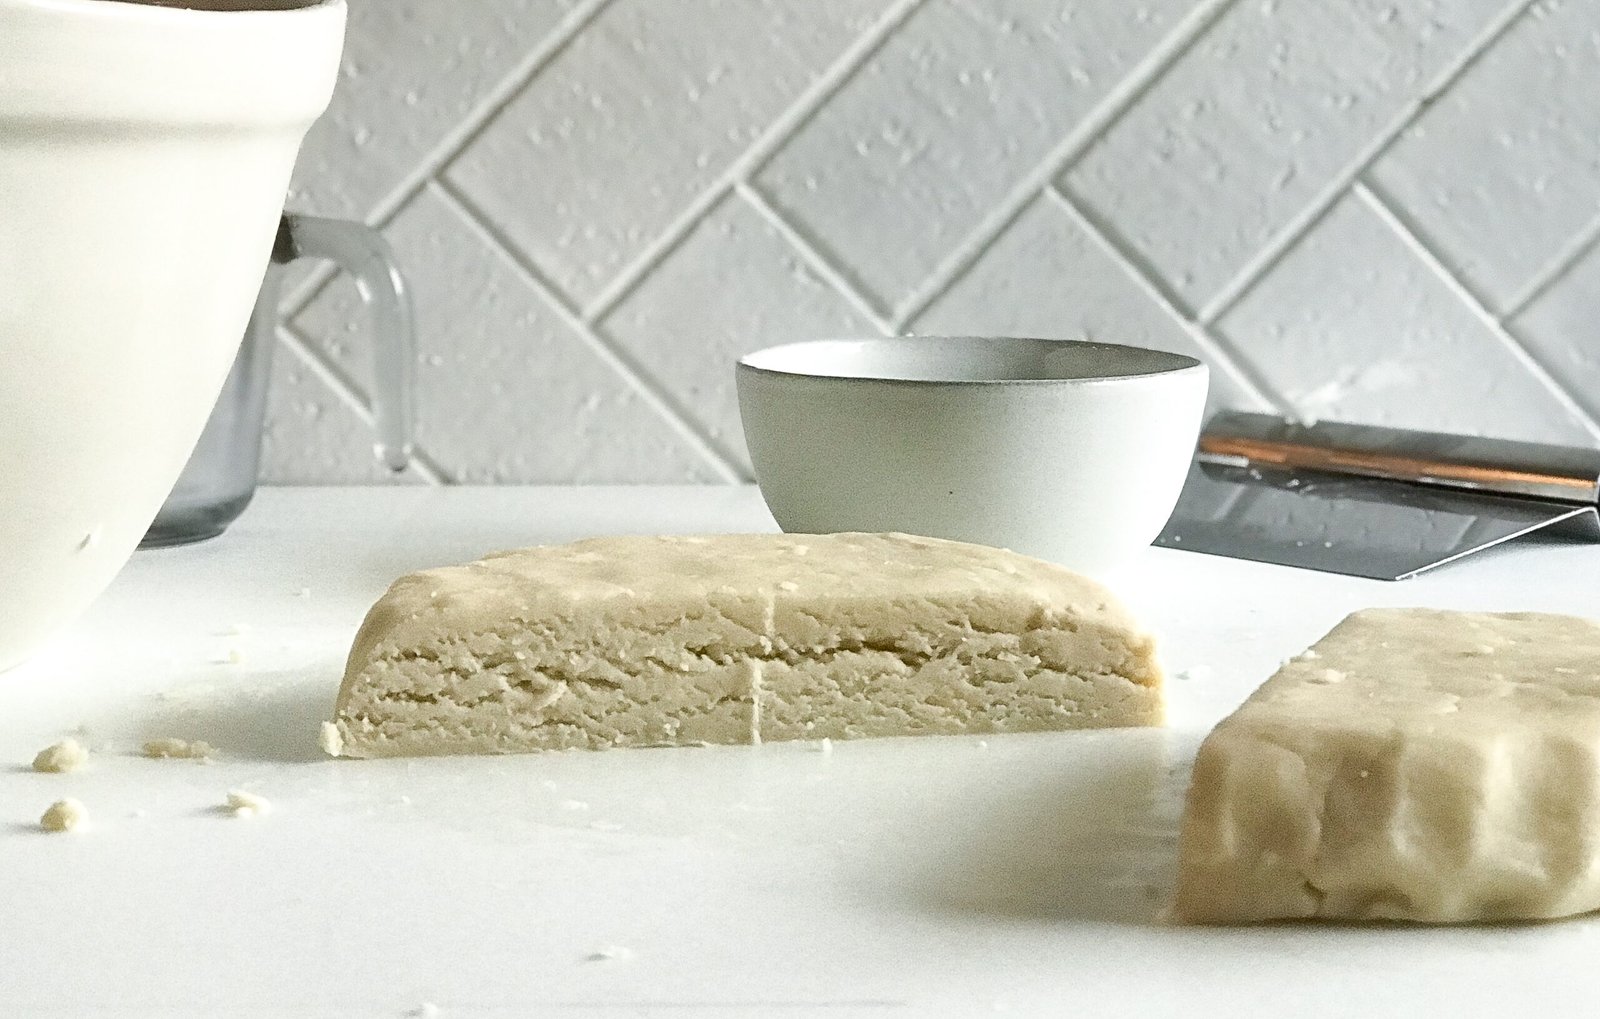
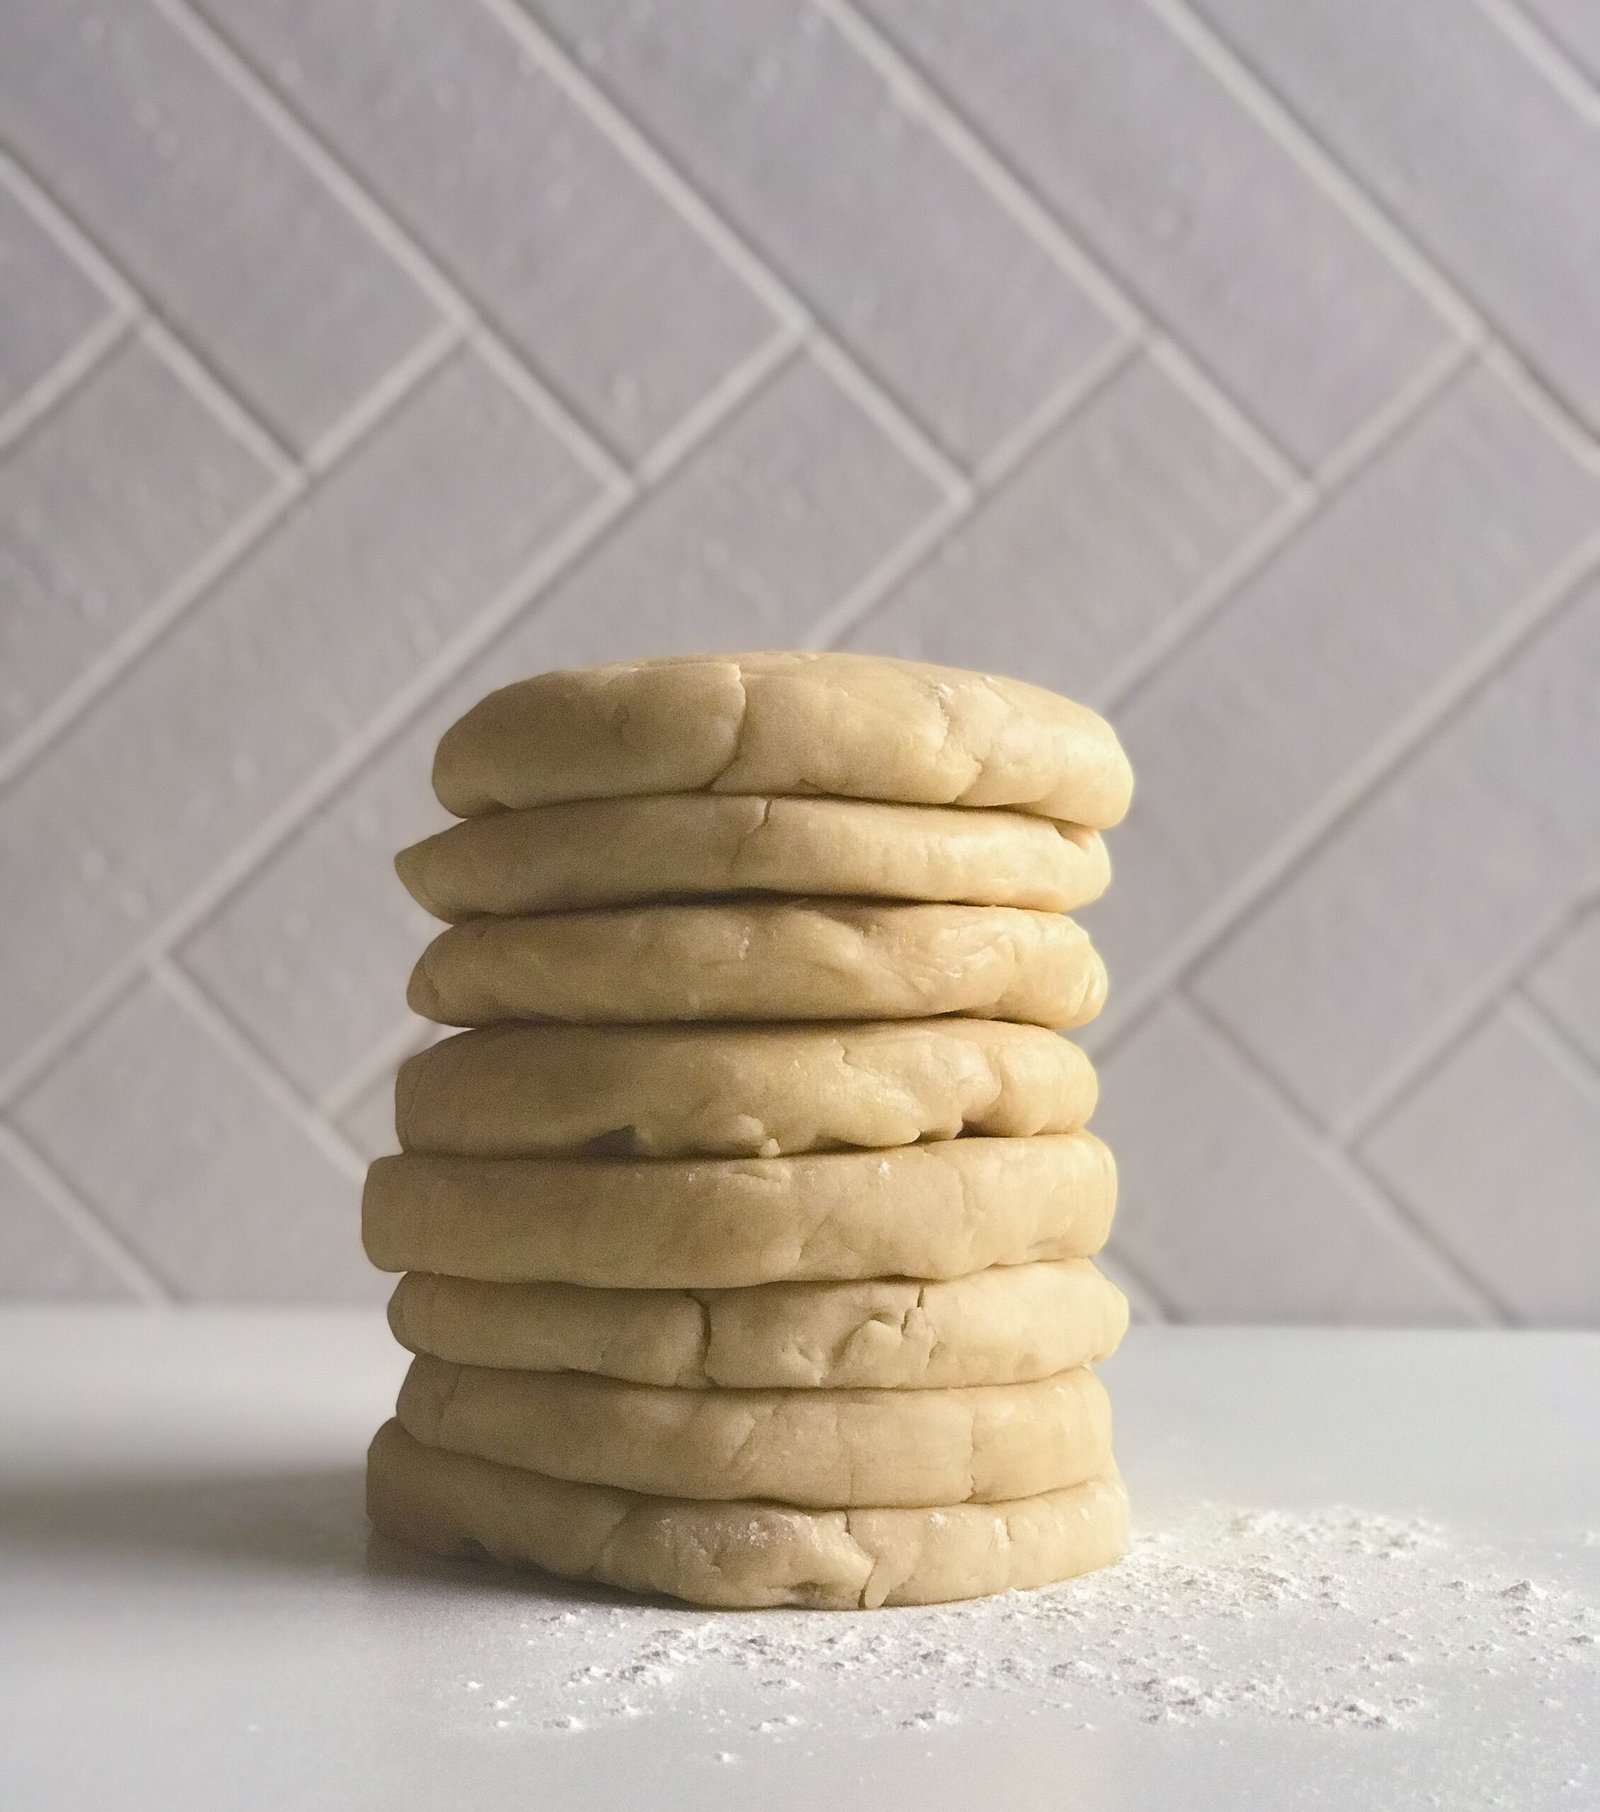
- Since this recipe makes two 9-inch pie crusts, you will want to divide the disk into two. At this point, you can also admire all of your hard work. See your dough showing off all of her layers and butter pieces?!?! Yay!! – soft and flaky crust is in the making. You did that with all of your muscle!

- Now you will form the dough into two dough disks so that you can put back in the refrigerator to chill for at least 20 minutes up to 2 days. At this point, you can also freeze your dough disks to use in the future. Just make sure you wrap it up tightly to prevent freezer burn. When you want to use the dough, I recommend taking it out of the fridge and allowing it to thaw out in the refrigerator – remember you want to keep your ingredients COLD. This can take a day or two so plan ahead!