
Poaching eggs can be a challenge but the payoff is rewarding so keep practicing…
I had never tried a poached egg until culinary school but what’s not to love? It’s like eating a fancy sunny-side up egg where the white is completely cooked but the yolk is still warm and runny.
If you’re hosting a crowd, you’ll be pleased to know you can pre-poach your eggs! Simply, pull out the eggs when they are almost done, then later when you’re ready to serve your meal you can re-heat them in the same poaching liquid. Thankfully, a lot of restaurants will do this when they serve weekend brunch so you don’t have to wait too long for your dish.
What you will need:
1. Eggs – preferably room temperature.
2. Acidulated water in a pot big enough for your eggs to fit, the deeper the pot the better. Acidulated water is made up of water & white vinegar. There is no scientific ratio but if you taste your poaching liquid you should slightly notice the vinegar smell & taste.
3. A slotted spoon.
4. An ice bath (optional if you are stopping the cooking process until later)
5. A paper towel to drain your eggs.
Break each individual egg into their separate prep bowl this will help lower the egg into the poaching liquid easier.
Heat up the acidulated water in a pot to a poaching temperature – just under a simmer. The water will look like it wants to bubble up but it hasn’t yet, that borderline is poaching temperature.
Using your spoon stir the water to create a circular force. Drop the egg in the pot lowering the container down into the water so that the egg doesn’t break. The circular force will wrap the white of the egg around the yolk. Don’t be alarmed if some of the white never wraps around the yolk there maybe some stragglers. Fun Fact: the age of the egg affects how tightly the white can wrap around the yolk, the newer (for lack of a better word) the egg the higher the chance you have of it wrapping around the yolk.
In my practice, I would say that the eggs should cook for about 5 minutes if you’re aiming for fully cooked white, runny yolk. You can check to see the doneness of the egg by lifting it out of the water with the slotted spoon. As long as the yolk is runny, it will give a jiggle. The more done the egg is, the firmer it will feel to the touch. This will take a little trial and error to know how long to cook your eggs so they are done to your liking :).
If you’re pre-poaching your eggs to serve then later, then you can take out the eggs with a slotted spoon around 3 minutes, put it in an ice bath to stop the cooking and then re-heat when needed.
To re-heat, simply warm up the pot of acidulated water back up to the poaching temperature and drop them back in until they are done. Or I’ve read in cookbooks that some chefs will reheat their eggs in a skillet, but I’ve never tried that before so you are walking into unchartered territory with that technique – I say try it, what do you have to lose?!
Once your eggs are ready to eat, you can take it/them out and rest on a paper towel to dry off the water.
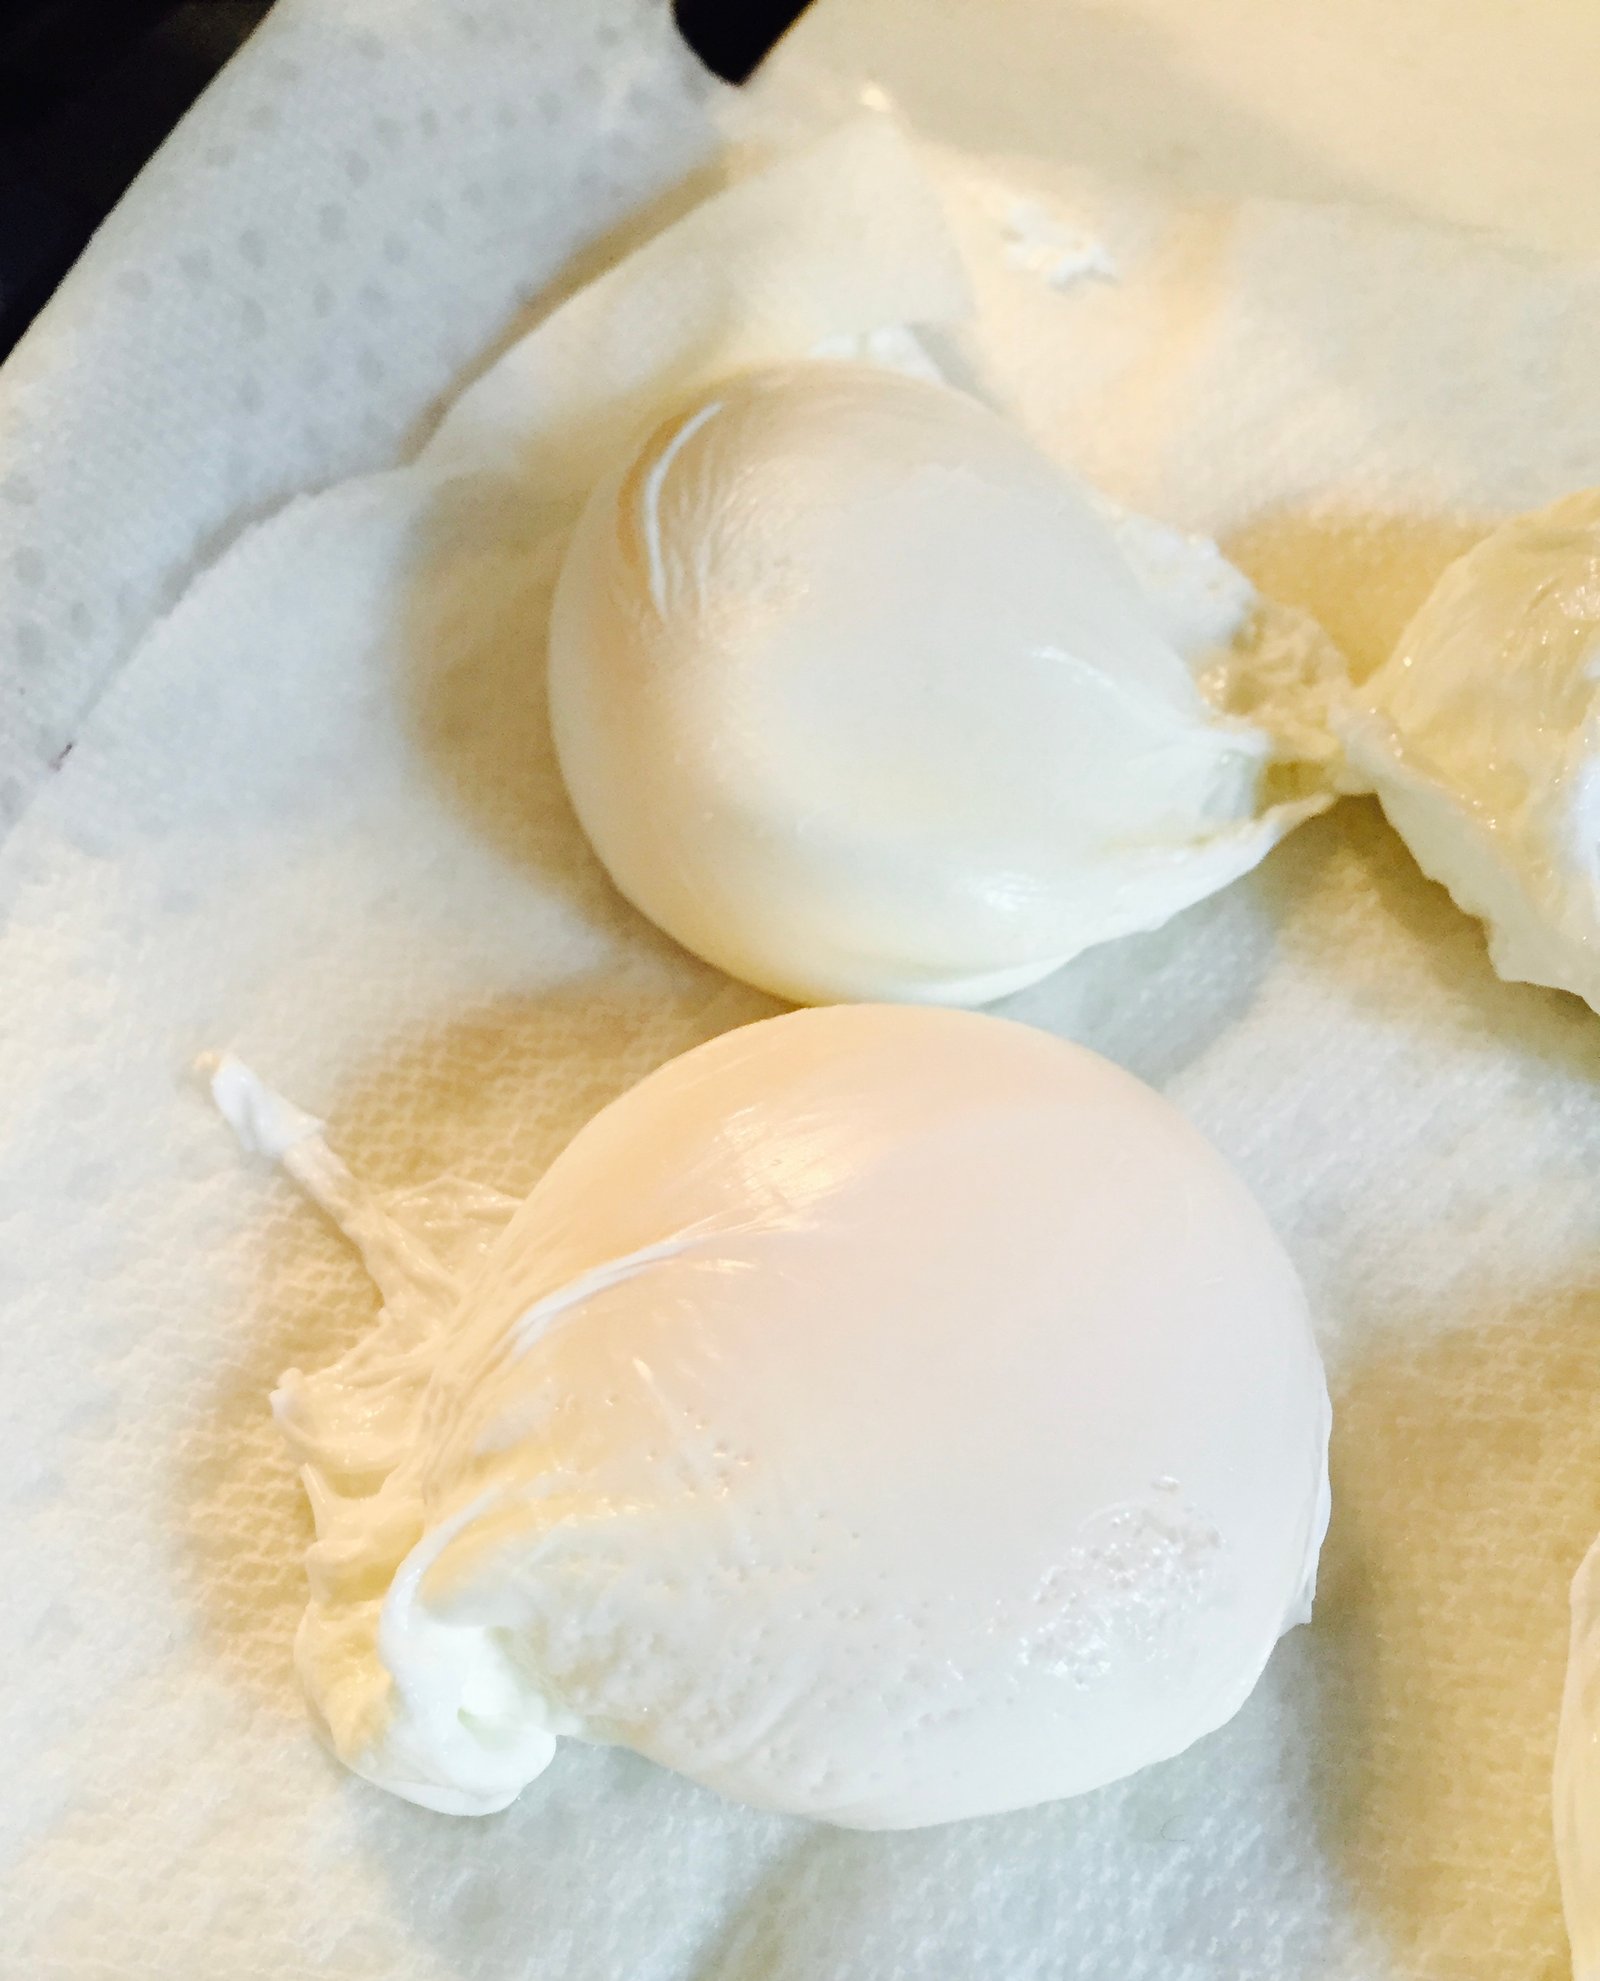
You can then take a small knife and cut off any loose egg whites to make it pretty for presentation.
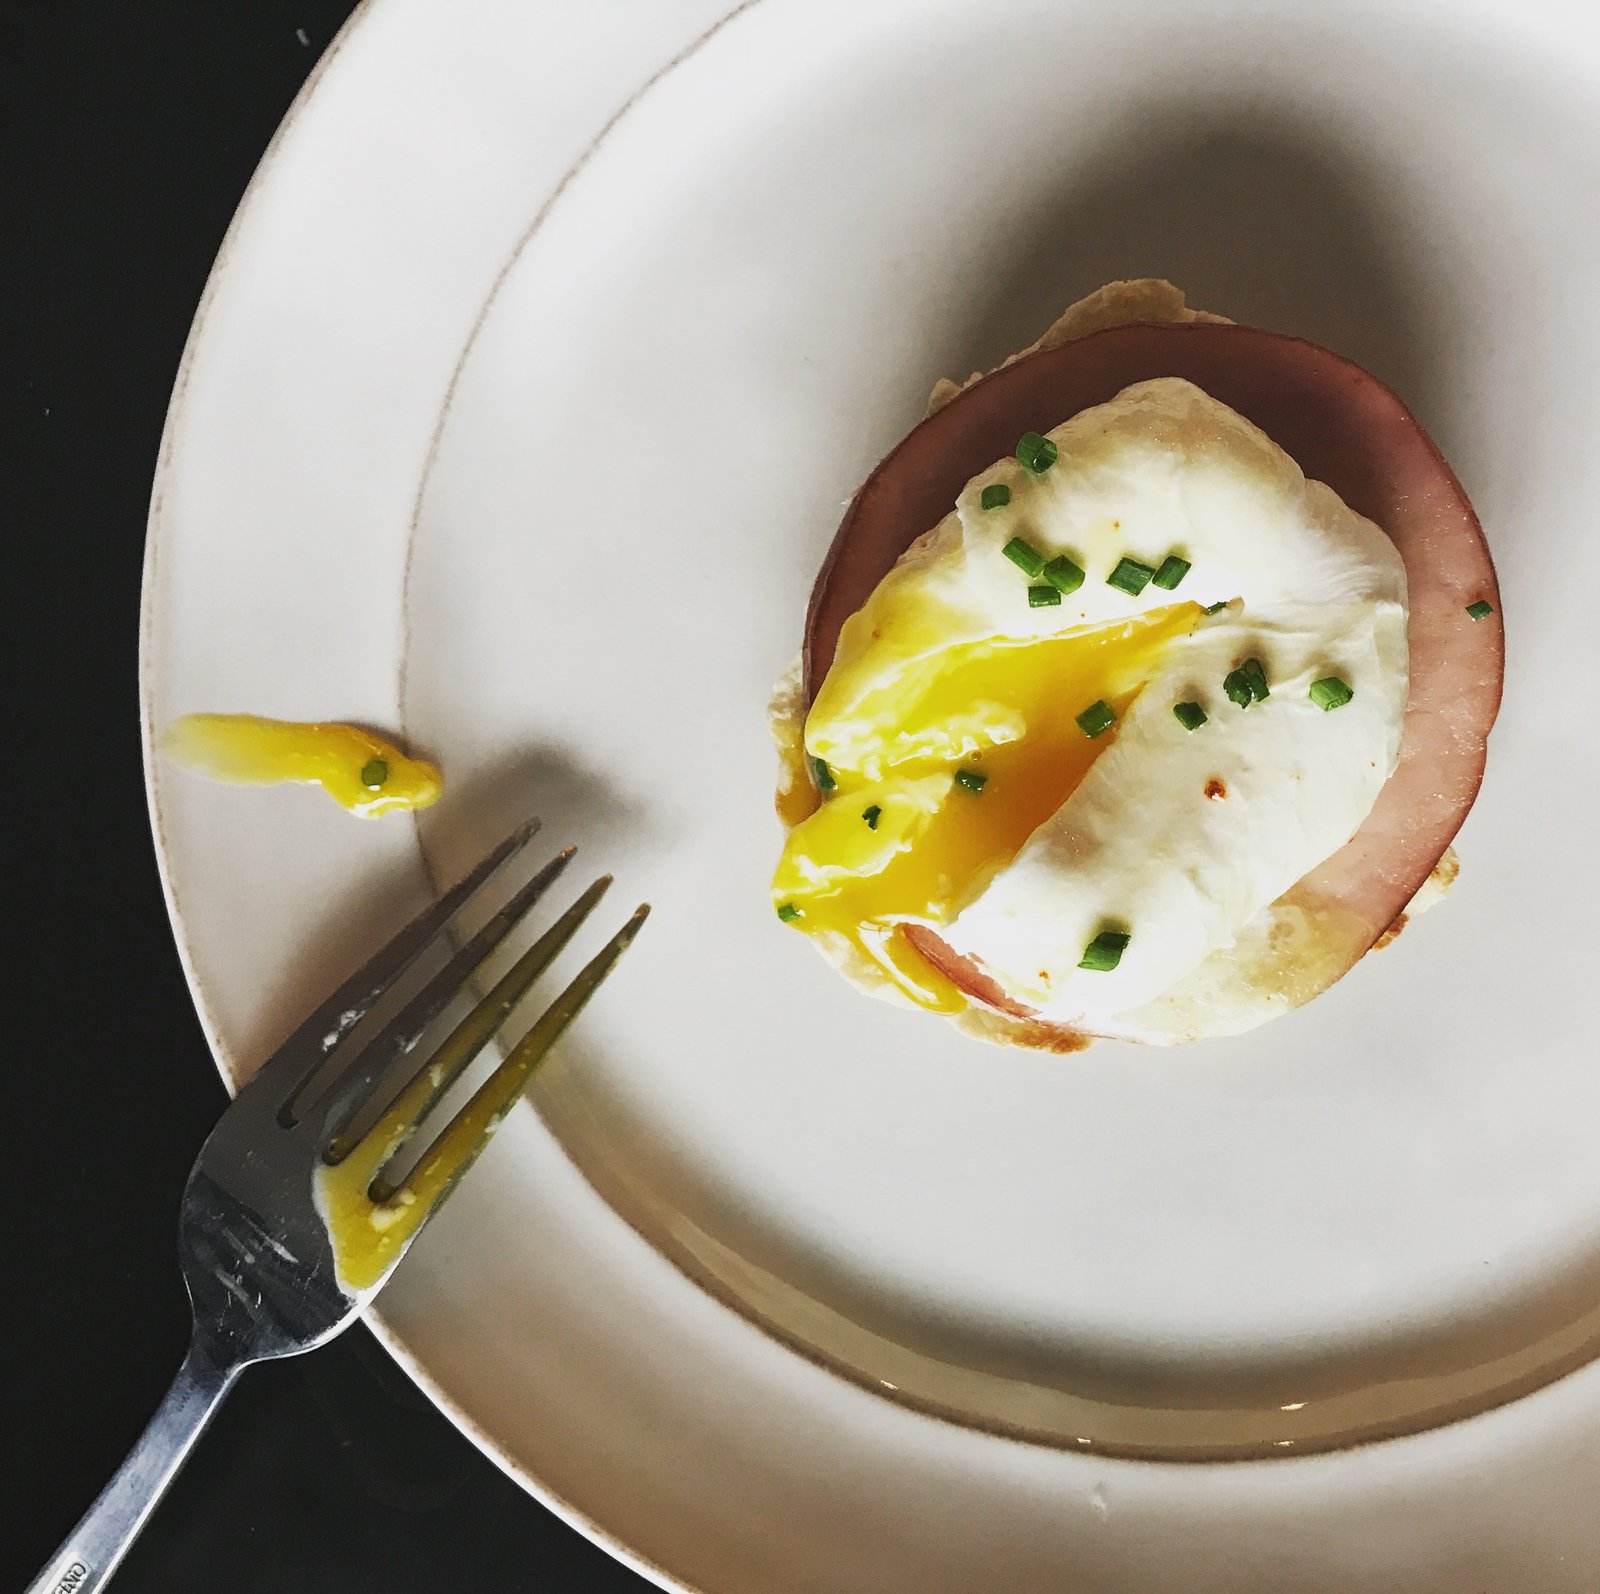
When you cut into it, you should see that the white of the egg is completely done and firm and the yolk should be runny. Yum!


Wow those look great. I’ve tried many a time with no such luck. We use a stovetop egg poacher.
Thanks! I’ve never tried with one of those. It definitely takes patience until you get the hang of it. I’ve found when I’m having trouble it’s usually because the water isn’t hot enough.