A turkey is always a big-to-do for the holidays. We all search the internet far and wide every year to find how to make that perfect one that will meet all the demands of your holiday guests. Perfectly browned and garnished, sitting pretty for it’s picture. You want it to be moist and juicy for that one self-proclaimed foodie at the table. And most importantly you definitely want that turkey to be done!
For everyone’s sake and you probably want it to be as hassle free as possible so that you can enjoy the holiday, drinking a glass (or two) of wine, and taking in all the crazy as you think to yourself, “we should all get together more often.” Just remember those warm cozy feelings when you wine-buzz fades and you realize your house is a mess and the dish pile never ends…
This is, I promise, the easiest hassle-free way to accomplish all of your goals, even the glass of wine (or something stronger).
Holiday Turkey Planning –
A few days before: Make sure there is enough space in your refrigerator for your bird. He will need to rest there for a couple of days. Make sure to follow the package to safely defrost or to save a step, buy fresh. Note: You can start your brining process while your turkey is still semi-frozen – brine and defrost at the same time – easy peasy.
You will need a brining bag, large Tupperware container or something else that I haven’t thought of that will keep your turkey submerged in the brining liquid.
18-24 hours before Roasting: BRINE YOUR TURKEY: Very important step! Brining is a simple salt solution that will season, tenderize and provide additional juiciness to your meat – accomplishing your goals we set out to achieve – perfectly browned, juicy and done.
It helps balance the cooking between the breast meat and the dark meat. Breast meat can quickly become dry and overcooked while you wait for the dark meat to reach the safe temperature. Brining prevents that from happening. Brining solution is a 6% salt to liquid ratio. Yes there is math AND science. Luckily, I figured it all out for a 8-15lb turkey – see the brining recipe below.
Equipment
- Brining Container: Large Brining Bag, Large Tupperware Container – something to keep your turkey fully submerged in liquid.
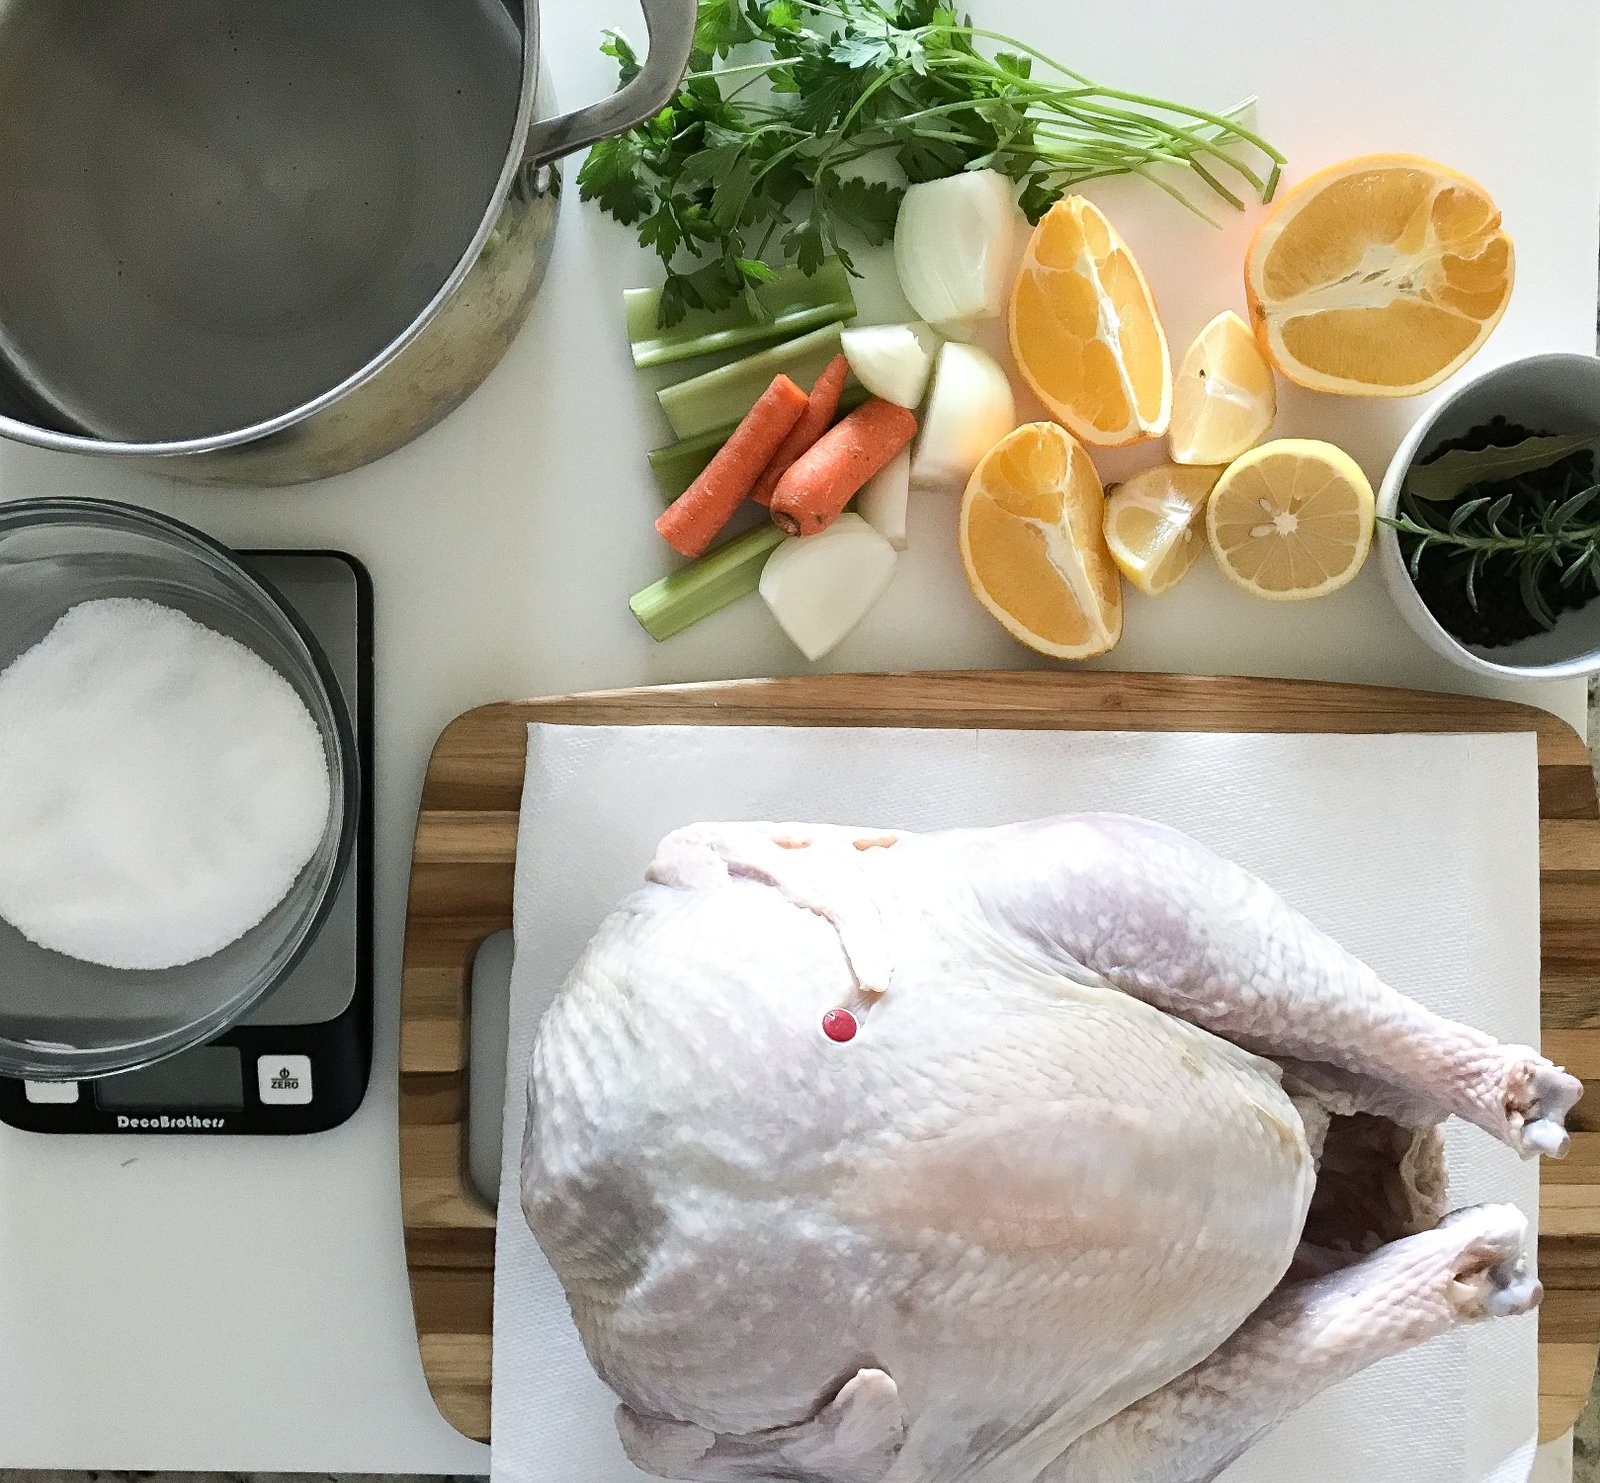
Ingredients
- 12 lb Turkey (or smaller)
- 1 Gallon Water (16 cups), divided
- 7.7 oz Kosher Salt (Just under 1 cup)
- 1 handful Peppercorns, fresh Thyme, fresh Parsley, & 1 Bay Leaf
- ½ Orange – Chopped into chunks
- ½ Lemon – Chopped into chunks
- 1 Carrot – Chopped into chunks
- 1 Onion – Chopped into chunks
- 1 Celery Stick – Chopped into chunks
Instructions
- Clean out the turkey, remove the neck, and packet of giblets. Set aside.
- In a large pot, add 8 cups of water, all of the salt and all of the ingredients (except the turkey).
- Bring up to a boil until all of the salt is dissolved. Turn down to a simmer for 5 minutes.Take off it off the heat and let it cool down, to the pot, add the rest of the 8 cups of ice- cold water.
- Once the brining liquid is lukewarm or colder it’s ready!In your brining bag or large container, put in your turkey and pour the brining solution over the turkey. The turkey should be fully submerged in the liquid.Pro tip – place your bird breast side down so that it is easier to have that of the bird fully submerged.
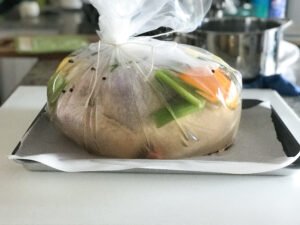
- Place your turkey bag on a sheet pan and put on the lowest level in your refrigerator (should your bag leak you don’t want it to drip onto anything else, that is why I suggest the sheet pan and the lowest level).Let your bird brine 18-24 hours. See roasting instructions below.

Roasting the Turkey
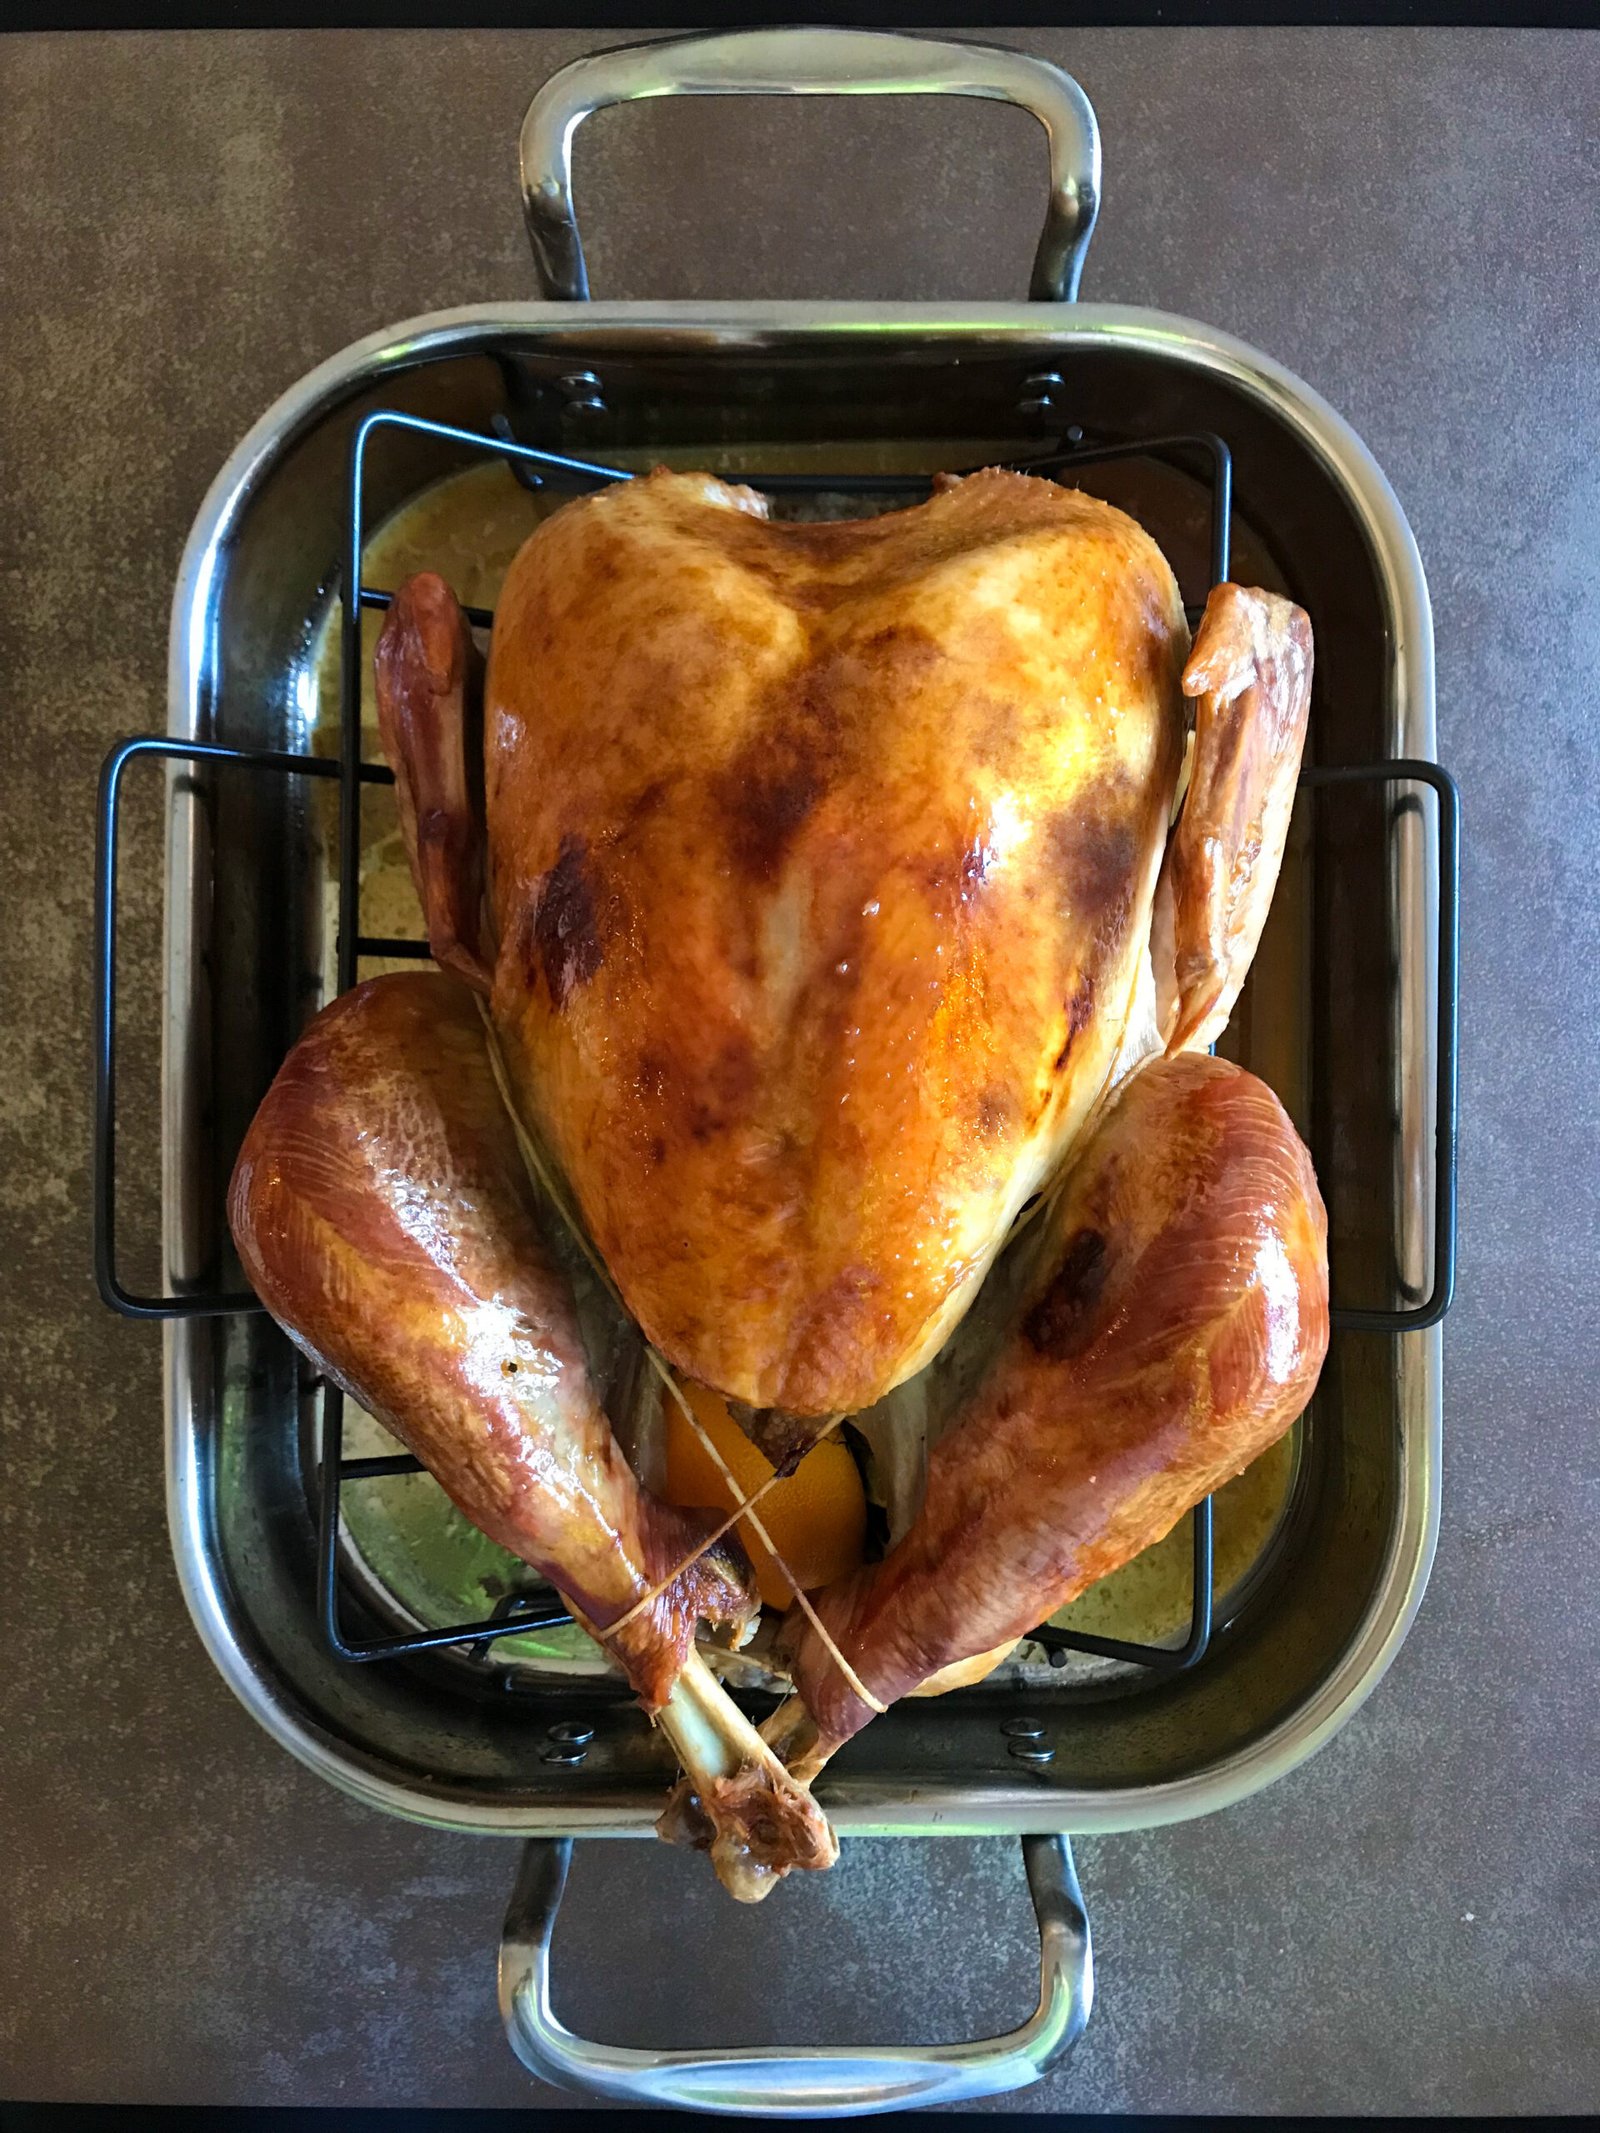
After it’s brine bath for a day, it’s time to roast it into something beautiful for your dinner table. Roasting a turkey slow and low allows for the meat to soak in (or is it up?) all of the flavors you seasoned it with.
The brine will also help with evenly browning the bird. This dark brown color is called a maillard reaction which gives you that deep “seared” layer of flavor.
Follow these easy steps below and it’ll come out perfect. It’ll be picture perfect brown, have that classic herb turkey flavor and be amazingly juicy.

Equipment
- Roasting Pan
- Twine
- Meat Thermometer
Ingredients
- 12 lb Turkey – Brined See instructions in blog
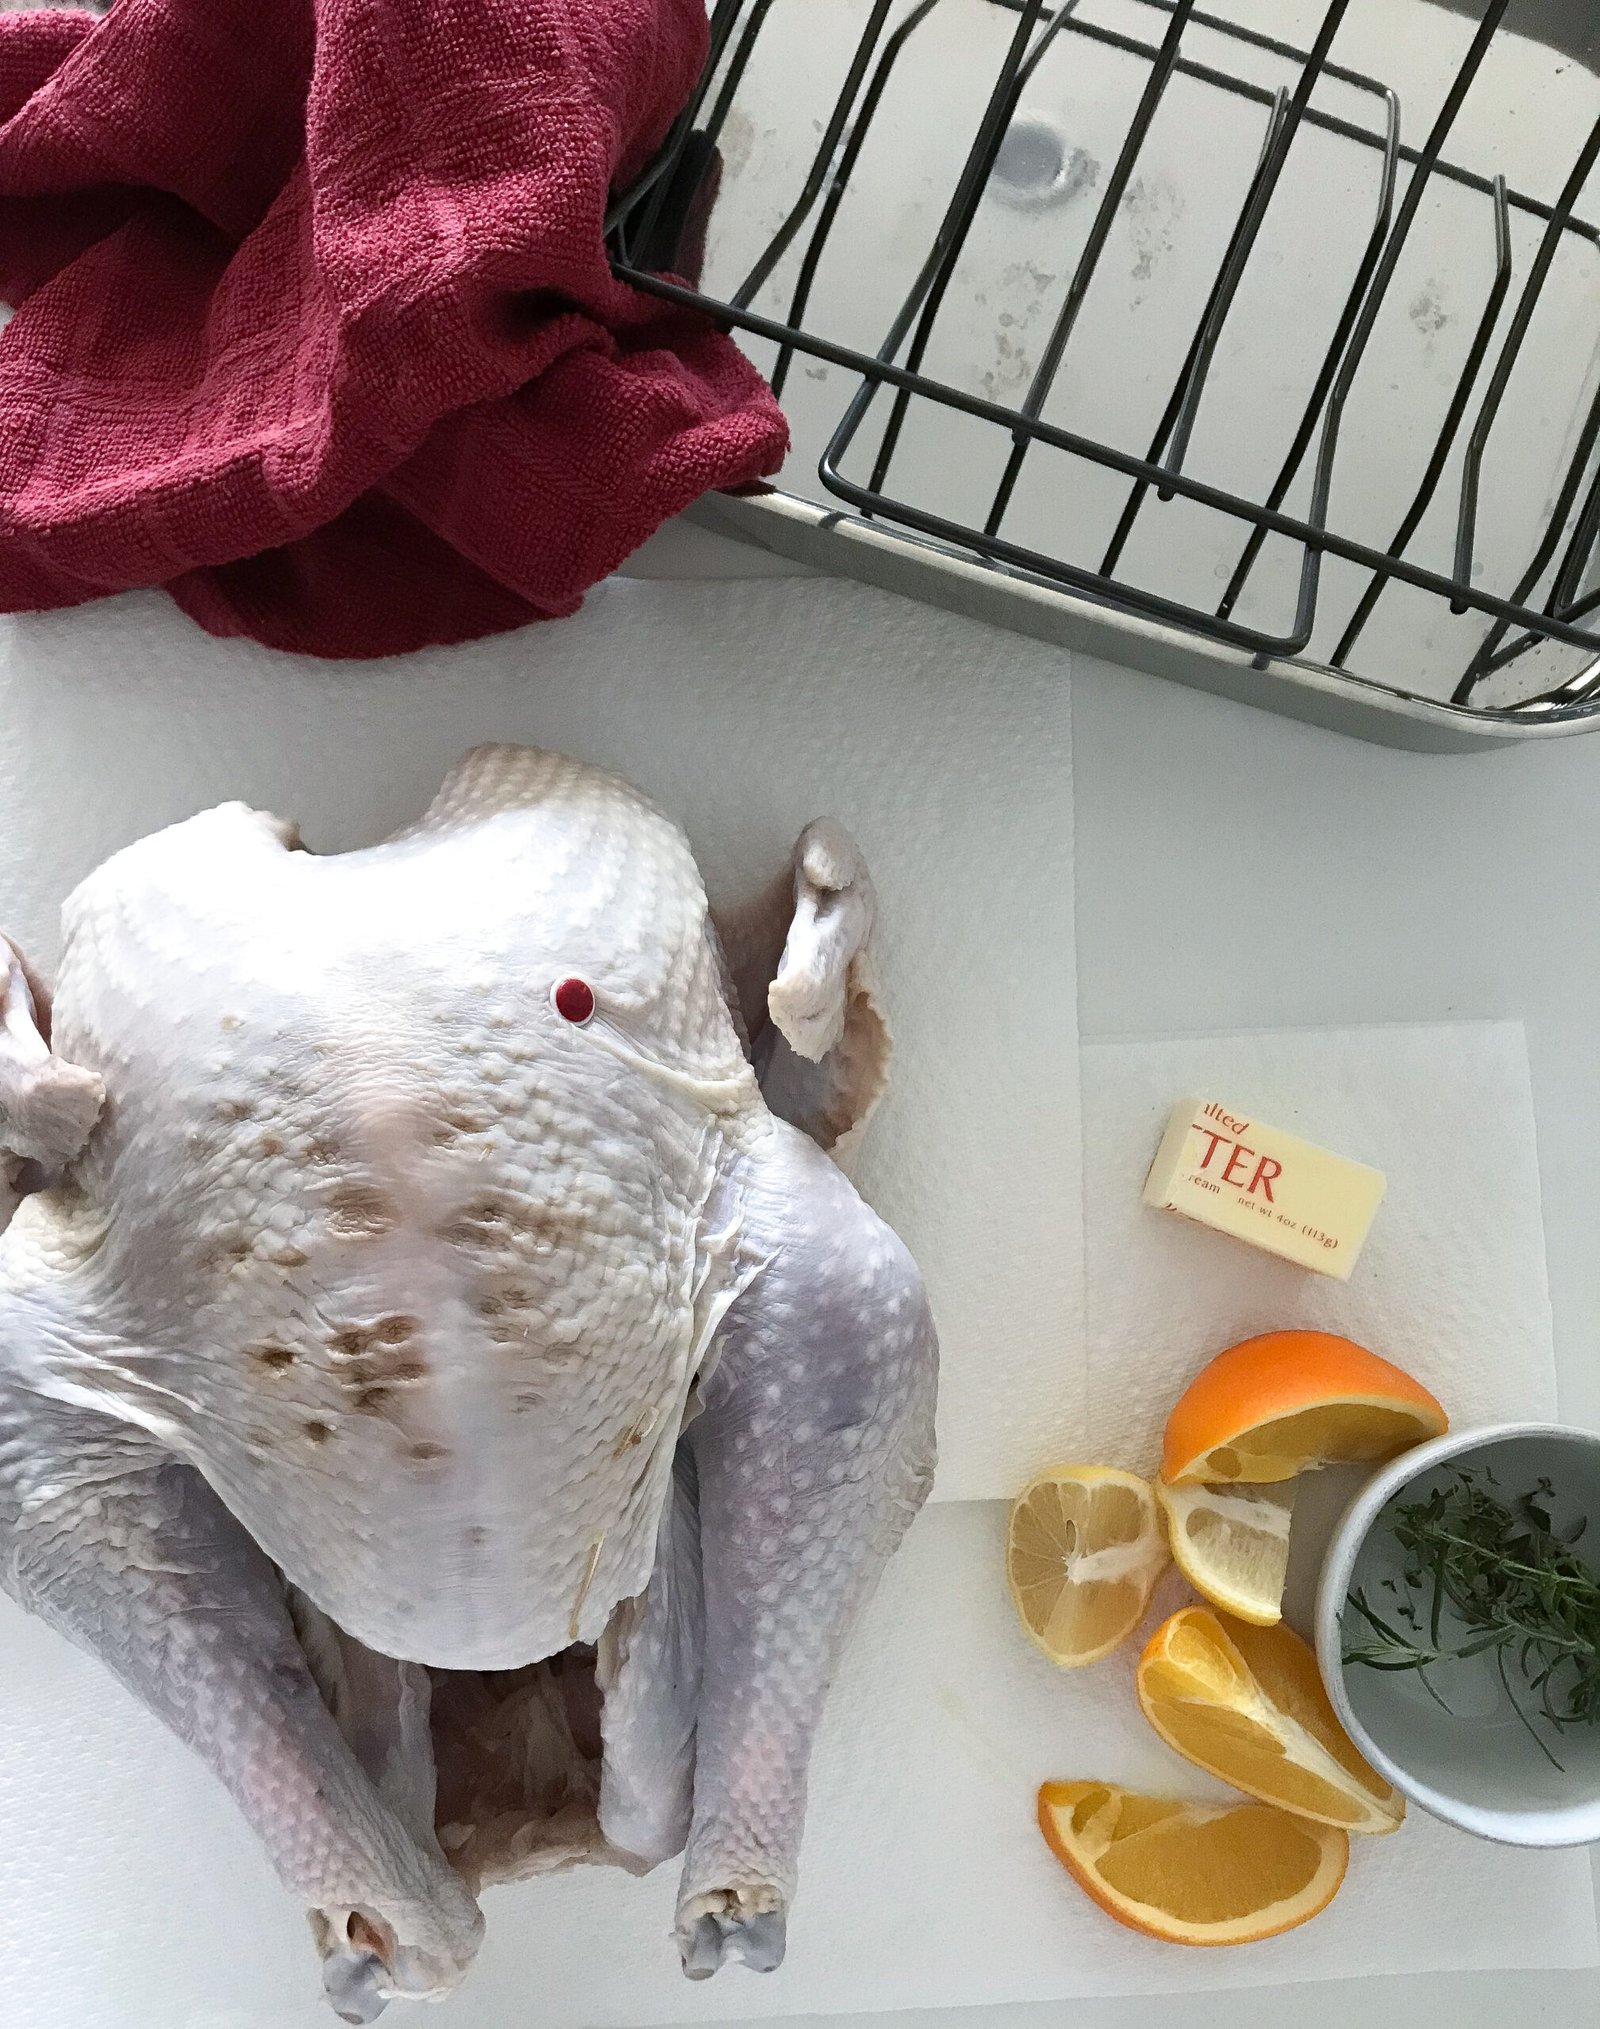
- ½ Lemon
- ½ Orange
- 2 sprigs Fresh Thyme
- 2 sprigs Fresh Rosemary
- ¼ cup Butter
Instructions
- Take your turkey out of the brine, rinse off and pat dry, let it come up to room temperature or at least get the chill off of it.
- Preheat your oven to 450F.
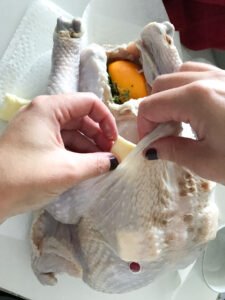
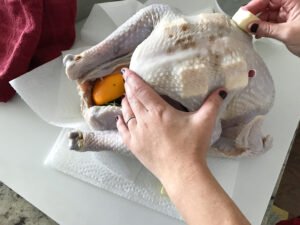
- Prepare the ingredients – have ready your aromatics (lemon, orange, herbs) and Stuff the cavity with the aromatics for seasoning (lemon, orange, herbs).Divide your butter up, 1 TBSP and then 6 squares, 1/2 TBSP each.
- Stuff the cavity with the aromatics for seasoning (lemon, orange, herbs). There is no wrong way to do this, just make sure it's all in there.
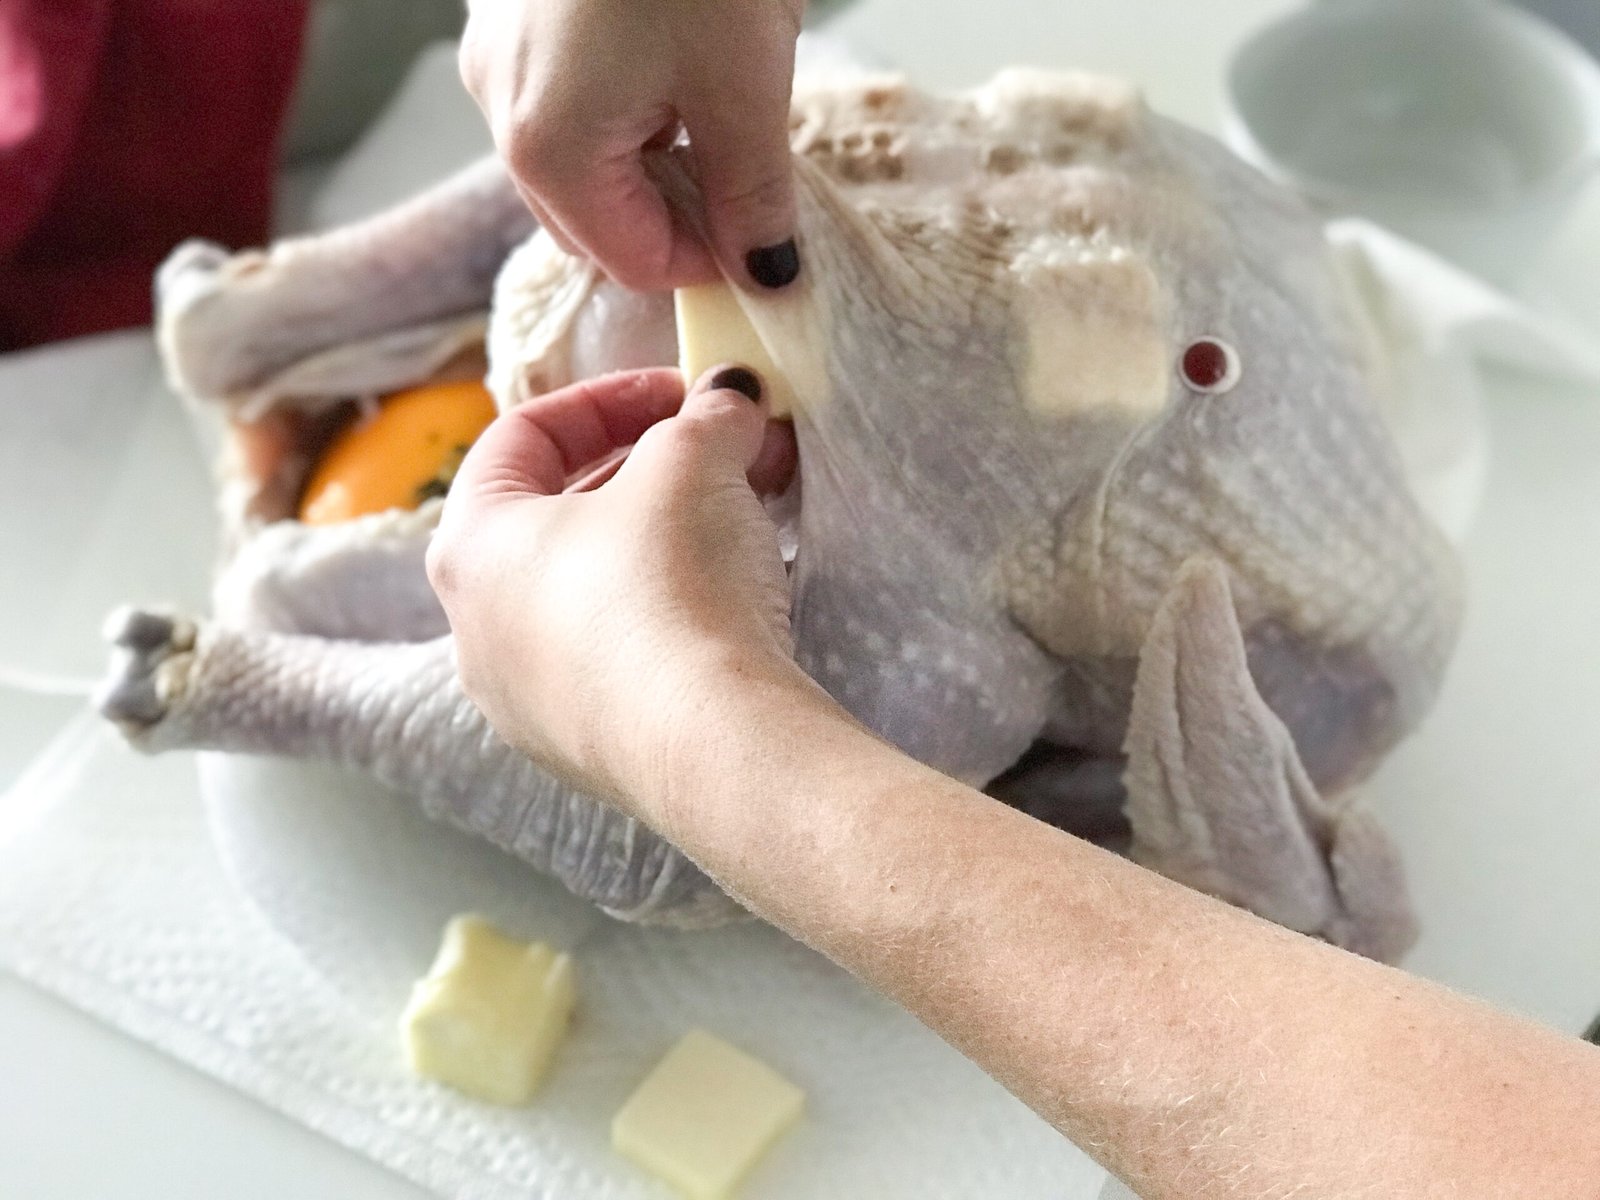
- Slowly and carefully pull the skin away from the meat of the breasts and stuff each side with 2 squares of the butter. (See Picture)

- Then near the same hole, you will do the same for the thighs, but only put in 1 square per leg.
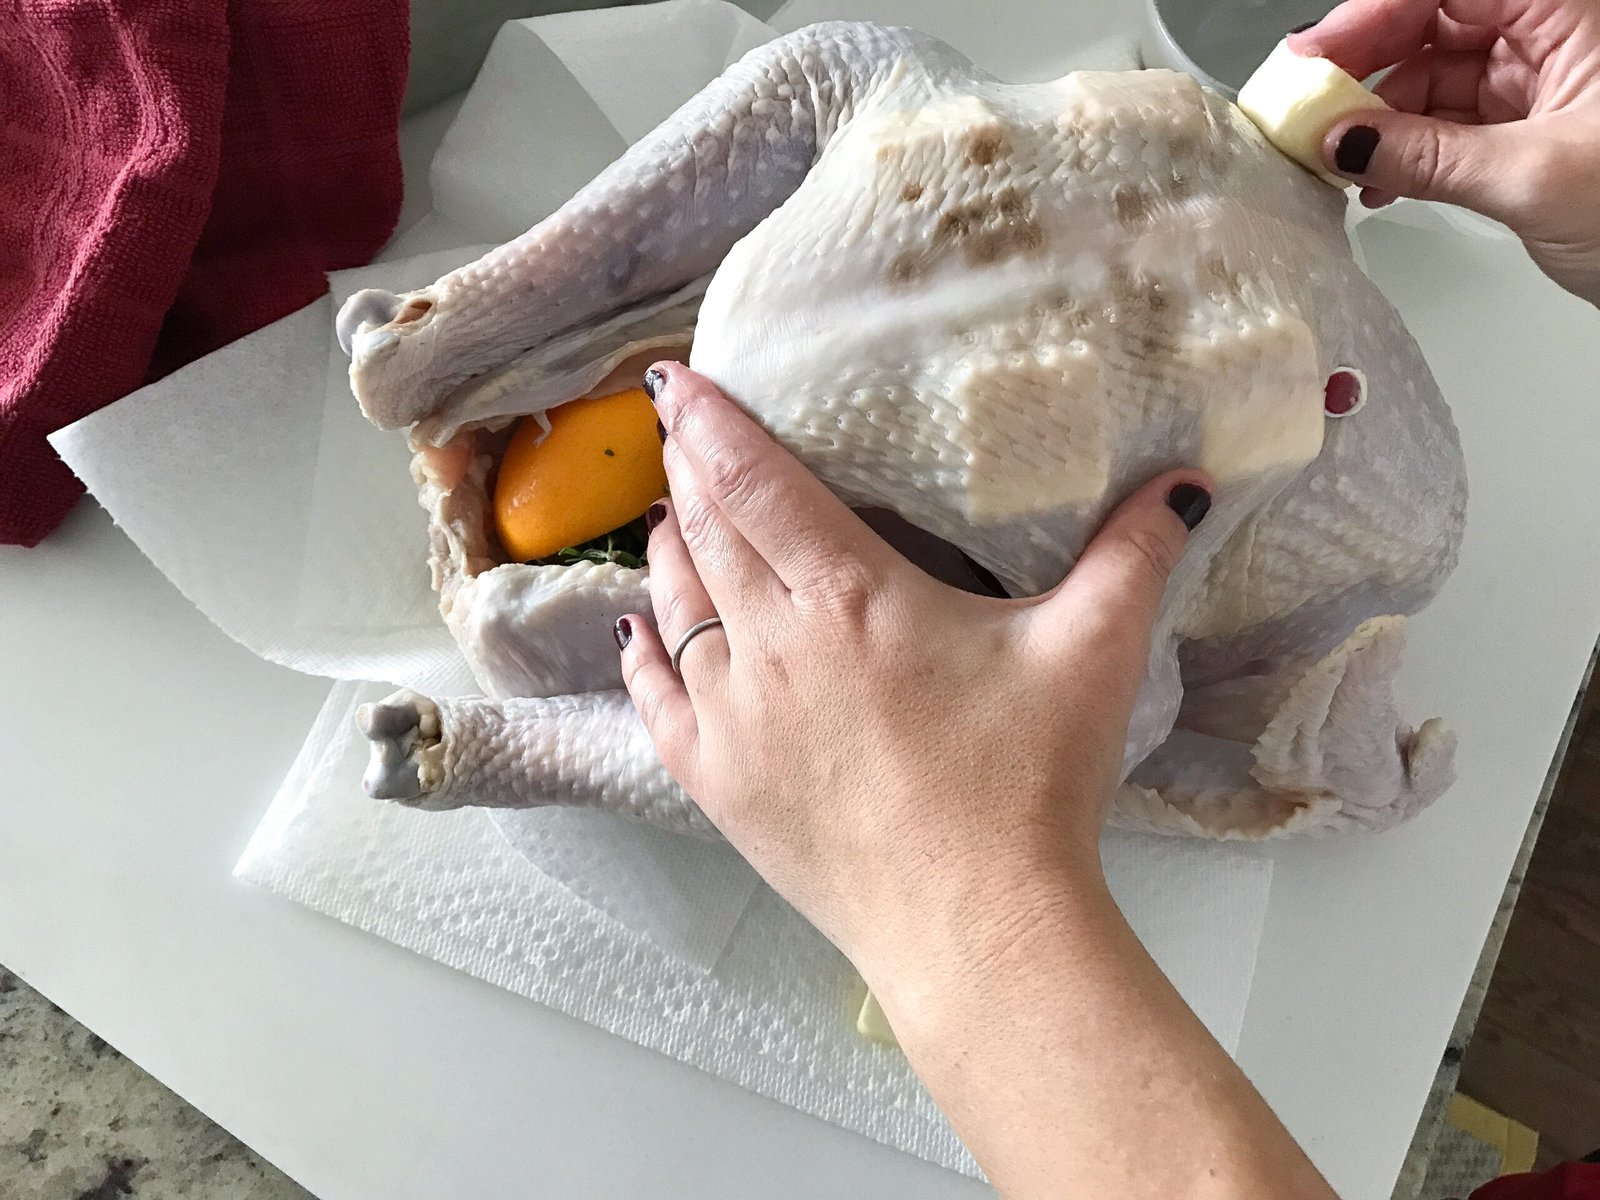
- The bird should have all 6 squares of butter underneath the skin, then with the remainder of the butter, you will want to spread it over the top of the skin. This will help create a delicious crispy maillard reaction and beautiful brown color.
- After this step, you will need to take some twine (heavy duty thread) to truss the bird. I would give you step by step instructions but I think this is better taught by youtube – so quickly google the how to for this step! Don’t skip this step, it’s important to do so that your bird cooks evenly and holds it’s shape for your table presentation.
- Place your turkey on your roasting rack and in your roasting pan. Roast at 450F for 15 minutes. This will help jump start the browning process. After 15 minutes, drop the temperature to 325F.
- Roast for 2 hours at 325F, which means, don’t mess with it, don't open the oven door. Do something else. We went to the park and played in the fall leaves

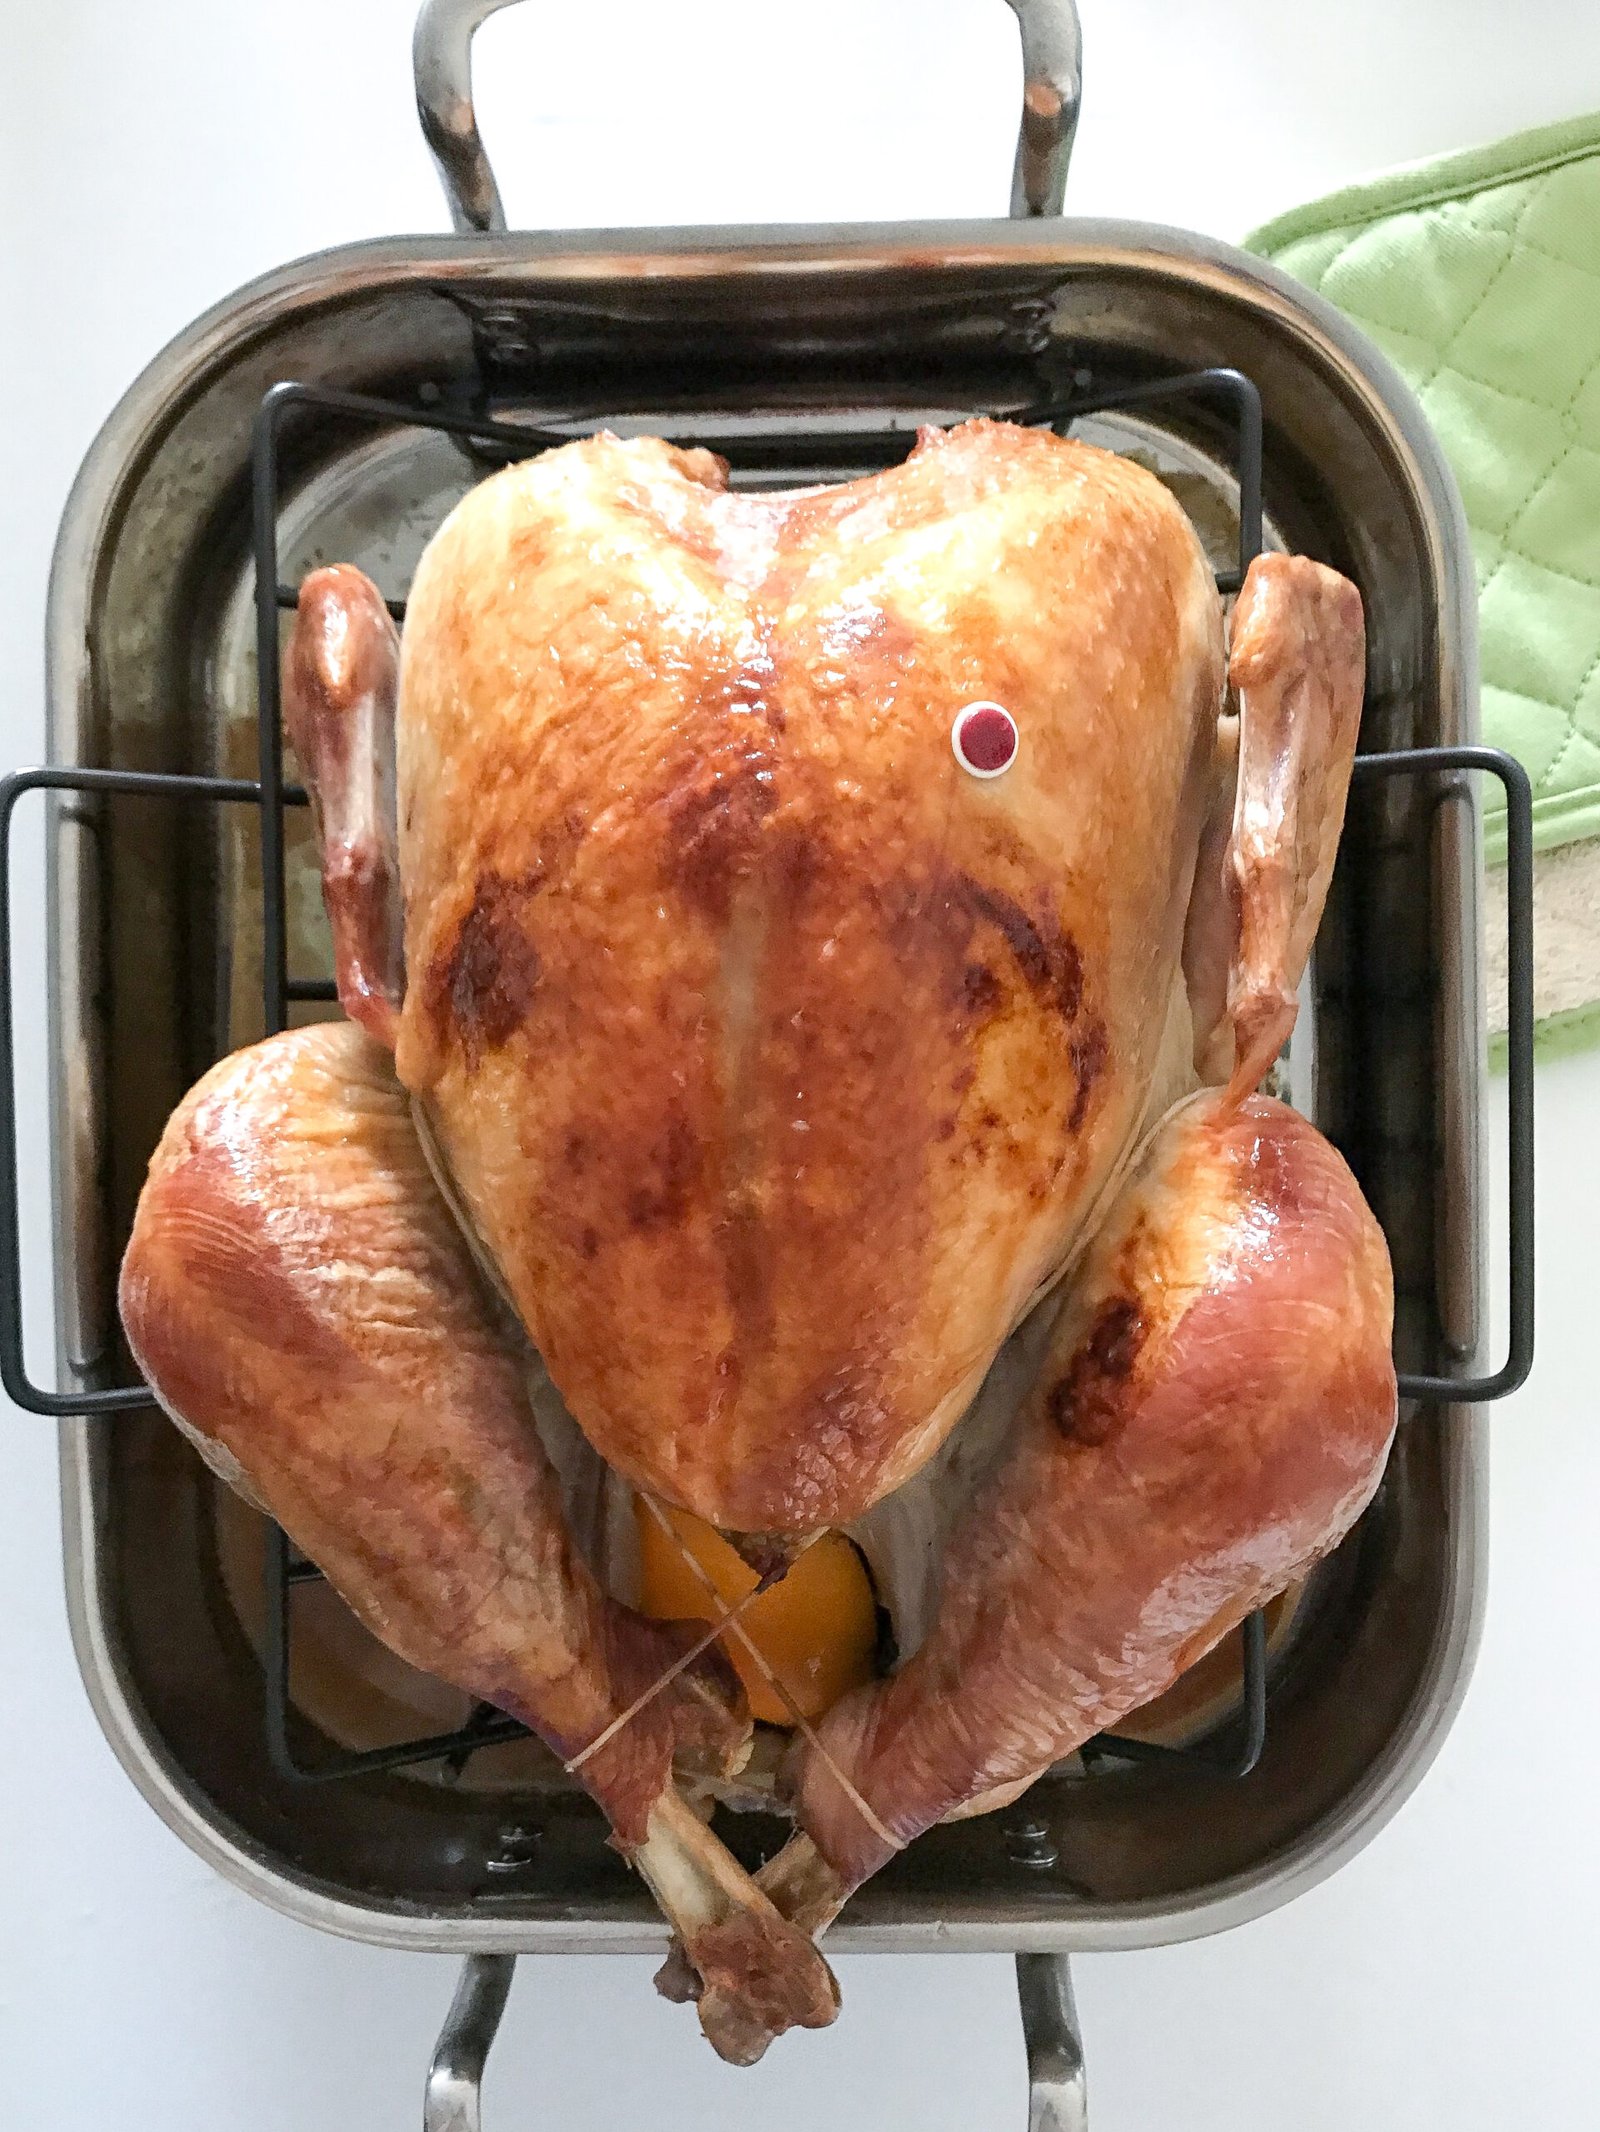
- After 2 hours, take the turkey out, admire it, baste it.If you don't have a baster, you can carefully use a large spoon to scoop up the drippings on the bottom of the pan to pour over the top.

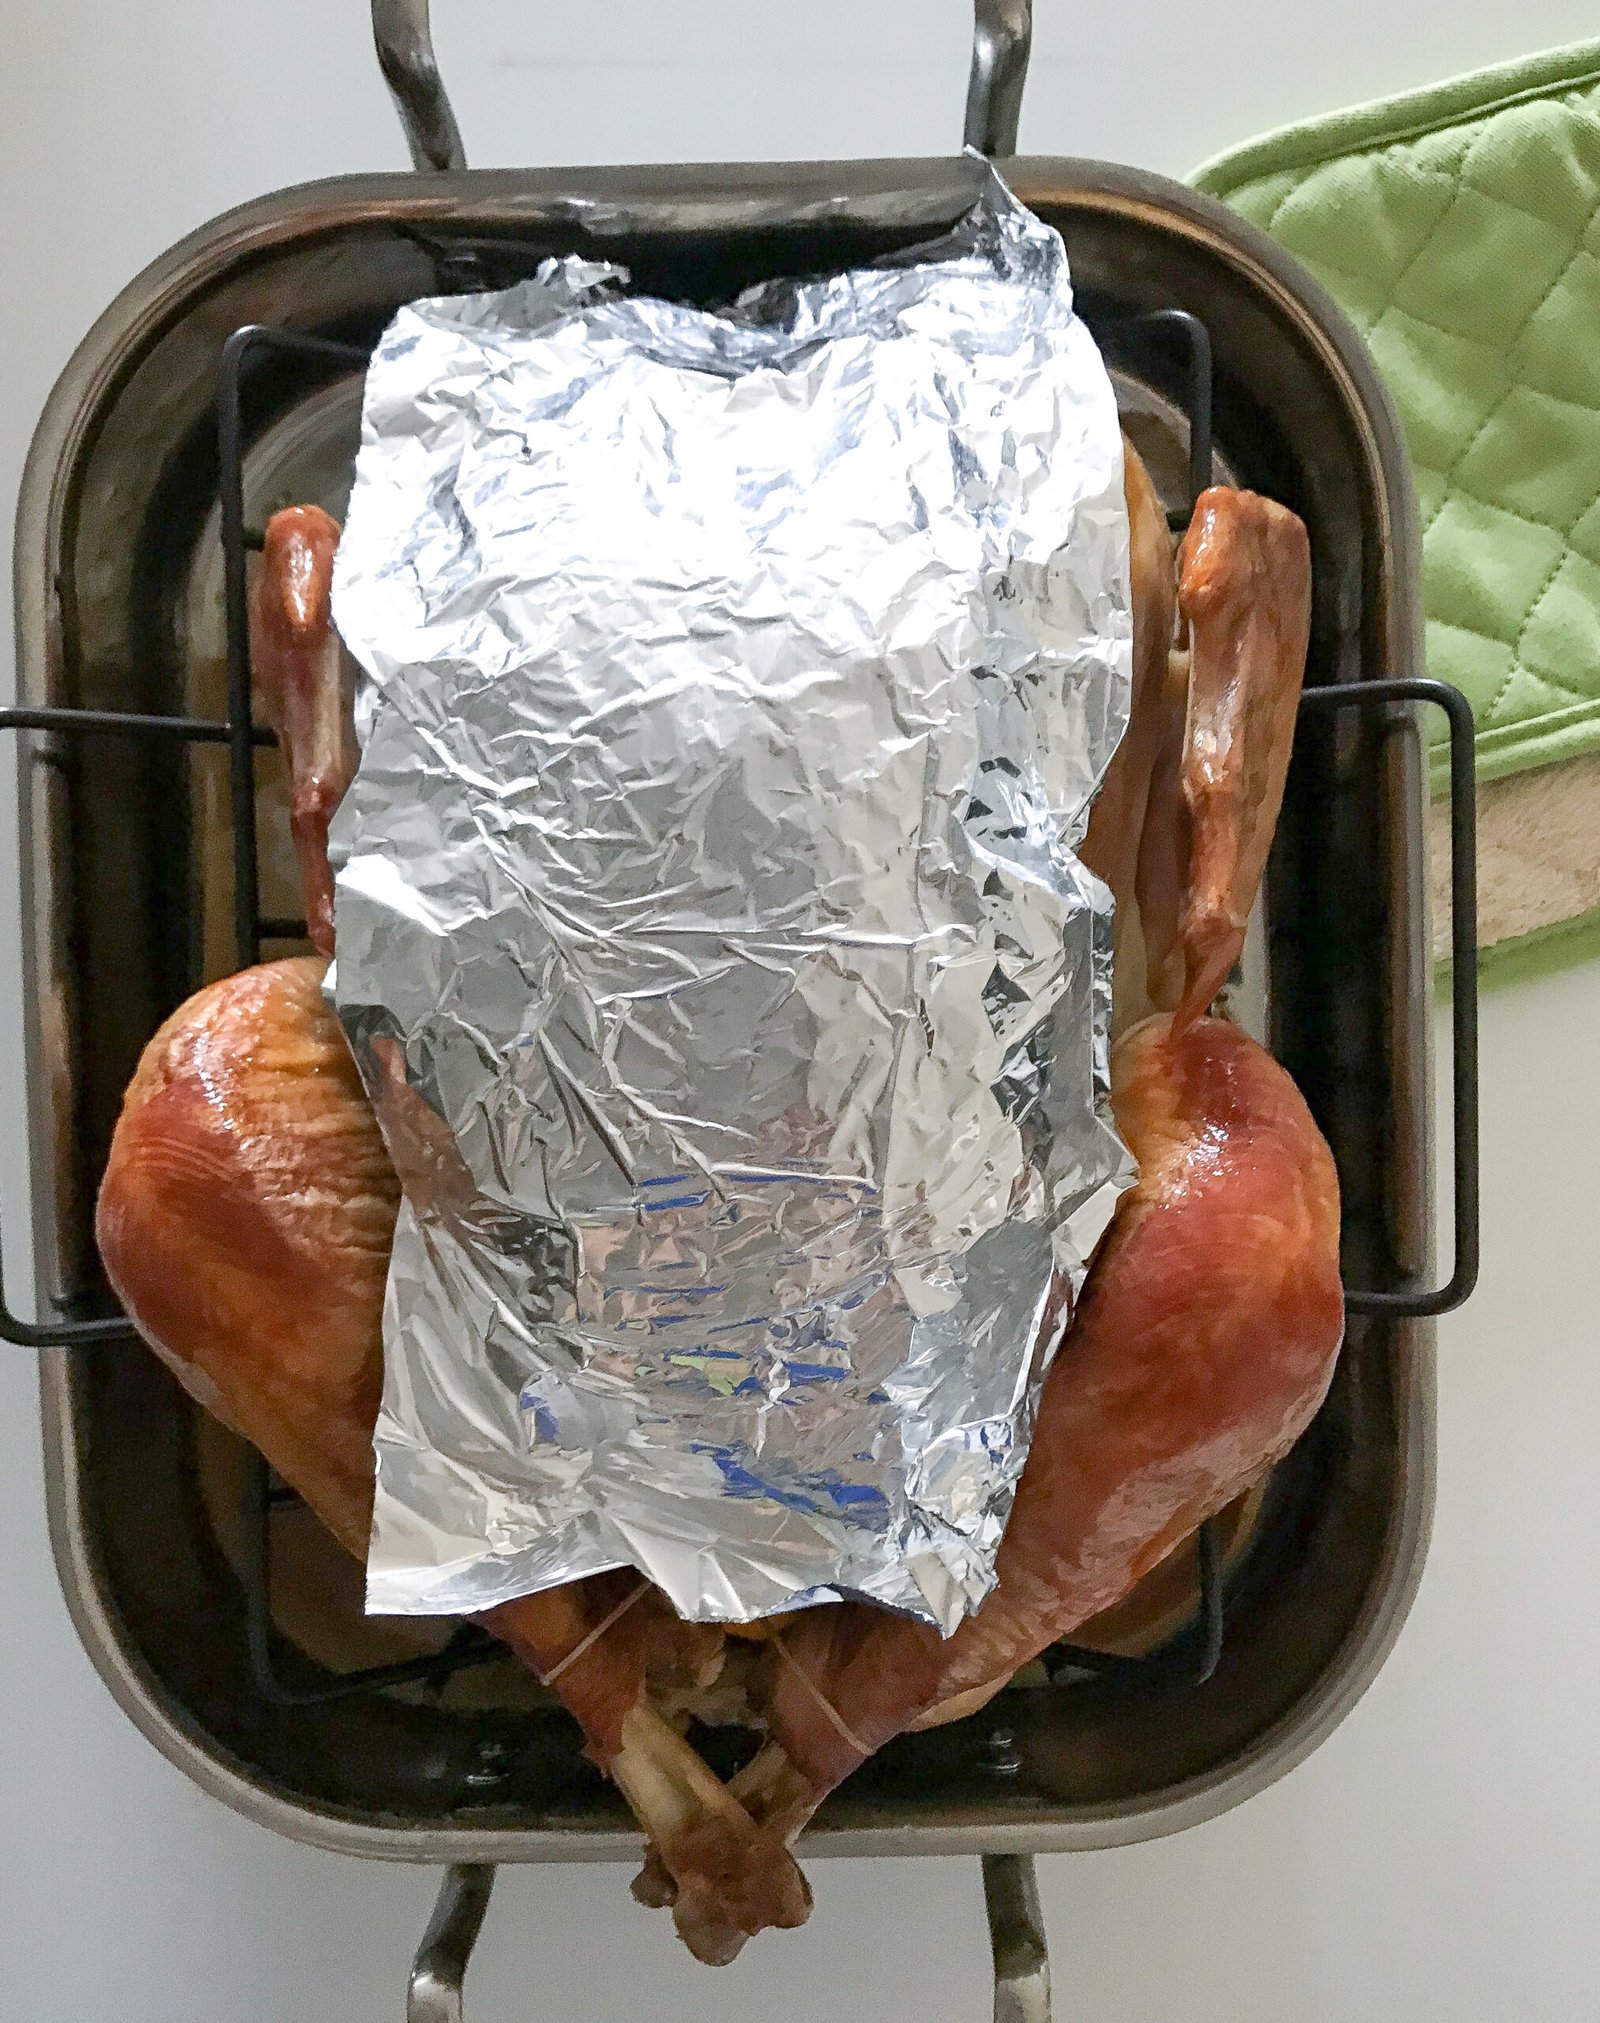
- Place a foil cover over the breasts to keep them from getting too brown.

- Put the bird back in the oven for another hour (total roasting time should be 3 hours and 15 minutes). But before you pull it out and pat yourself on the back TAKE HIS TEMPERATURE. Put a meat thermometer in the deepest part of the breast meat without going through, it should register 165F. Do this again in his thigh, making sure not to hit the bone, again it should be 165F. Do not skip this step! It's the most important to make sure your guests are not served raw or undercooked meat. If you have a turkey with a "pop-up when done", I suggest to still use meat thermometer to check.


Don’t Skip the Resting!
It’s hard work roasting to perfection all day, he needs time to bounce back. Resting is as key as anything else, so do not skip this step. I know it’s hard to wait but trust me you should. Resting allows the juice to go back into the meat and allows the turkey to be evenly moist and flavorful. You should rest meat 1/3 of the amount of time you cook it, so this guy should rest for 1 hour. He will not get cold during this resting time, so do not worry about serving cold turkey after all of your hard work.
If you want to, you can place a loose foil tent over him to keep him warm (think marathon runner, you always see them wrapped up in foil blankets at the end… this is similar, and if you have ever ran a marathon, good job!).
As your turkey rests, it’s the perfect time to put the final touches on all of your side dishes so that everything is warm and on the table at the same time.
Take a deep breath! It’s over and you did it! Happy Holidays from my family to yours! Cheers!!
Holiday Sides
Vegan Creamy Herb Mashed Potatoes
Butternut Squash & Gouda Mac & Cheese
Vegetarian Sourdough Herb & Pomegranate Stuffing
Cranberry Stuffing
Easy Stuffed Acorn Squash
and with the leftovers…
Turkey Pot Pie
Turkey (Chicken) Noodle Soup
Turkey (Chicken) Pot Pie Soup
Easy Weeknight Biscuit Turkey (Chicken) Pot Pie