Pizza crust is one of my favorite do-it-yourself recipes. It’s so simple and so much better than store bought brands. The best part about this homemade pizza crust recipe is that you make two dough balls at a time. Make two pizzas or freeze one for later.
Growing up we rarely made anything from-scratch and one of my favorite memories was the Chef Boyardee’s pizza kit, similar to a box of pancake mix, it was my way of making something homemade.
This from-scratch recipe is just as easy and absolutely delicious.
The Flour You Use Makes a Difference
I understand that yeast and rising times can be intimidating – homemade pizza crust is the best place to start when you’re trying it out for the first time.
Flour has protein. The more protein the flour has the more crispy and sturdy the pizza will be. The crust will be stronger and will hold all of your favorite toppings without droopiness. I use and highly recommend King Arthur’s All Purpose Flour for my everyday baking, cooking and pizza making. It has 11% protein and it has never failed. (not a sponsorship or partnership)
Letting the Dough Rise
This dough will rise on the counter in 1 hour.
You can leave it on the counter for up to 8 hours if needed, if you want to make it in the morning and come back to it for dinner.
Another option is to make it in advance and it let it slow rise for at least 24 hours. The slow rise adds more of a yeasty flavor which is my absolute favorite. Scientifically, the temperature of the refrigerator will slow down the production of carbon dioxide – which is the result of the yeast eating the sugars of the flour. The carbon dioxide’s bubbles are what cause the dough to double in size before baking- so with this method it’s important to wait at least 24 hours if you do it this way. You can leave it in the refrigerator up to 4 days. After 4 days, if your pizza plans changed, it is best to put it in the freezer until you’re ready to use.
To Get the Ultimate Crust That Holds Up
We’ve all been there, we make pizza and the bottom falls out once the topping are added and we have to eat with a fork and knife. The secret ingredient is corn meal. Using corn meal in place of flour when you roll the dough out makes all of the difference. It also adds that irresistible restaurant pizza-like texture to the bottom of the crust.
Thin Crust v Pan Pizza
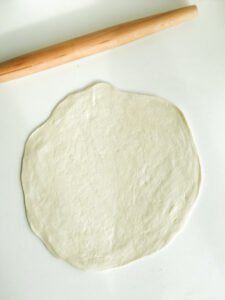
The internet suggests that using a rolling pin to roll out your pizza will create a thinner crispy crust. However, I also use a rolling pin to help shape my other pizzas as well. If you are making a pan pizza, one of my favorites is to use a cast-iron skillet, roll it out on the counter with corn meal, and then once it’s in the pan you can your fingers to create more of a thicker chewy pizza crust.
Tricky Springy Bounce Back?
Here are a few tips and tricks for homemade pizza. These tips and tricks work for both homemade pizza dough and for the store bought dough balls.
- Make sure the dough is at room temperature. If the dough is in the refrigerator, make sure to take it out and let it sit on the counter until it is room temperature and squishy
- Sprinkle corn meal on your surface to prevent sticking.
- Roll out the dough. If there is a springy bounce back, chill again in the refrigerator about about 2-3 minutes to let the gluten rest. Then try again.
Baking it in the Oven
Pizza is usually baked a high temperature for a quick amount of time. Bake at 425F for 10-12 minutes.
Pizza Stone: A pizza stone bakes the pizza the best It is usually made out of clay and distributes heat evenly. It’s a great investment if you have pizza nights. The key to a pizza stone is that you will need to preheat the stone in the oven. When you preheat the oven, place the cold stone on a rack and let it come up to temperature with the oven. Have the pizza rolled out and ready. Once the stone is pre-heated, sprinkle with corn meal, carefully transfer the dough to the hot stone and then add your toppings and bake.
Sheet Pan: Sheet pans are an easy way to make pizza. They are not required to be pre-heated. Sprinkle down corn meal to help prevent sticking. Add your rolled out pizza dough, add your toppings and bake.
Cast Iron Pan: Makes the best pan pizza. The cast iron allows the heat to be distributed evenly. The dough makes the perfect fluffy crust around the edge. Sprinkle corn meal on the bottom of the pan to help prevent sticking. Add in your pizza dough and using your fingers, press the dough out to the sides and create a crust. Add your toppings and bake.
Using a Pizza Oven
I have only used a pizza oven in culinary school. Make sure the temperature is hot (around 500F). Using a pizza peel toss in the prepared pizza. Keep an eye on it, it will bake quickly – about 5 minutes.
Homemade Classic Pizza Crust
Ingredients
- 1 ¼ cup Warm Water
- 1 packets Instant or Active Dry Yeast (approximately 2 1/4 tsp of yeast)
- 1 tsp Sugar
- 4 cups All Purpose Flour
- 2 tsp Kosher Salt
- 1 TBSP Olive Oil + enough to coat the bowl
Instructions
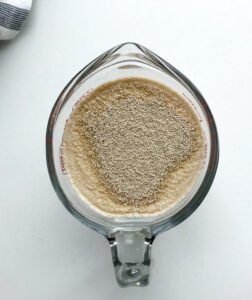
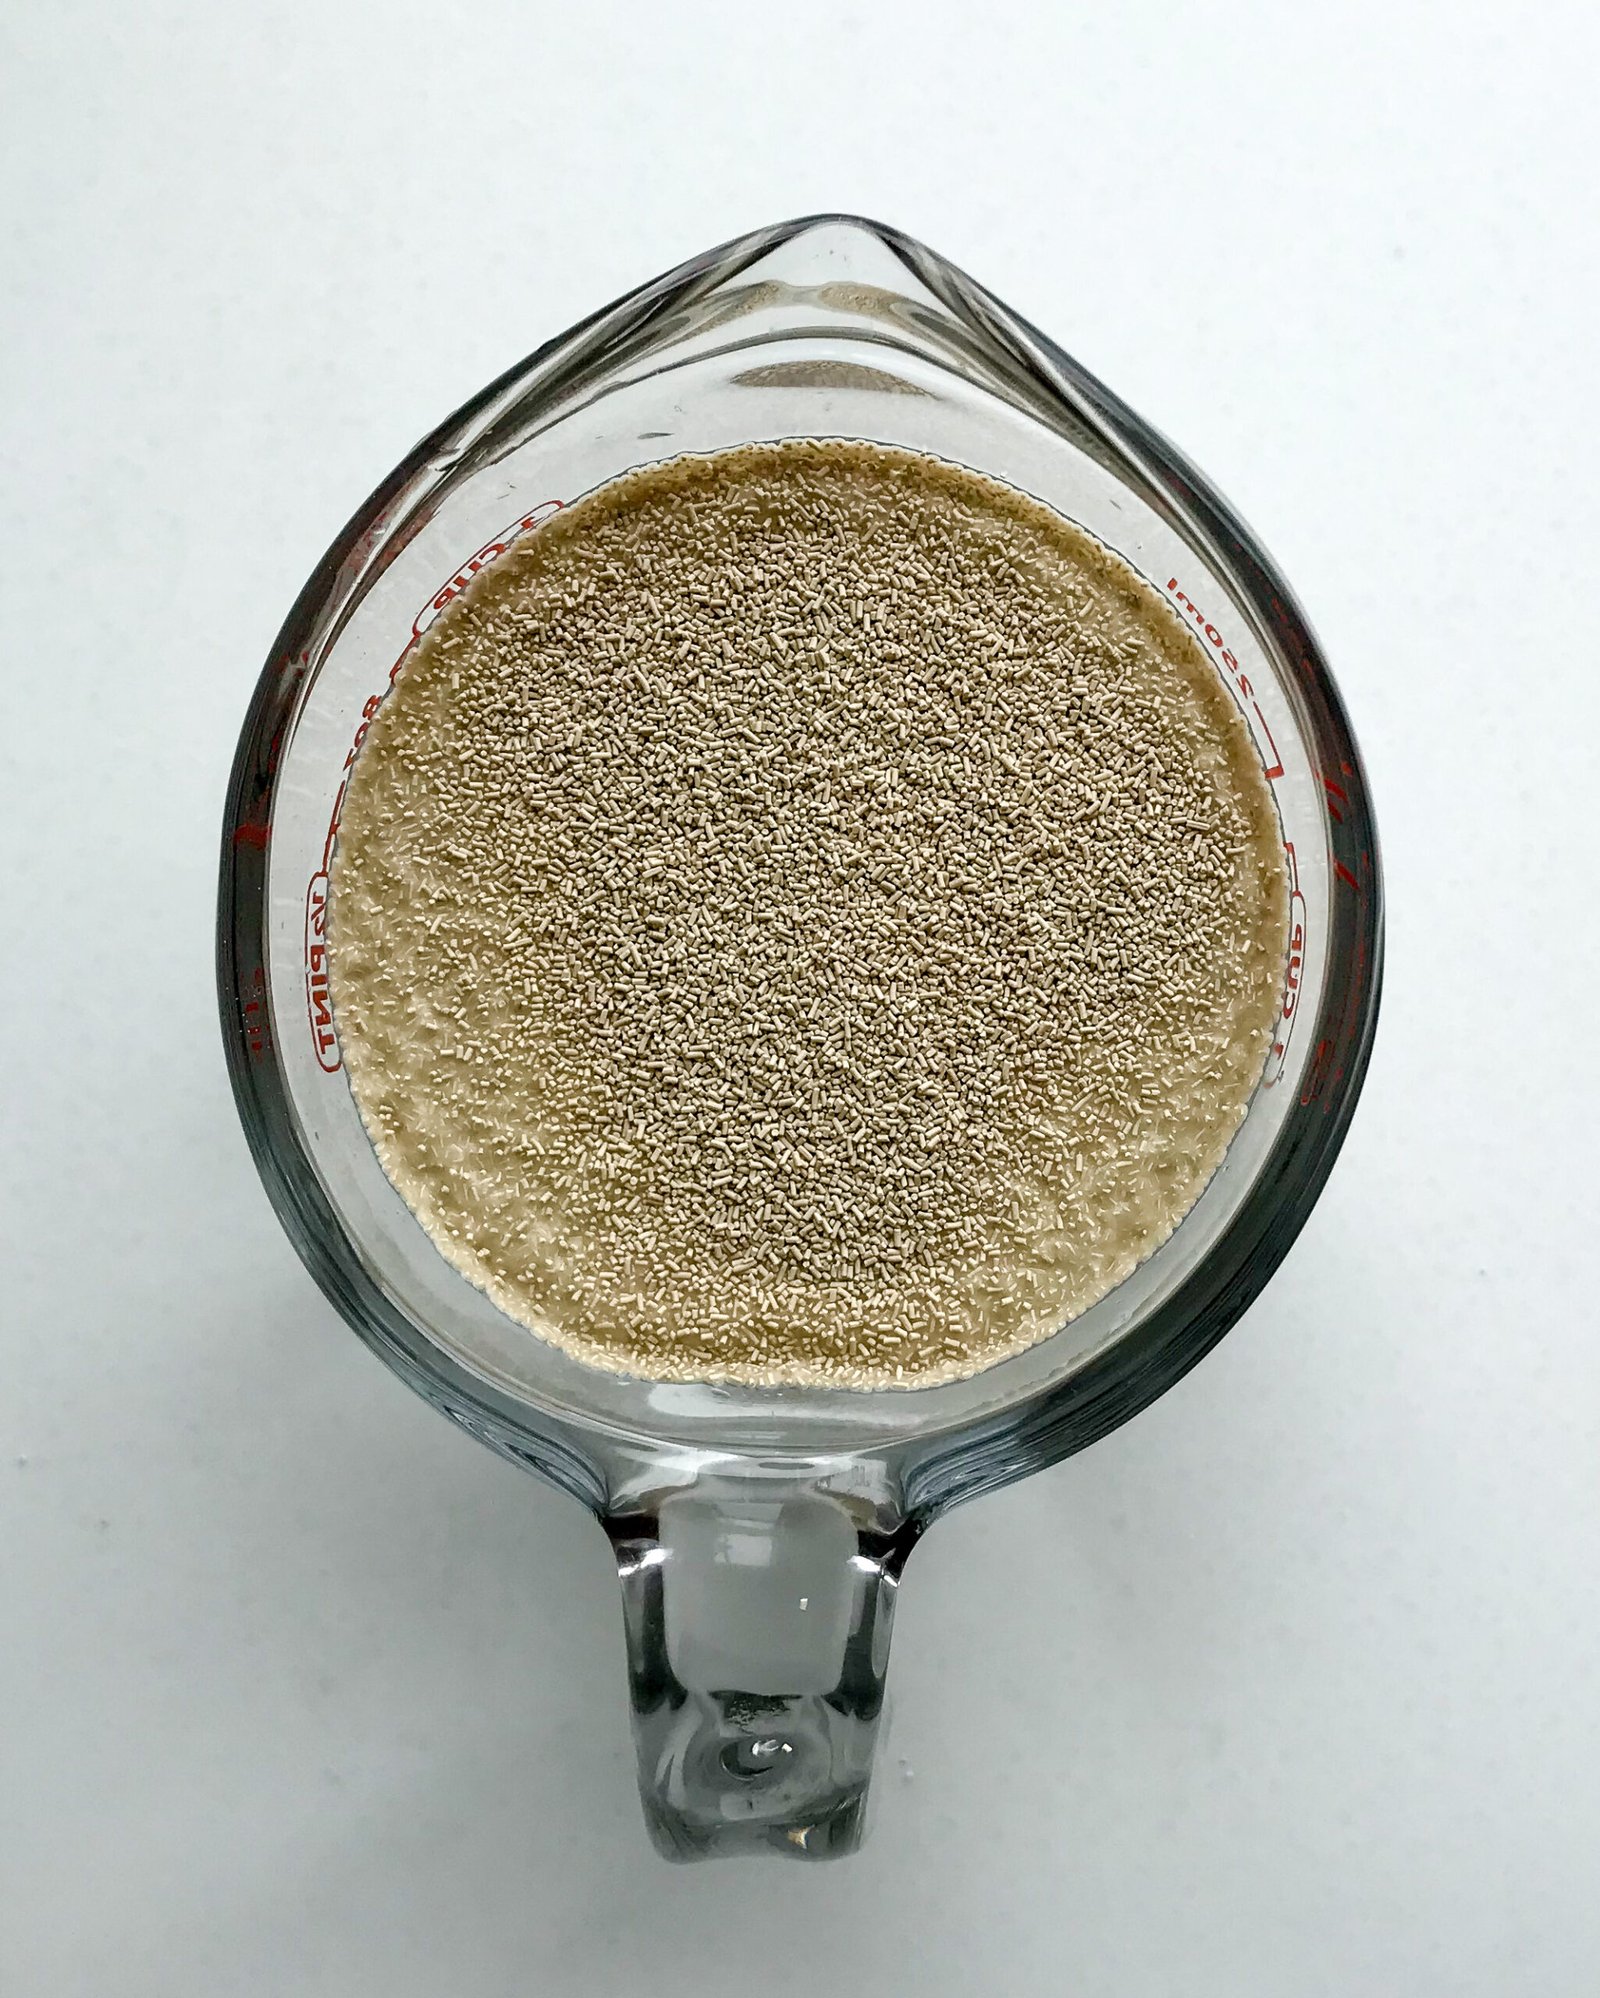
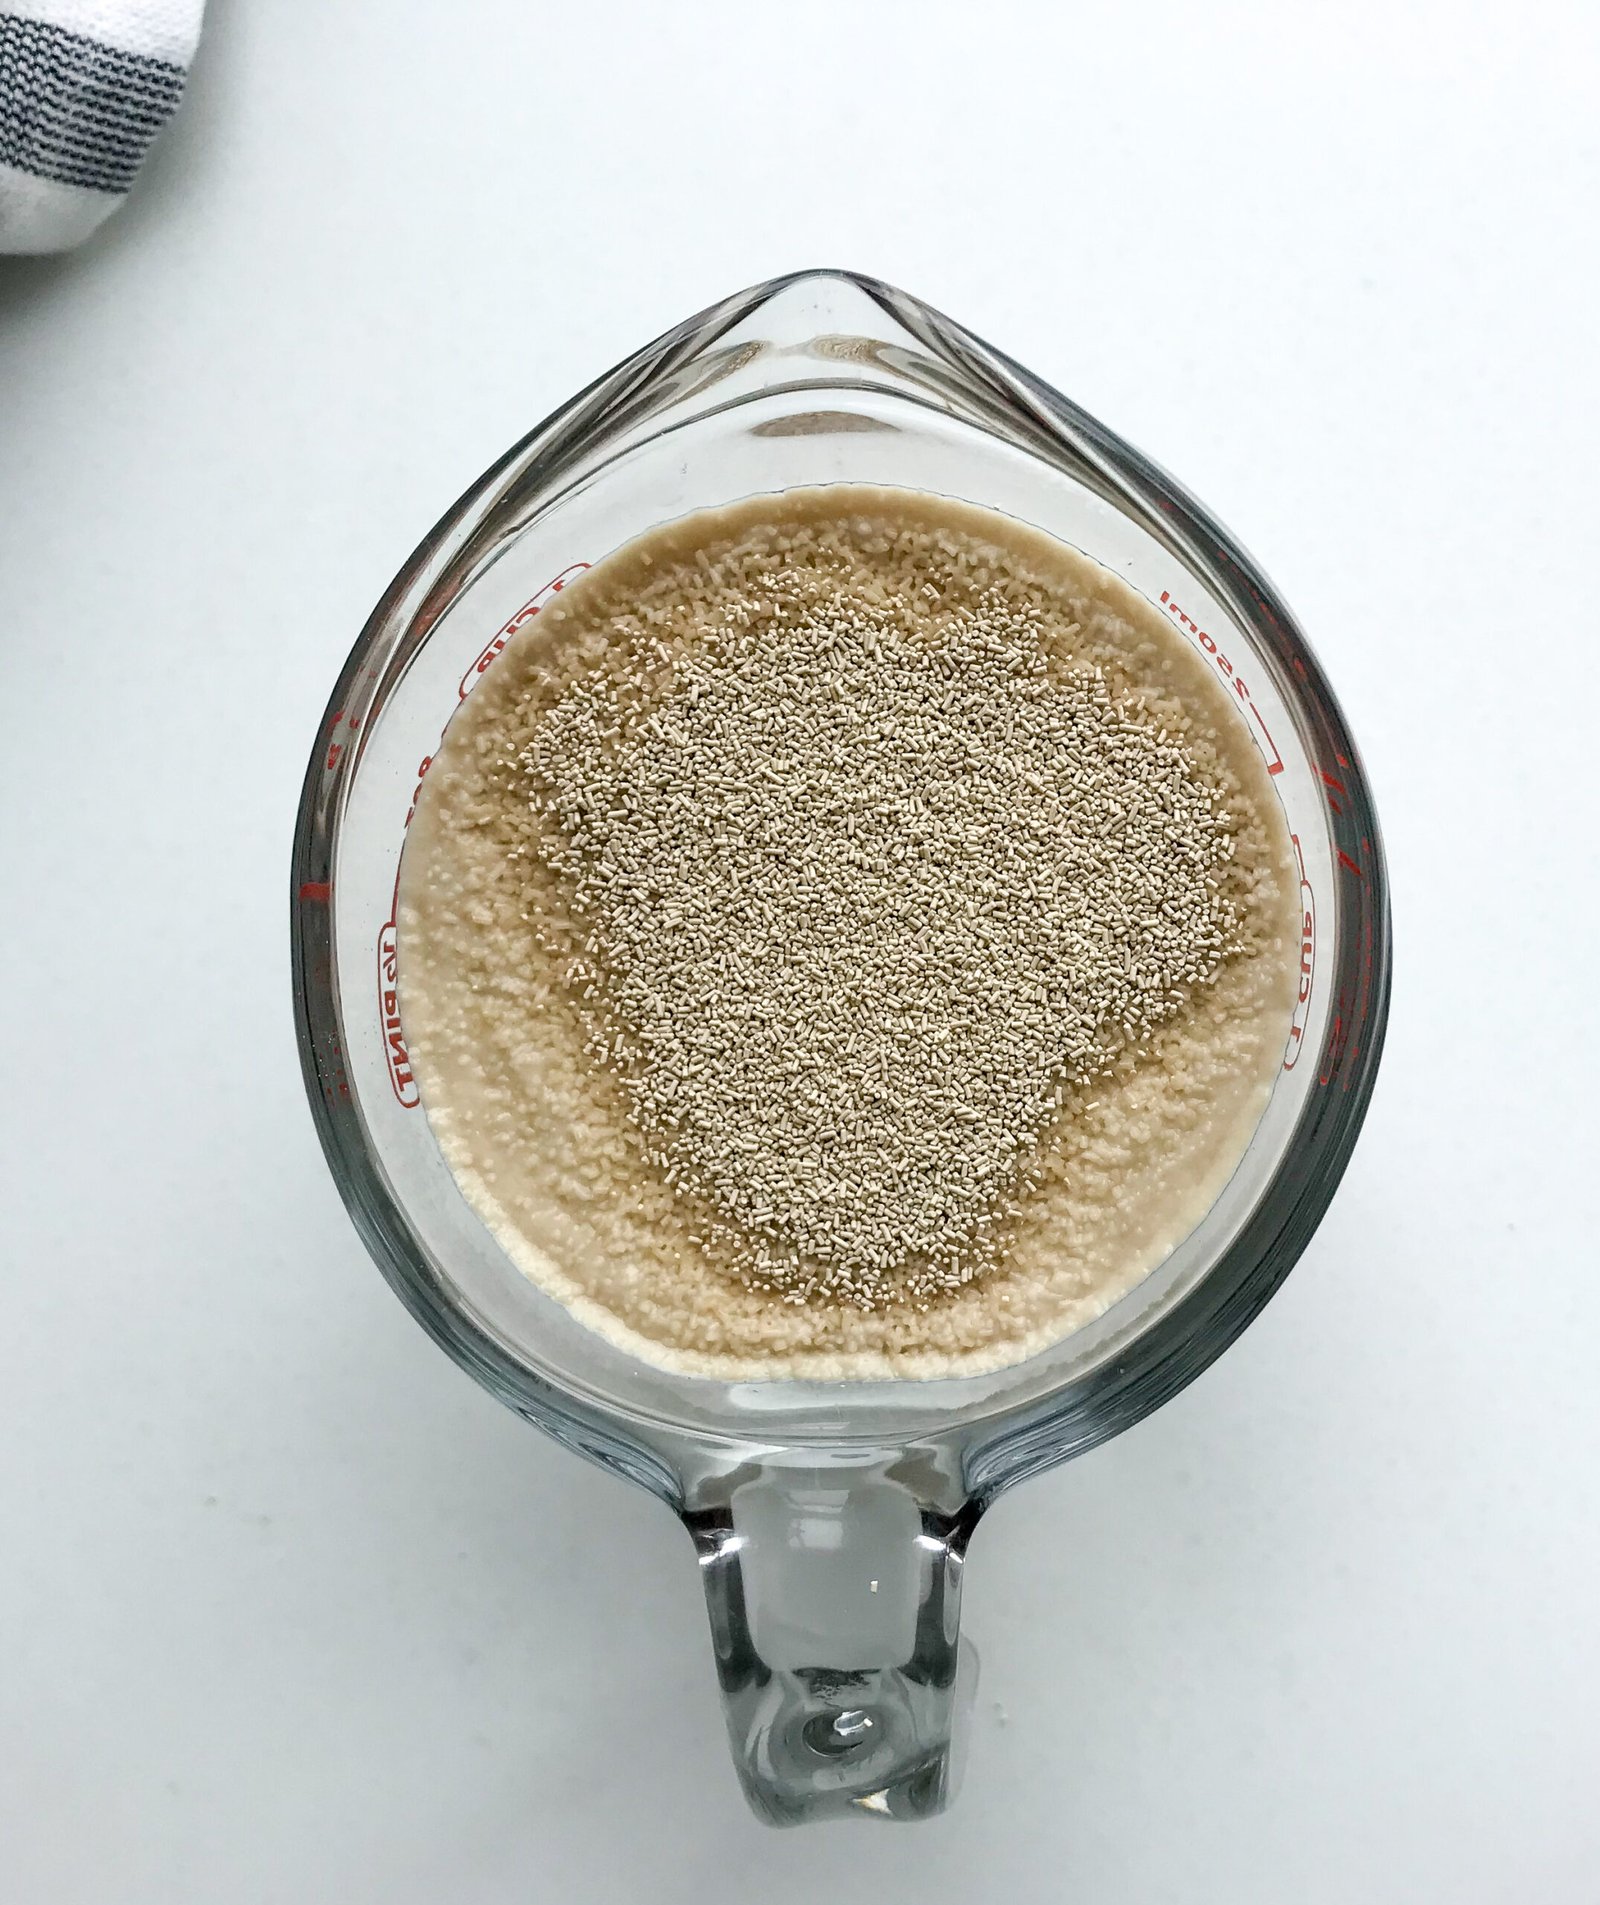
- You want to measure out 1 1/4 cup of warm water. I shoot for something around 110F in order to active the yeast. Yeast needs to be activated for it to have any chance in helping dough rise. If your water is not hot enough, it will not work and if your water is too hot (120F+) it will start to kill the yeast. If you don’t have a thermometer that’s okay, I usually just run the water until it’s luke-warm, not cold but also not hot enough to wash dishes, you want that annoying warm water that makes you think your water will never get hot.In your measuring cup, add in the sugar and yeast- just sprinkle on top of the water (see picture below)
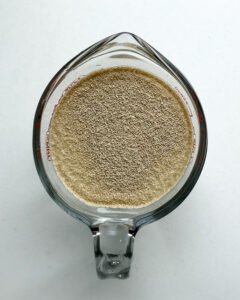
- Let this sit for 5 minutes. The sugar will feed the yeast. Think of it this way, the warm water will wake up your yeast and the sugar is like it’s morning coffee, which is much needed before taking on the day of hard work (in this case, making pizza crust dough rise).
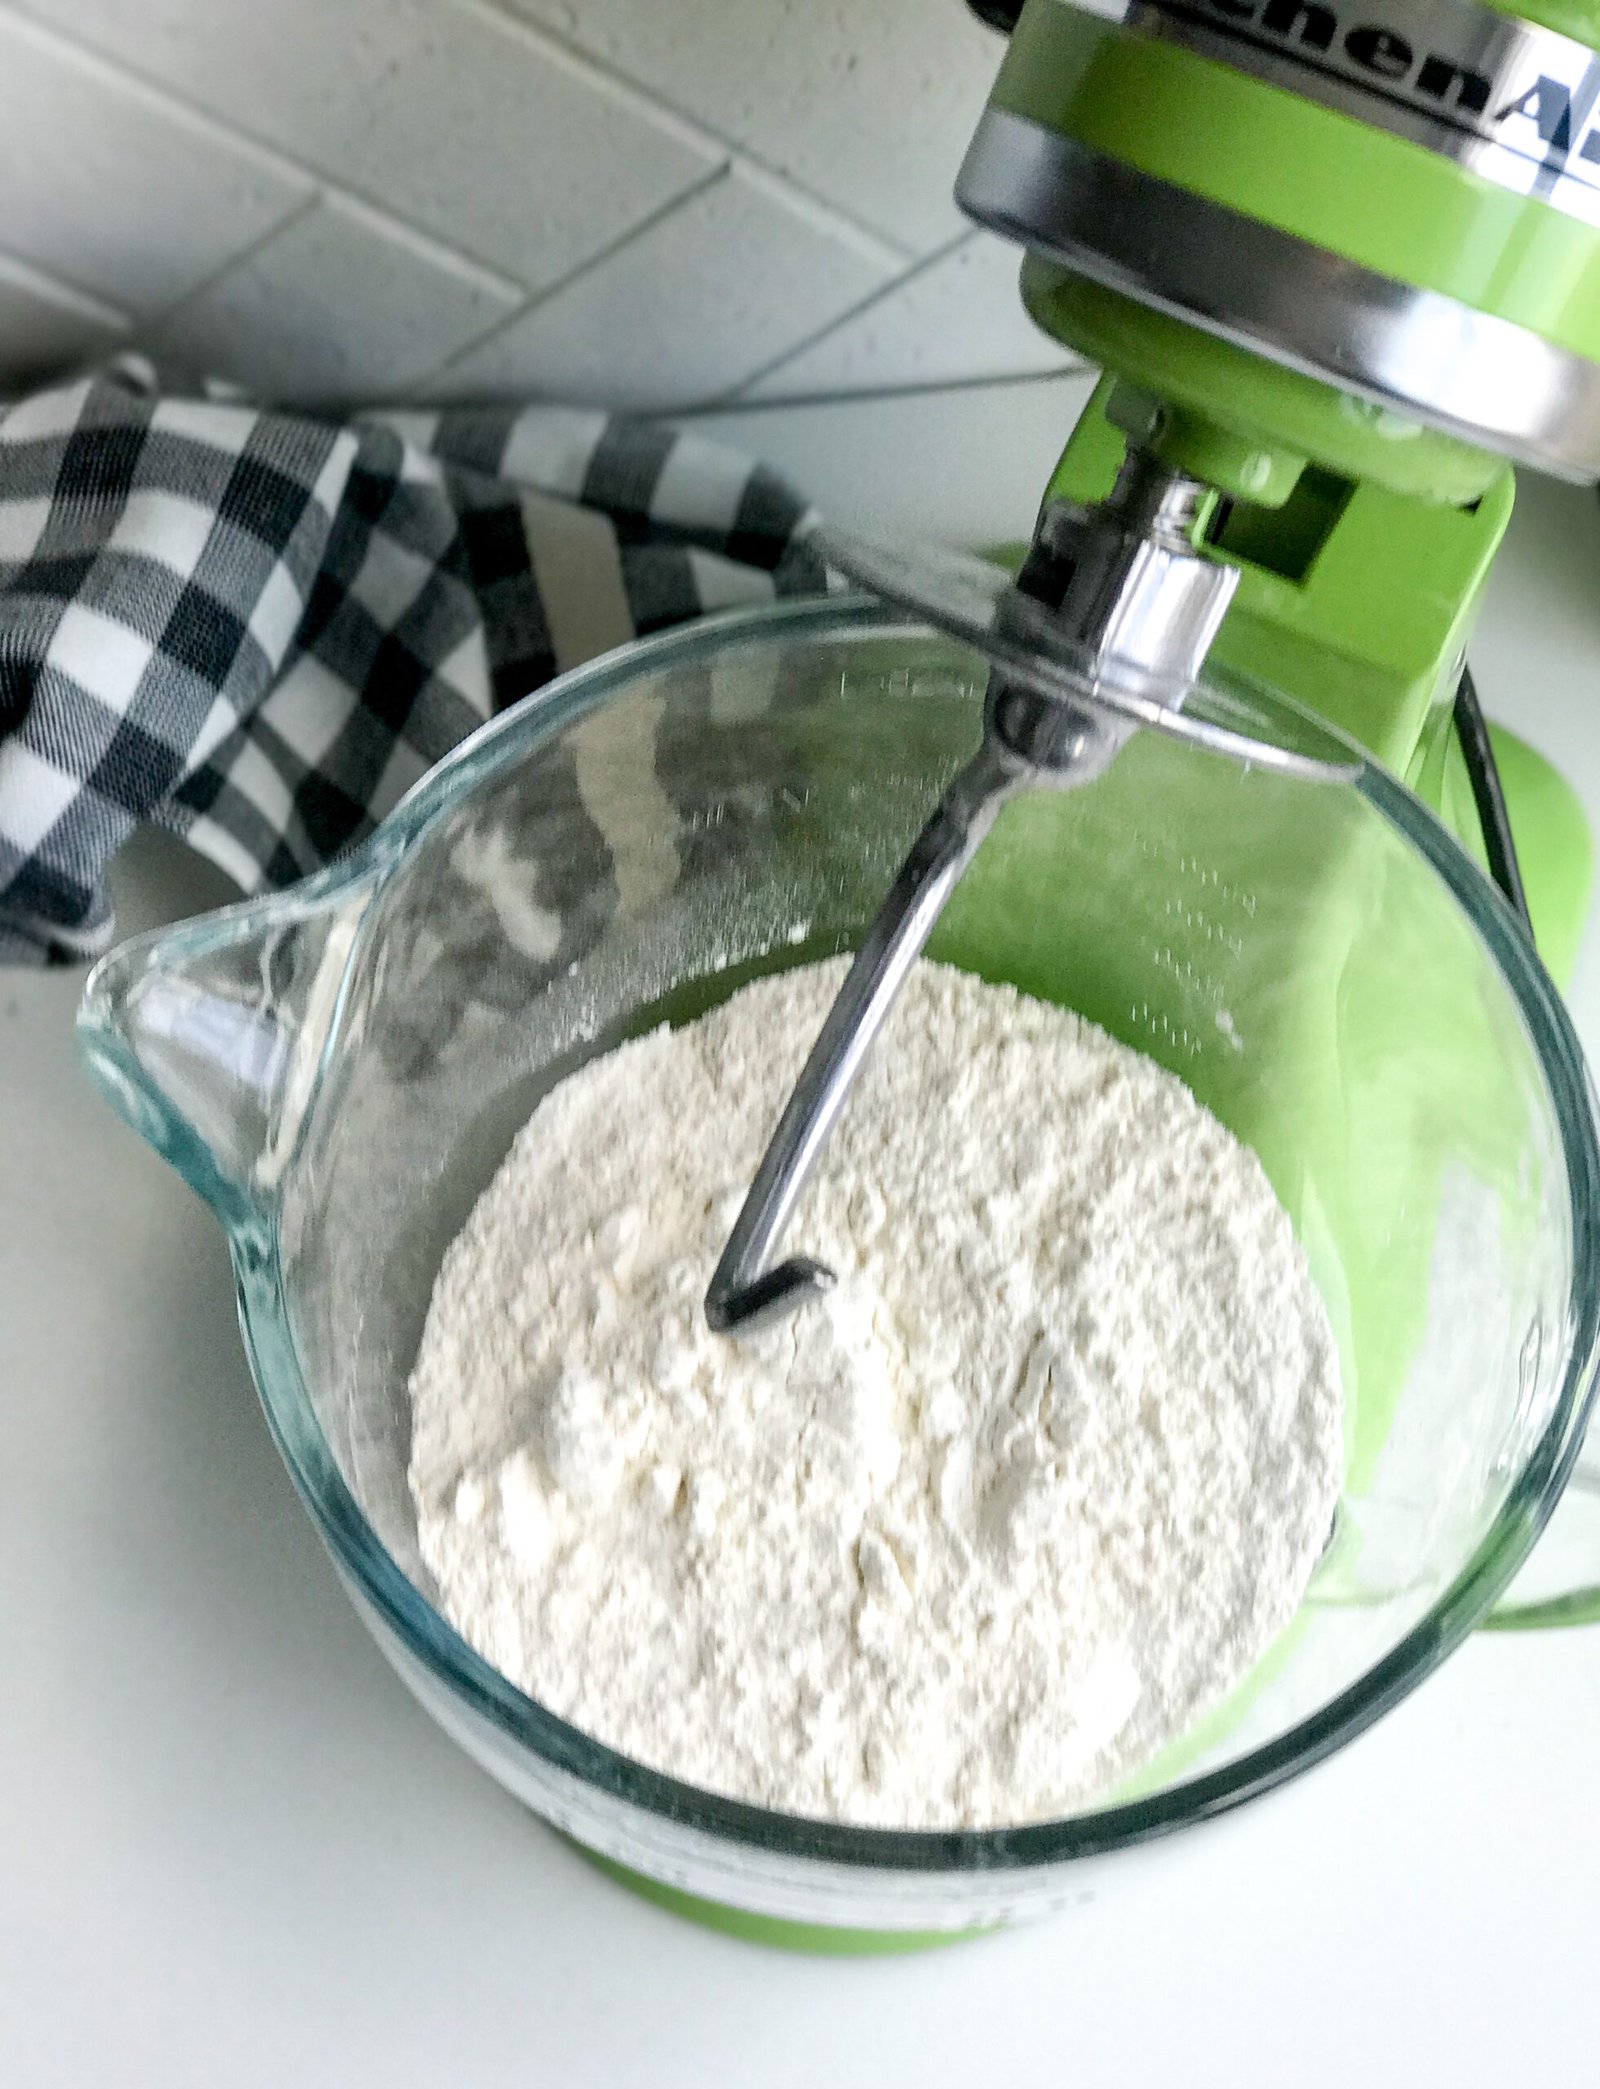
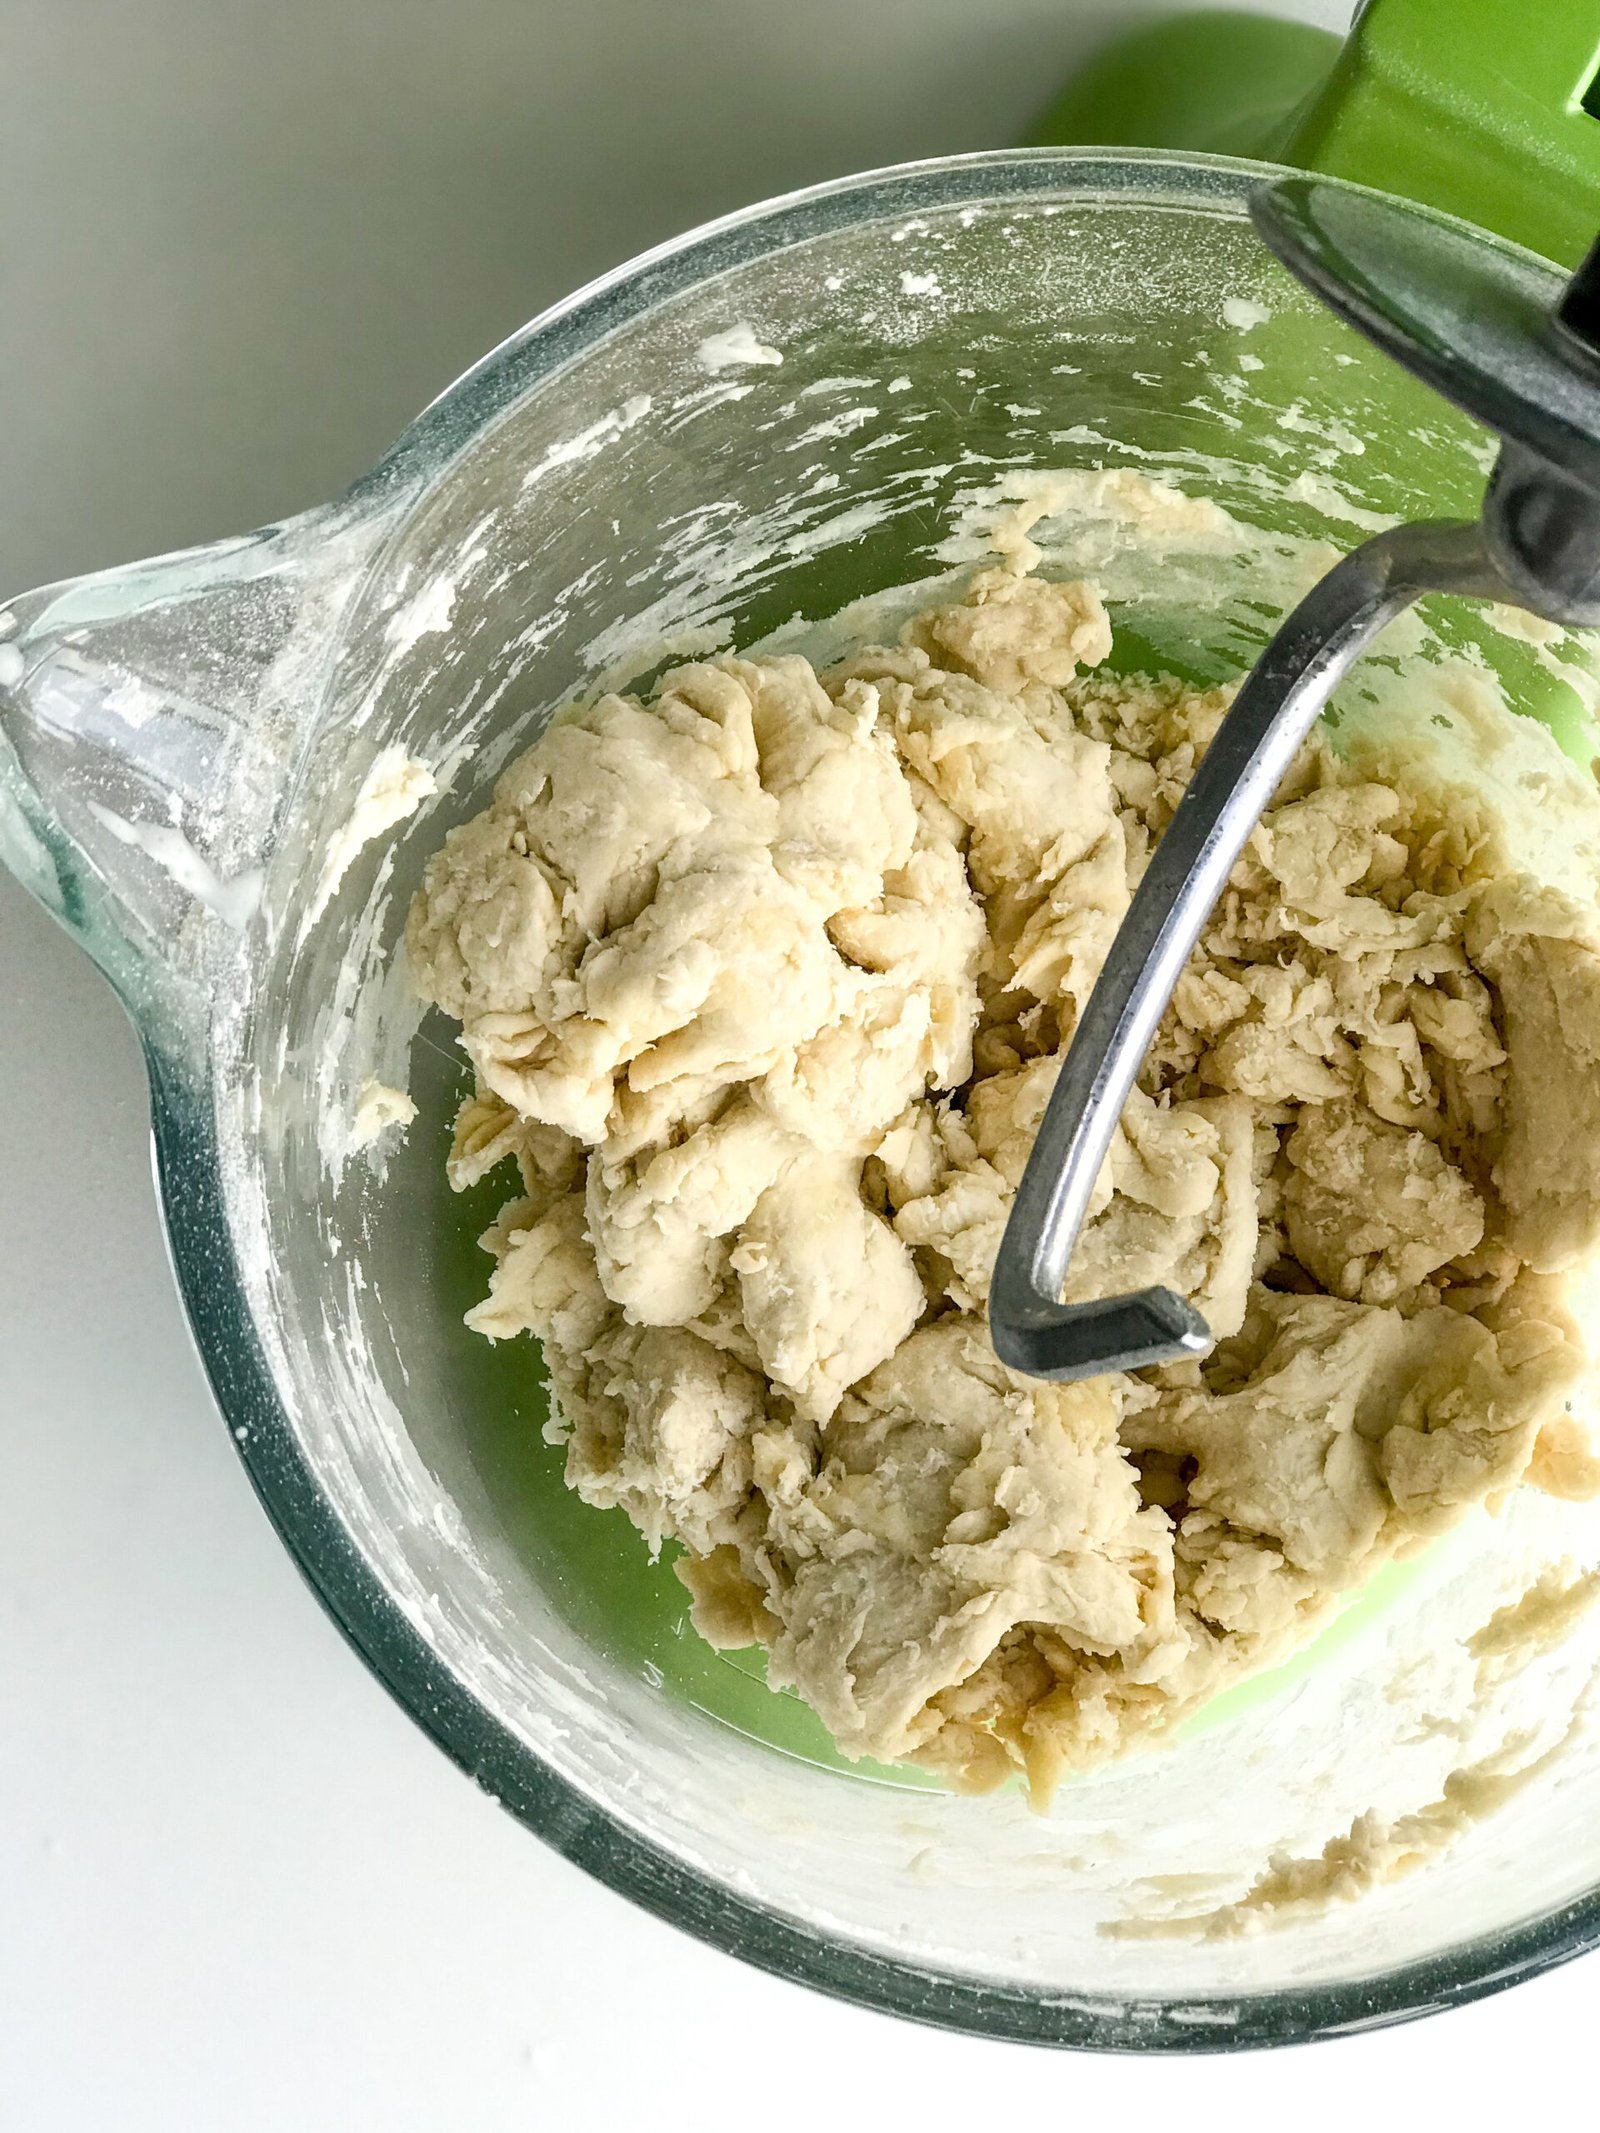
- Now it’s time to mix the ingredients together. I use a kitchen aid mixer with a dough hook. Kneading is an important step to the dough – scientifically, kneading helps the gluten strands grow making the dough rise. The benefit to a dough hook is that it helps to knead the dough, but this can also be by hand. I have step-by-step kneading pictures in another pizza crust recipe.In your bowl, add in the flour, salt and your water with the activated yeast.
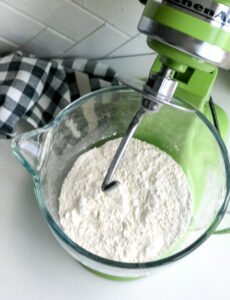
- Start mixing it together, make sure to turn your mixer on slowly so that flour doesn’t pop out of your bowl. As it starts to come together you can turn the speed up faster.
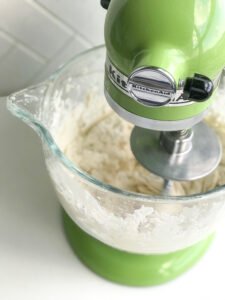
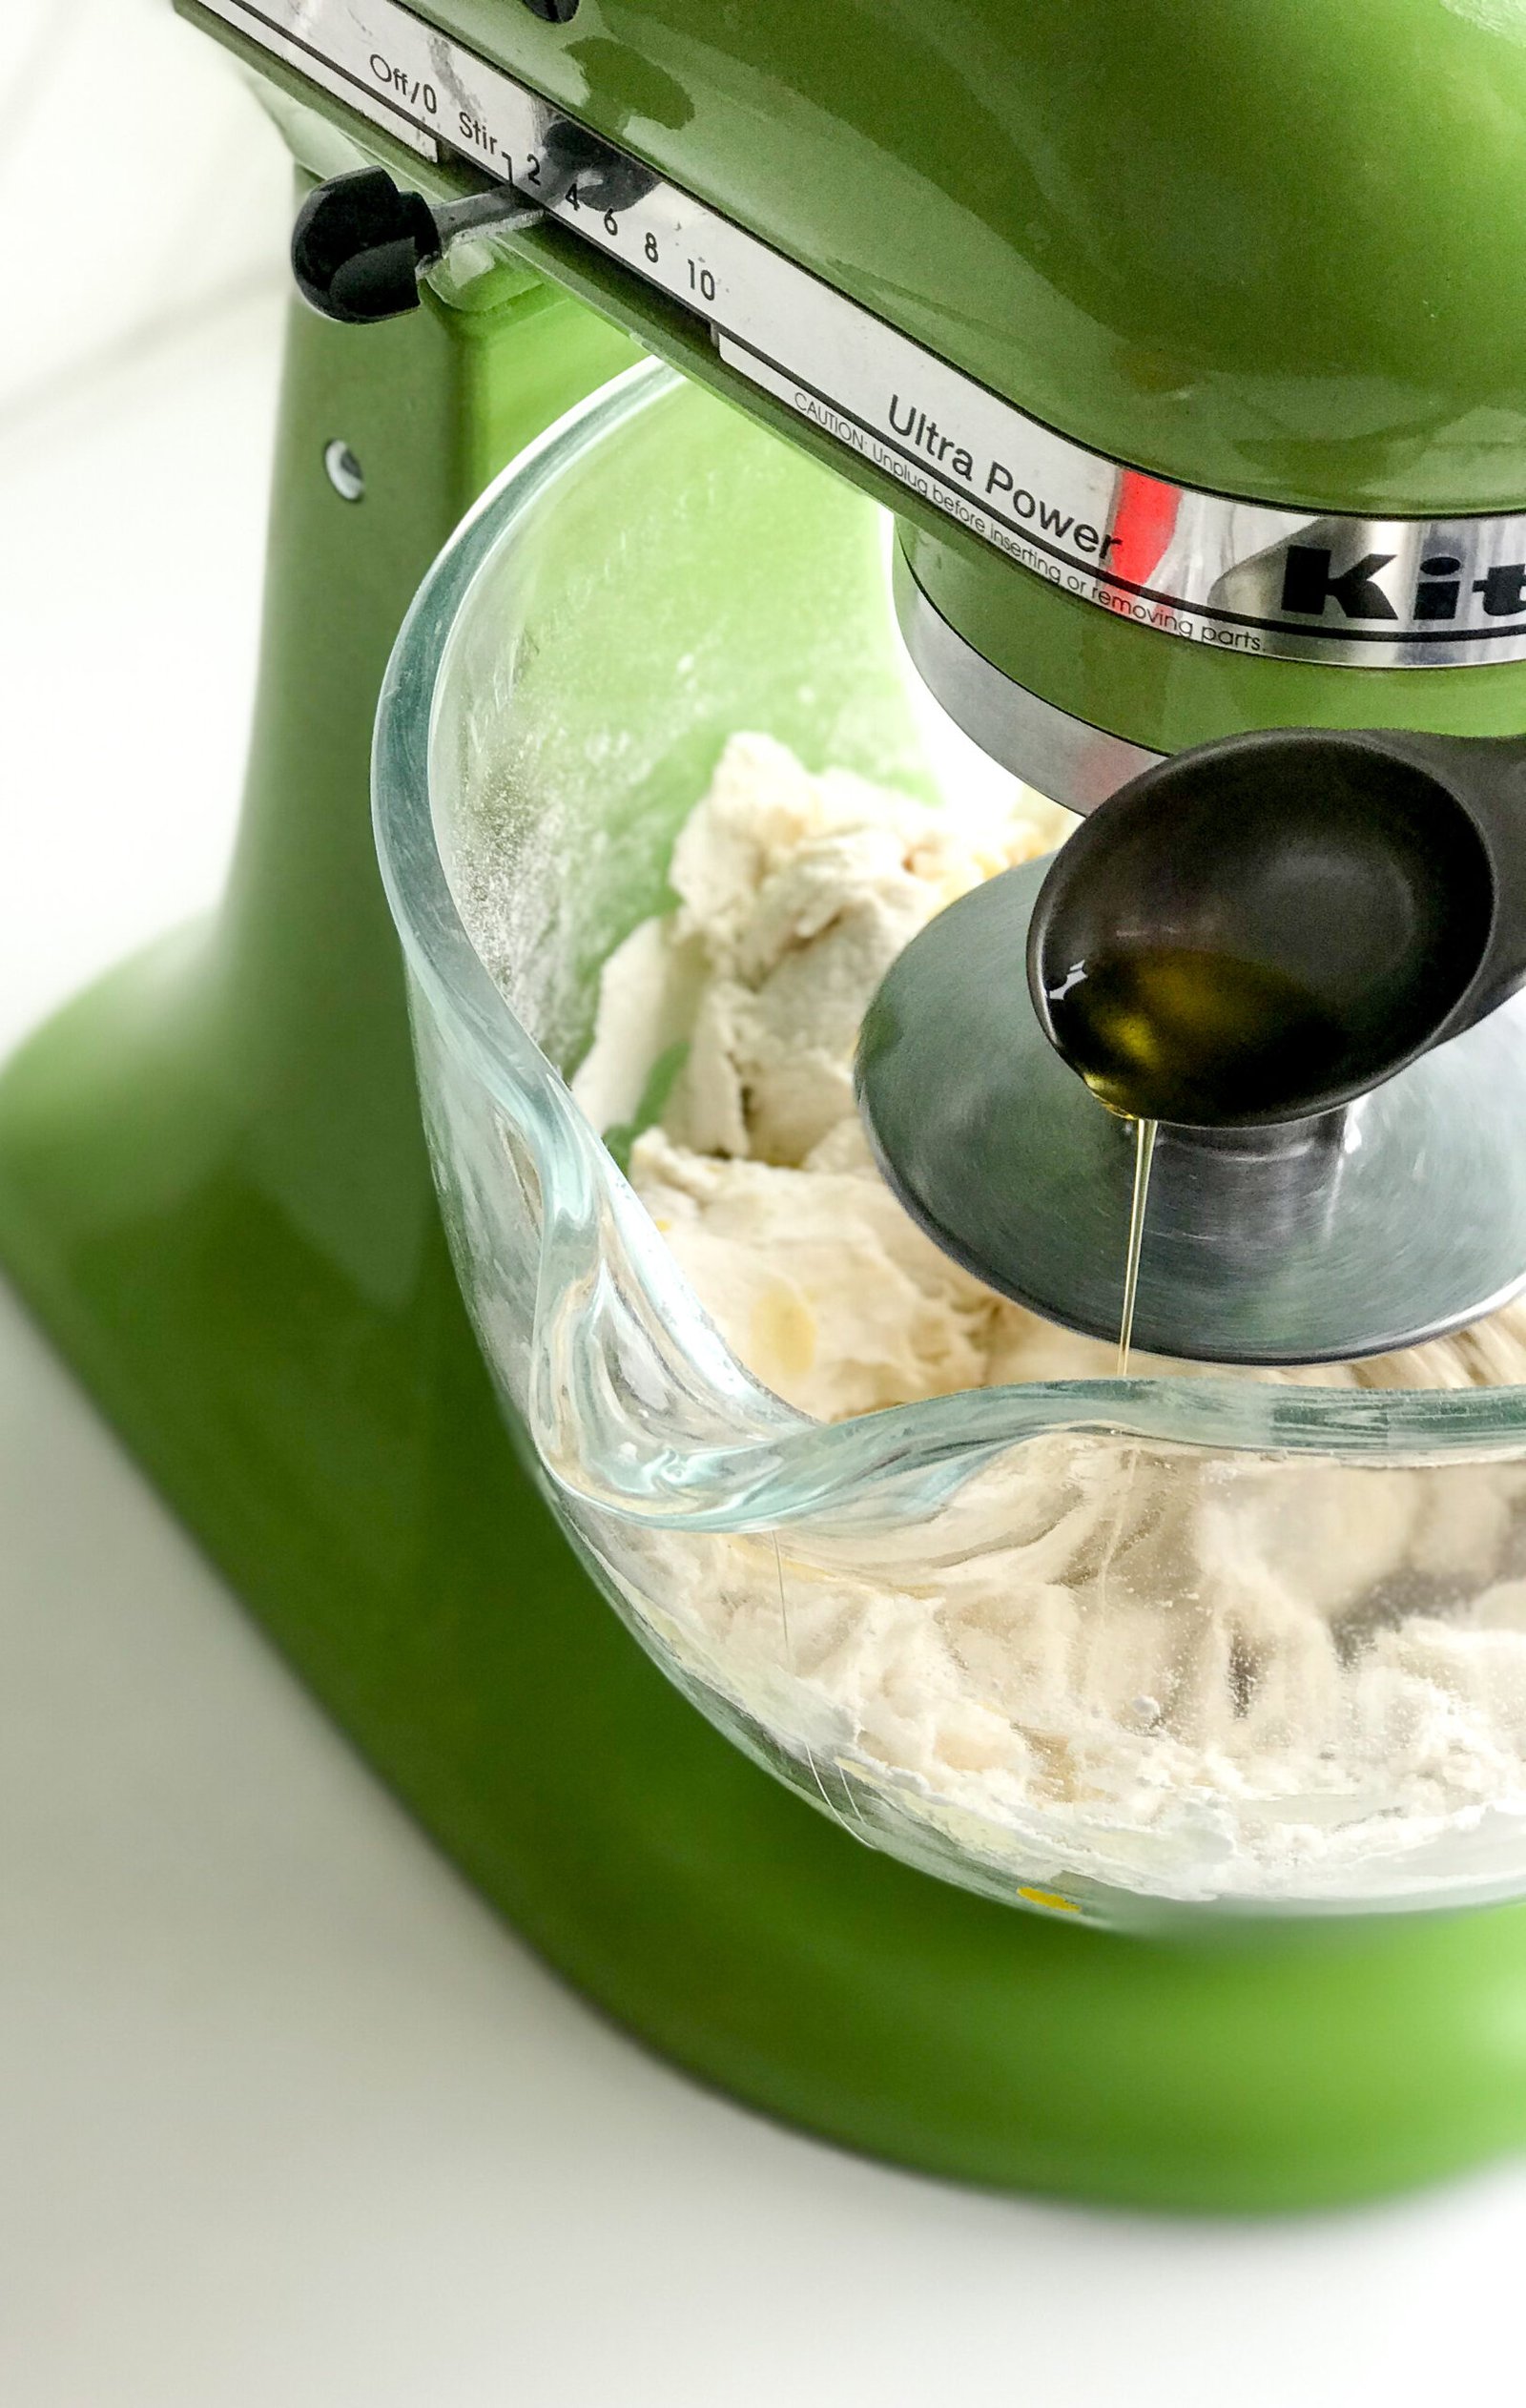
- While the mixer is still running, add in the TBSP of olive oil.

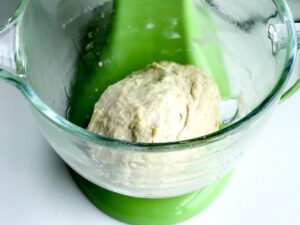
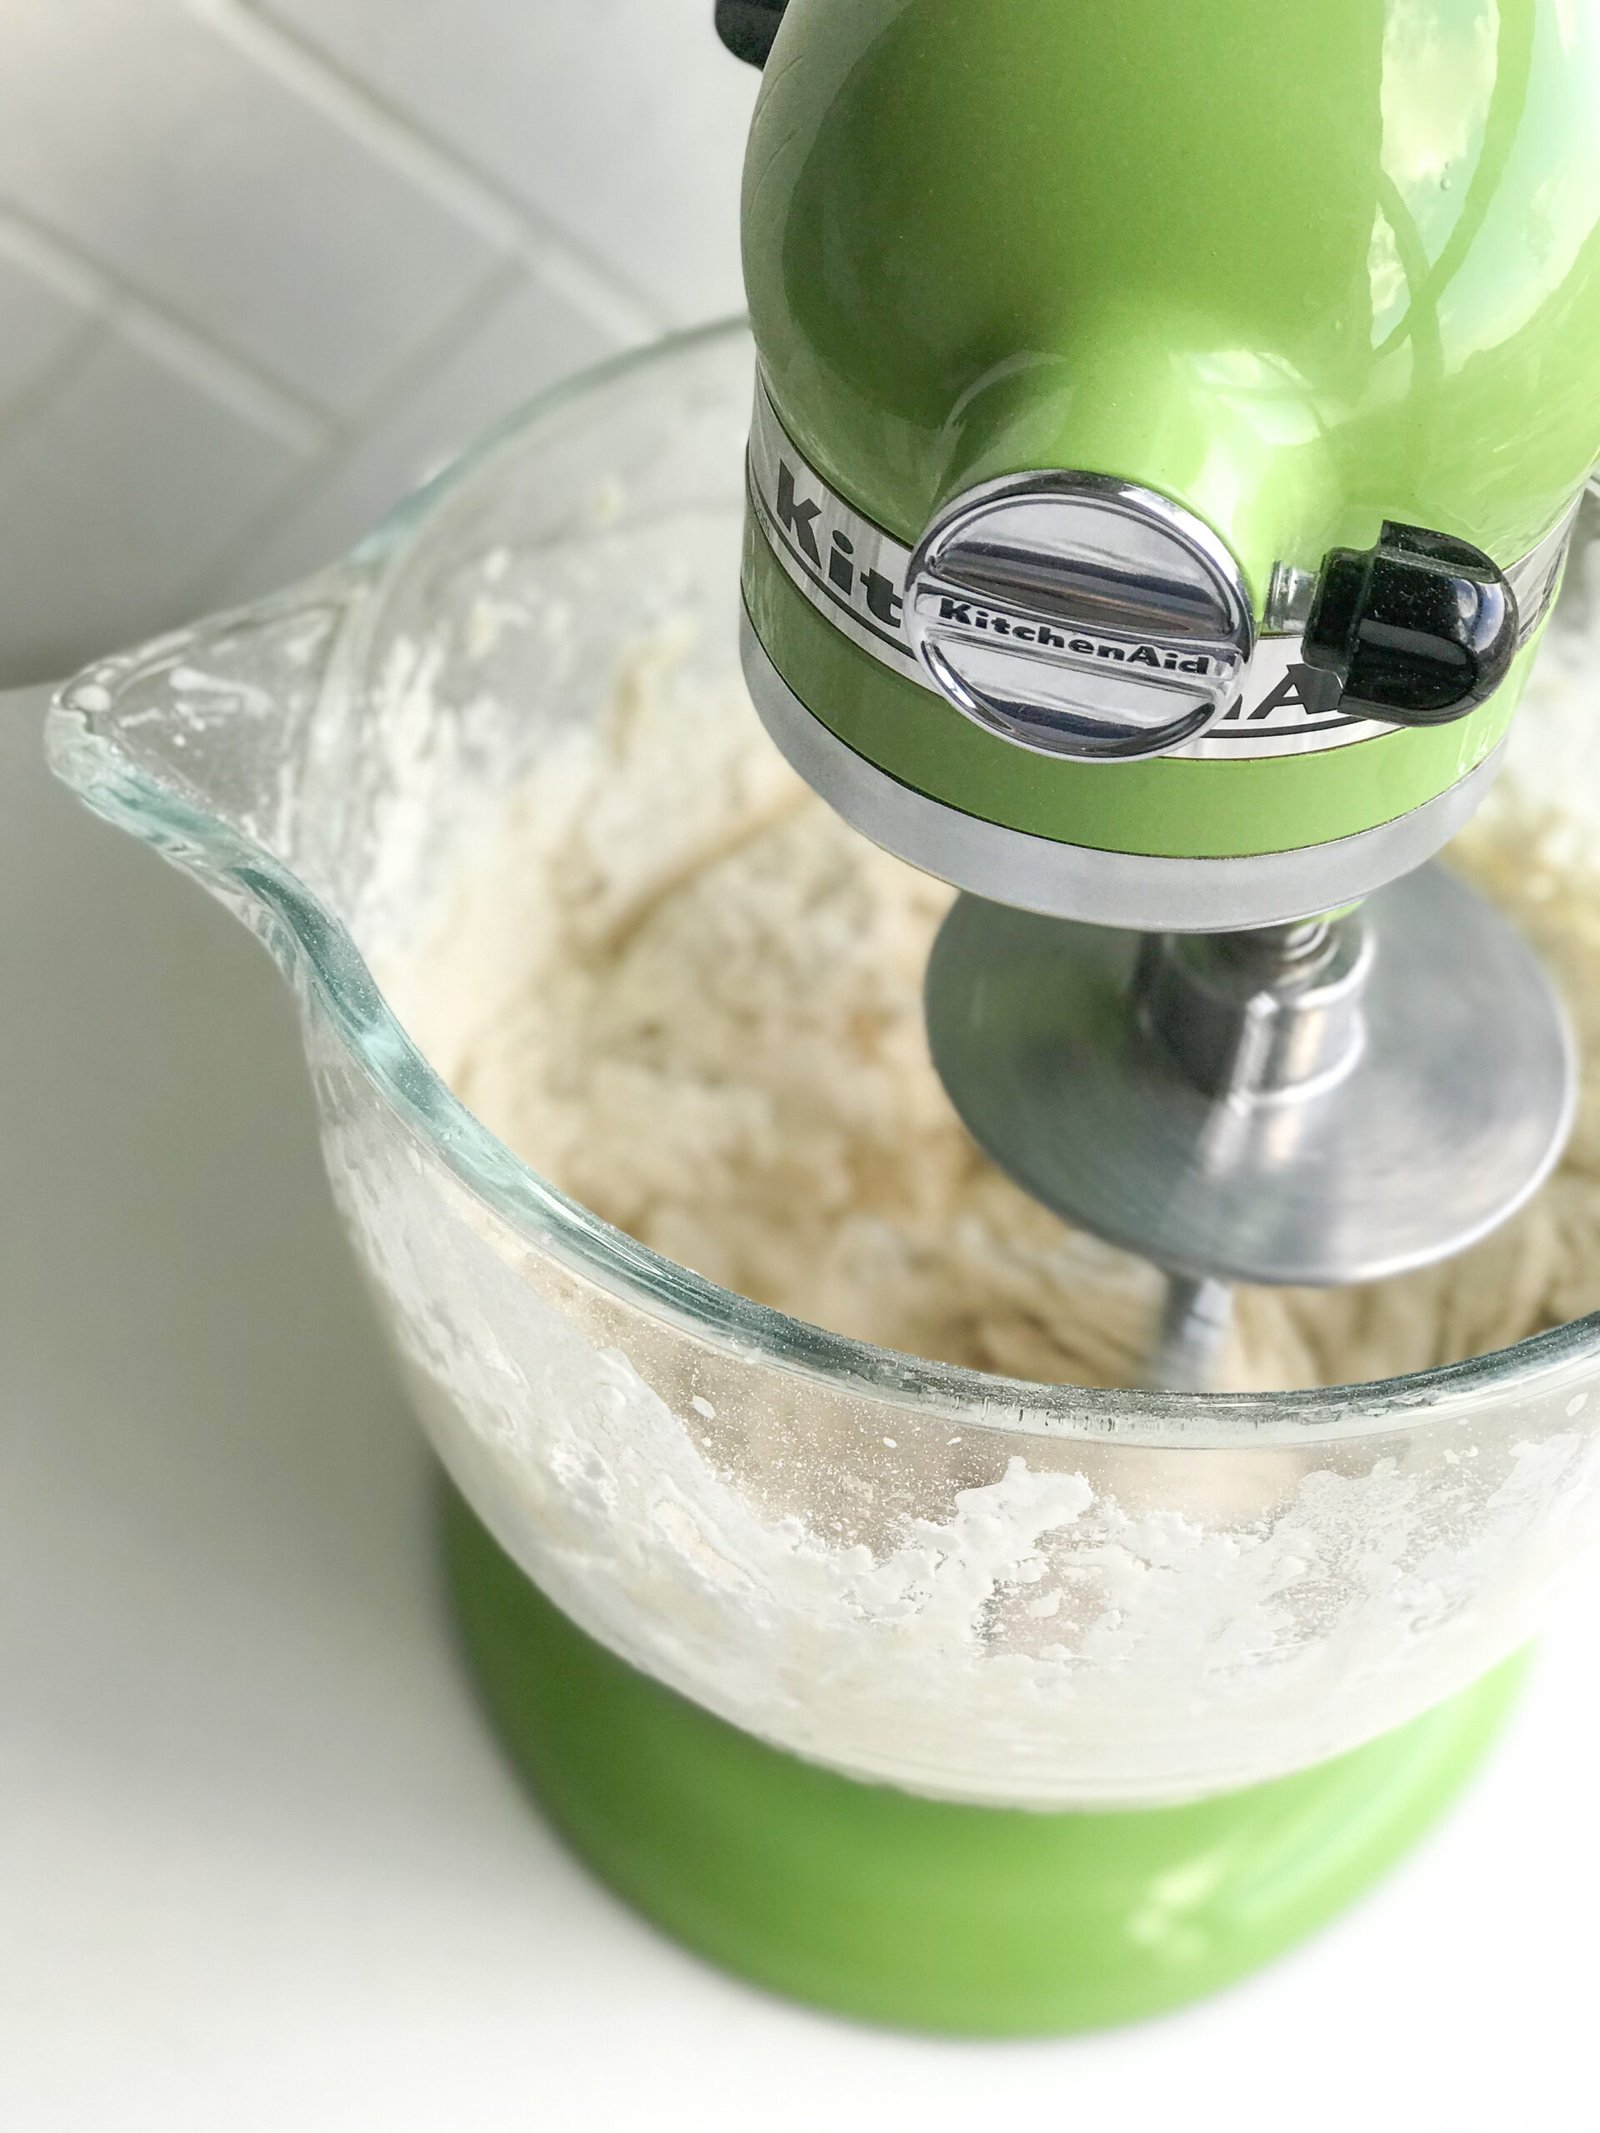
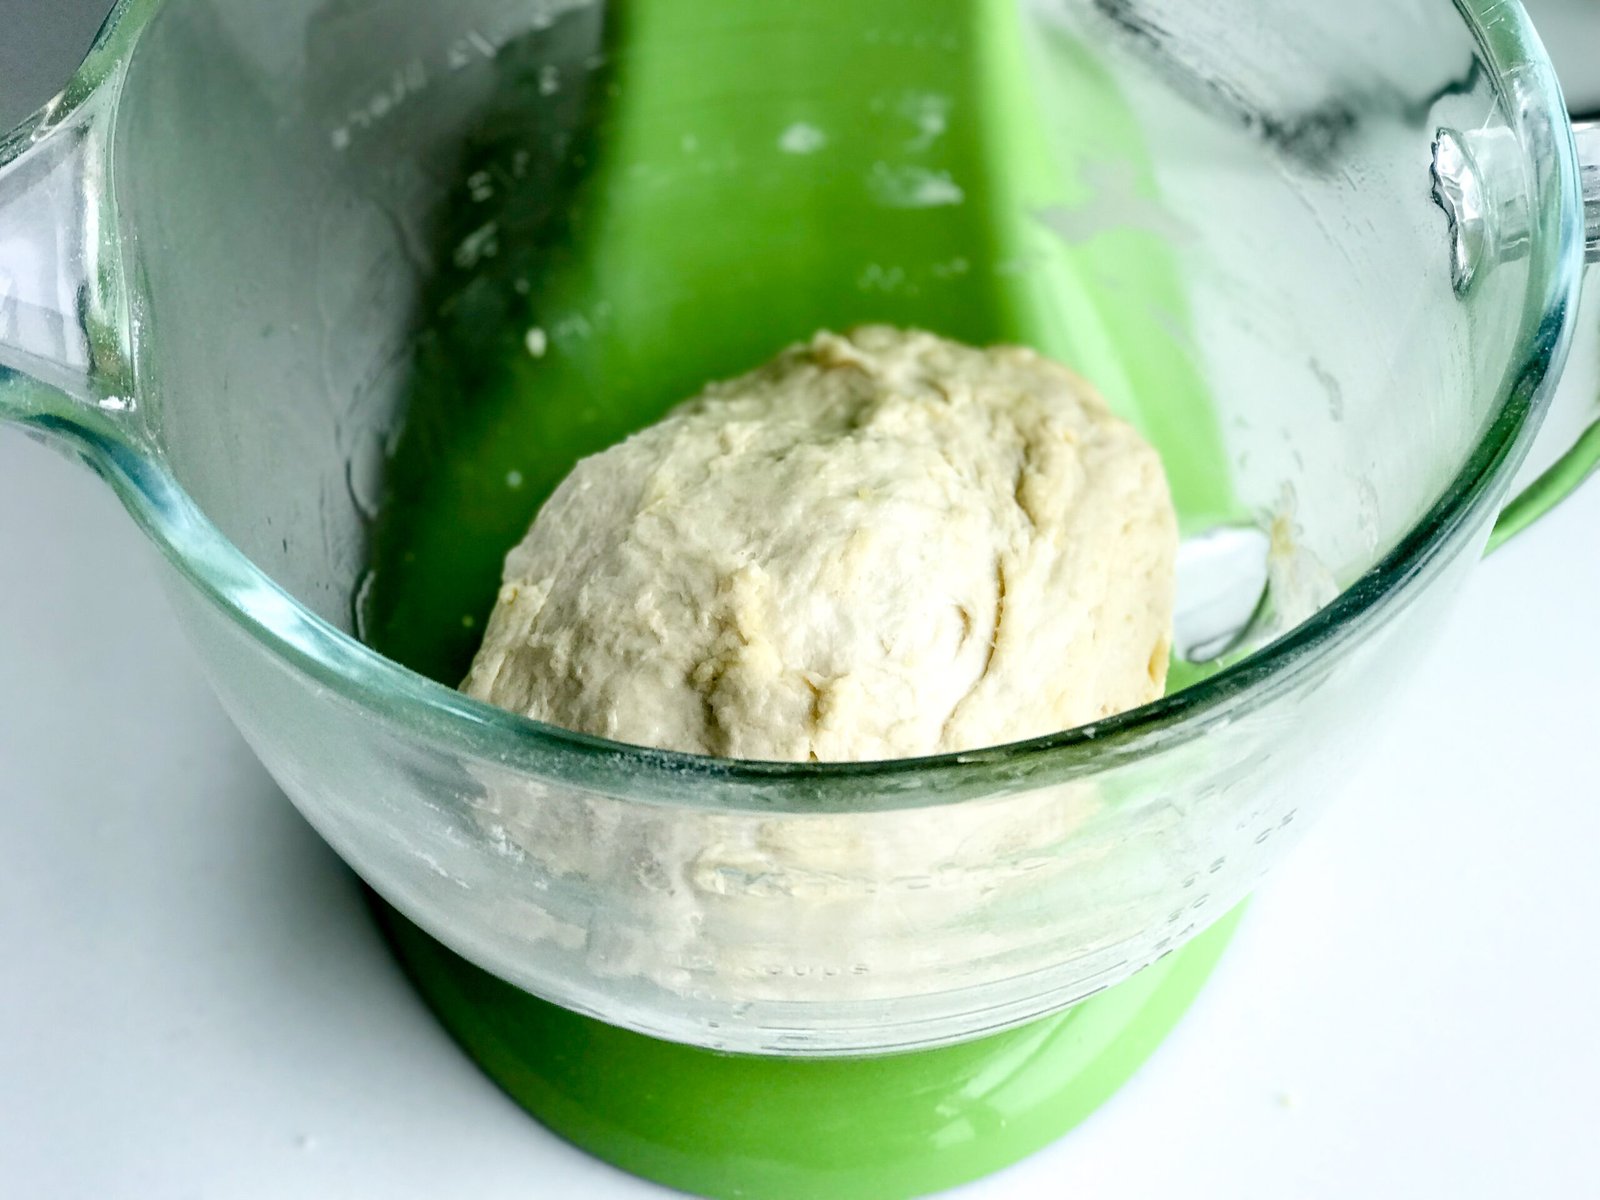
- Let it mix for about 5 minutes. The high speed will also knead the dough for you. Sometimes it will form into a ball and other times it looks like this. If you get this, you can use your hands to form a ball, it should stick together pretty easily.

- Drizzle a little olive oil in your bowl, and coat the sides. I use my hand to smear the oil around. Then place the ball of dough back in the bowl.
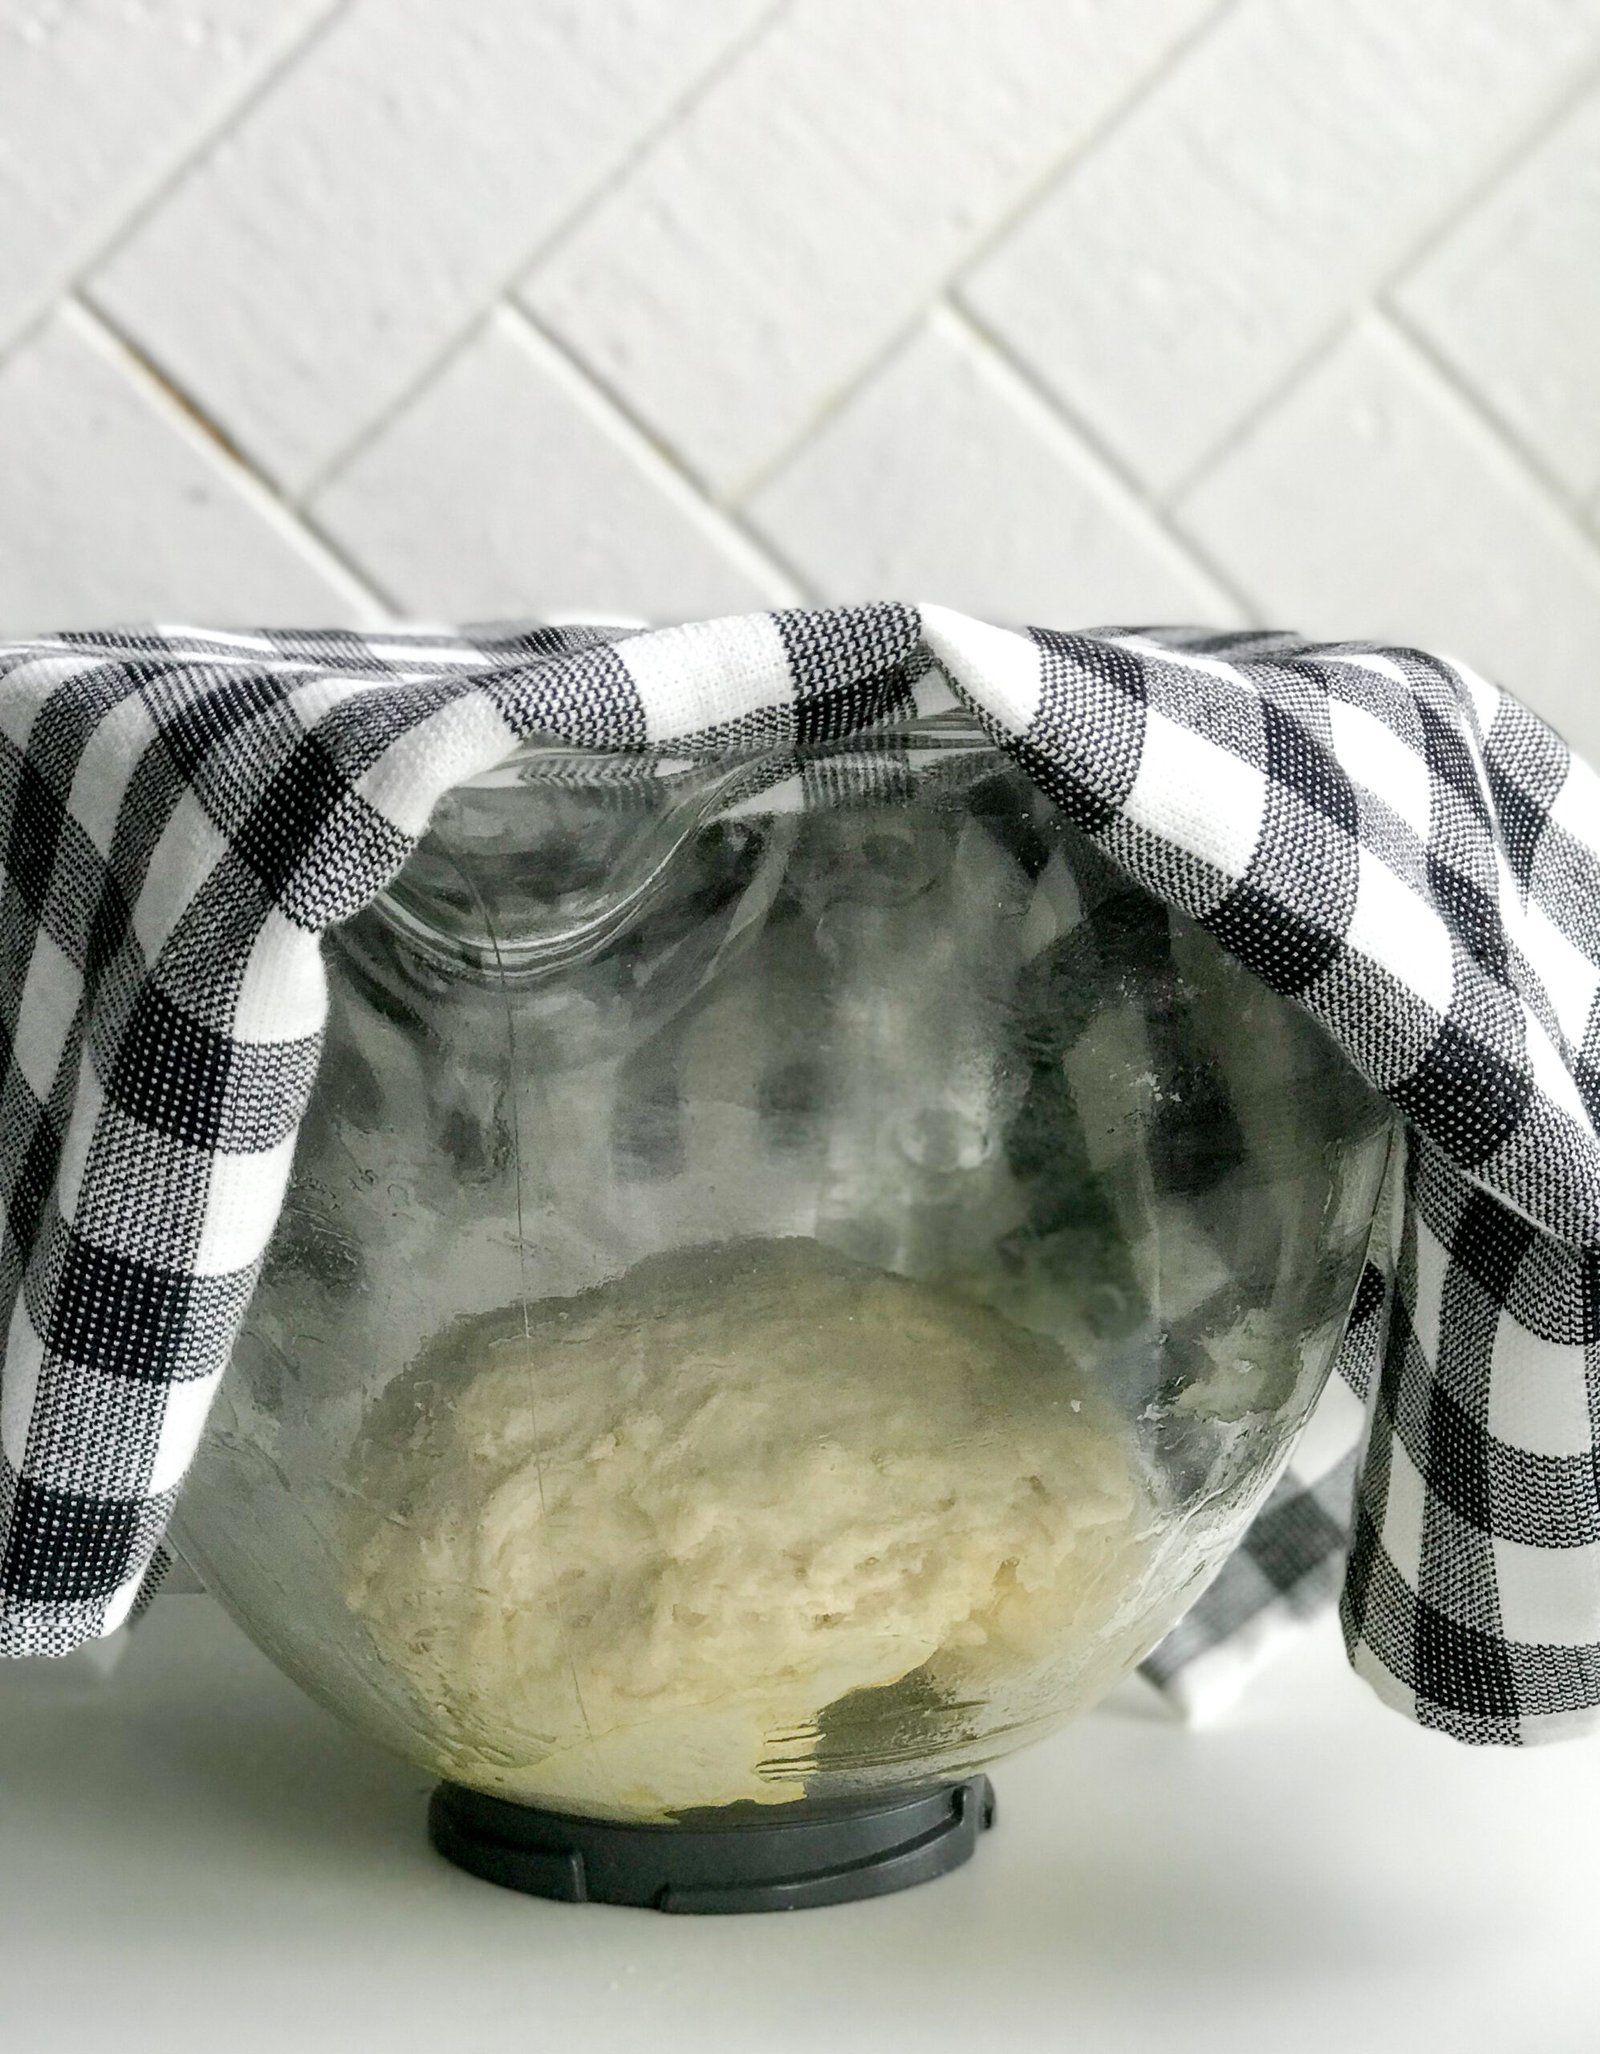
- Cover it with a clean kitchen towel, place it is a warm area in your kitchen and let it rise.If you’re making this ahead of time and not using it today, cover the bowl with plastic wrap and let it rise in the refrigerator for 24-48 hours. (This is my preferred method)
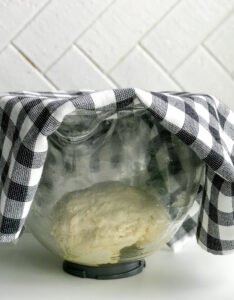
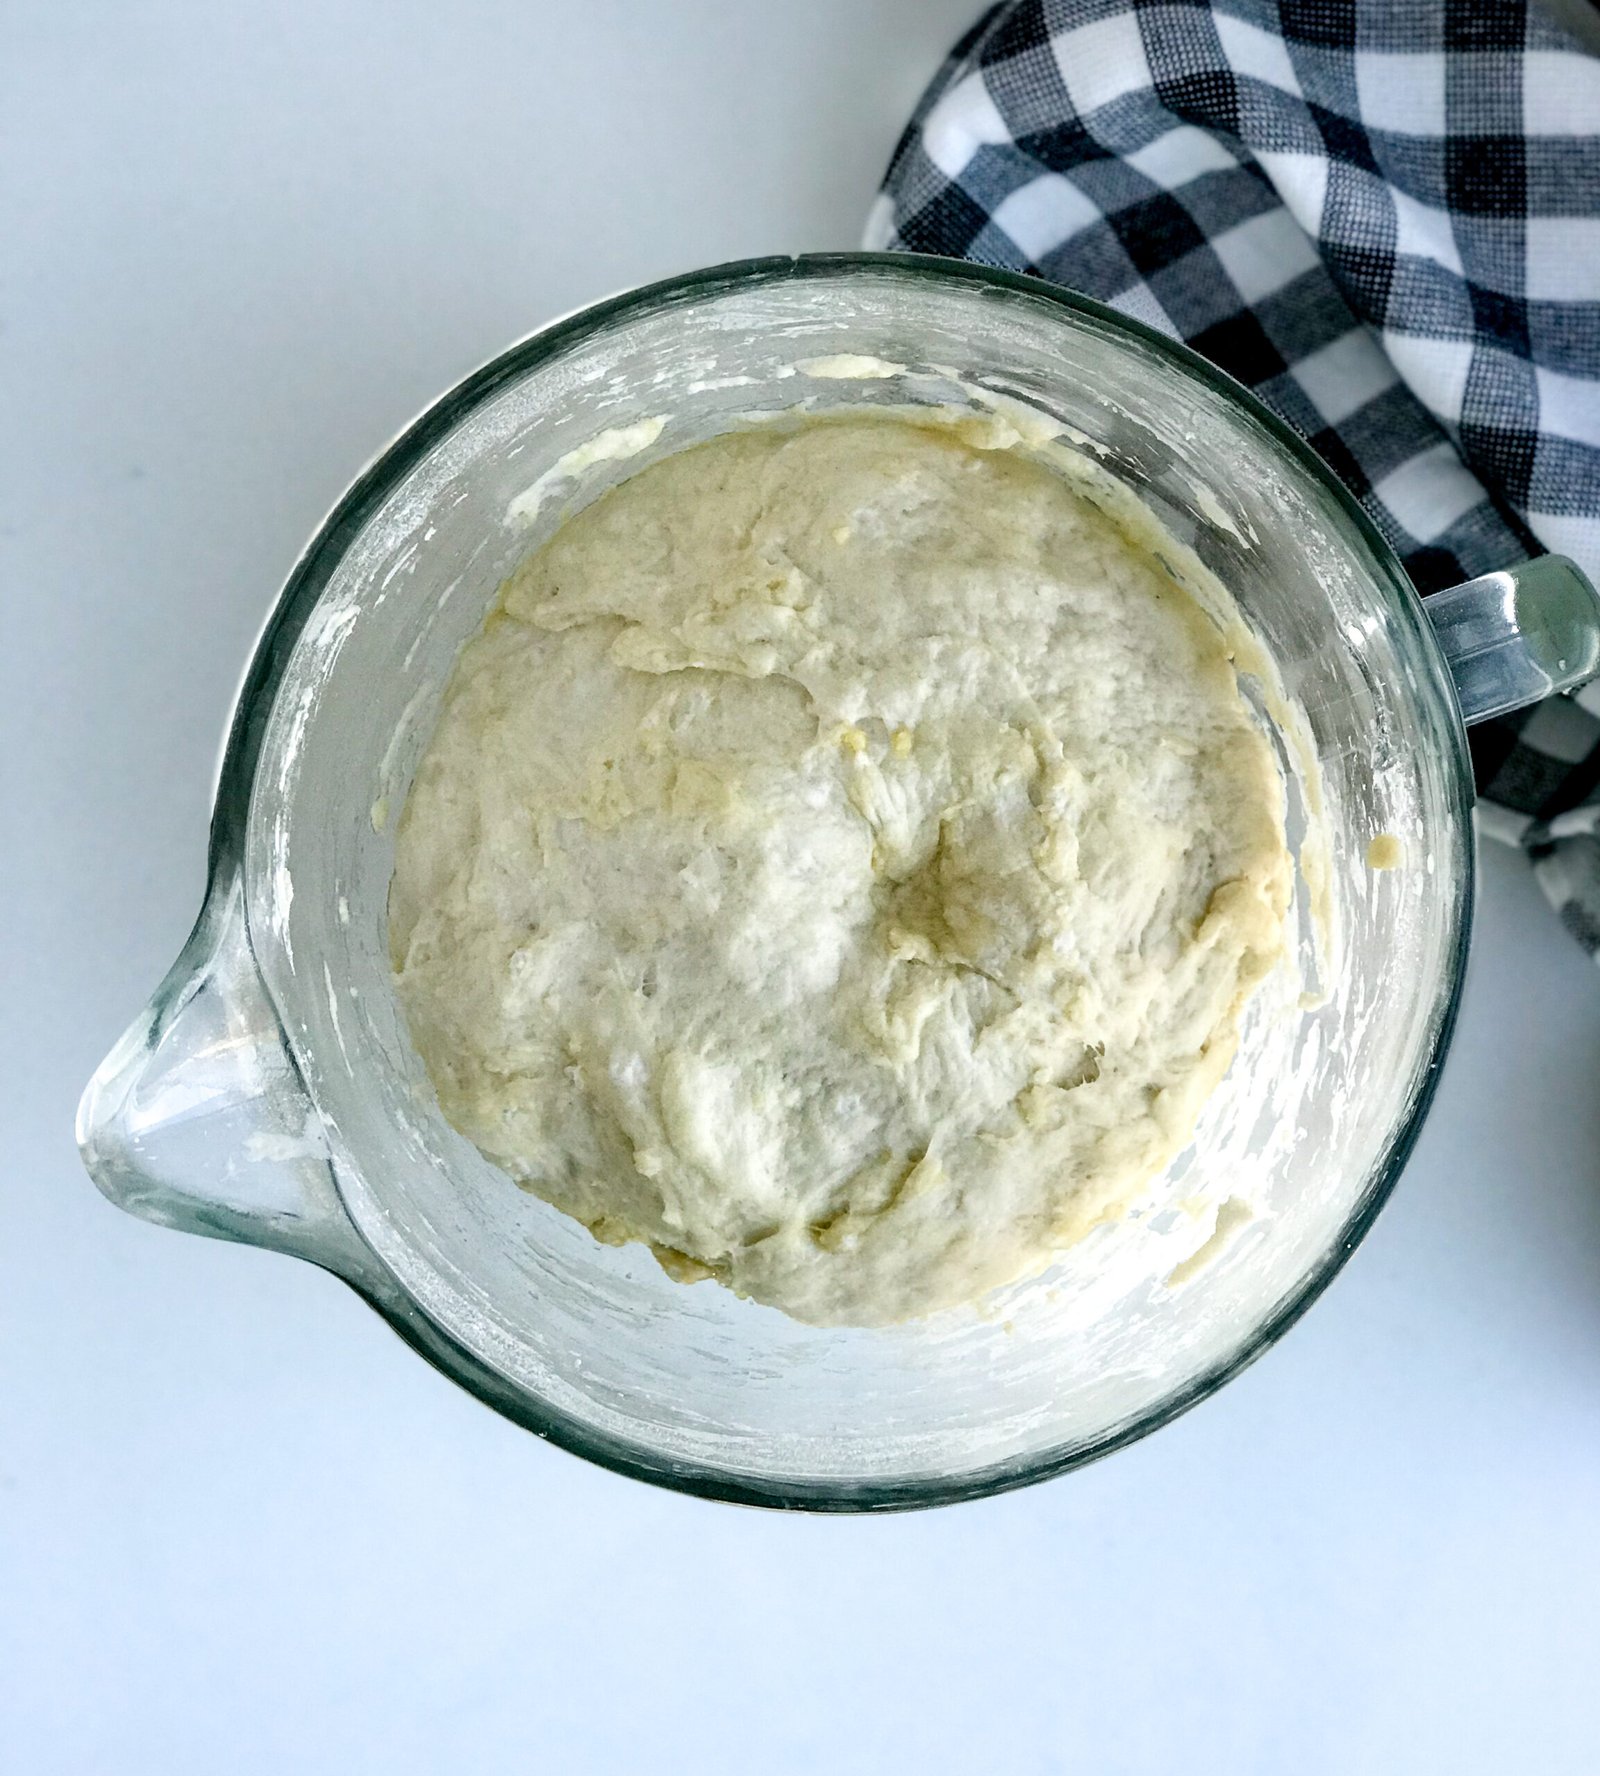
- It will take about an hour to double in size.
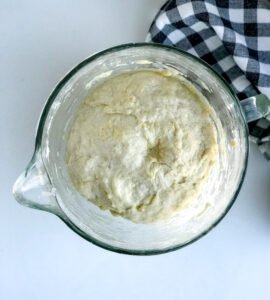
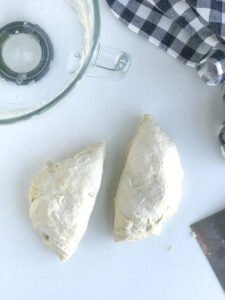
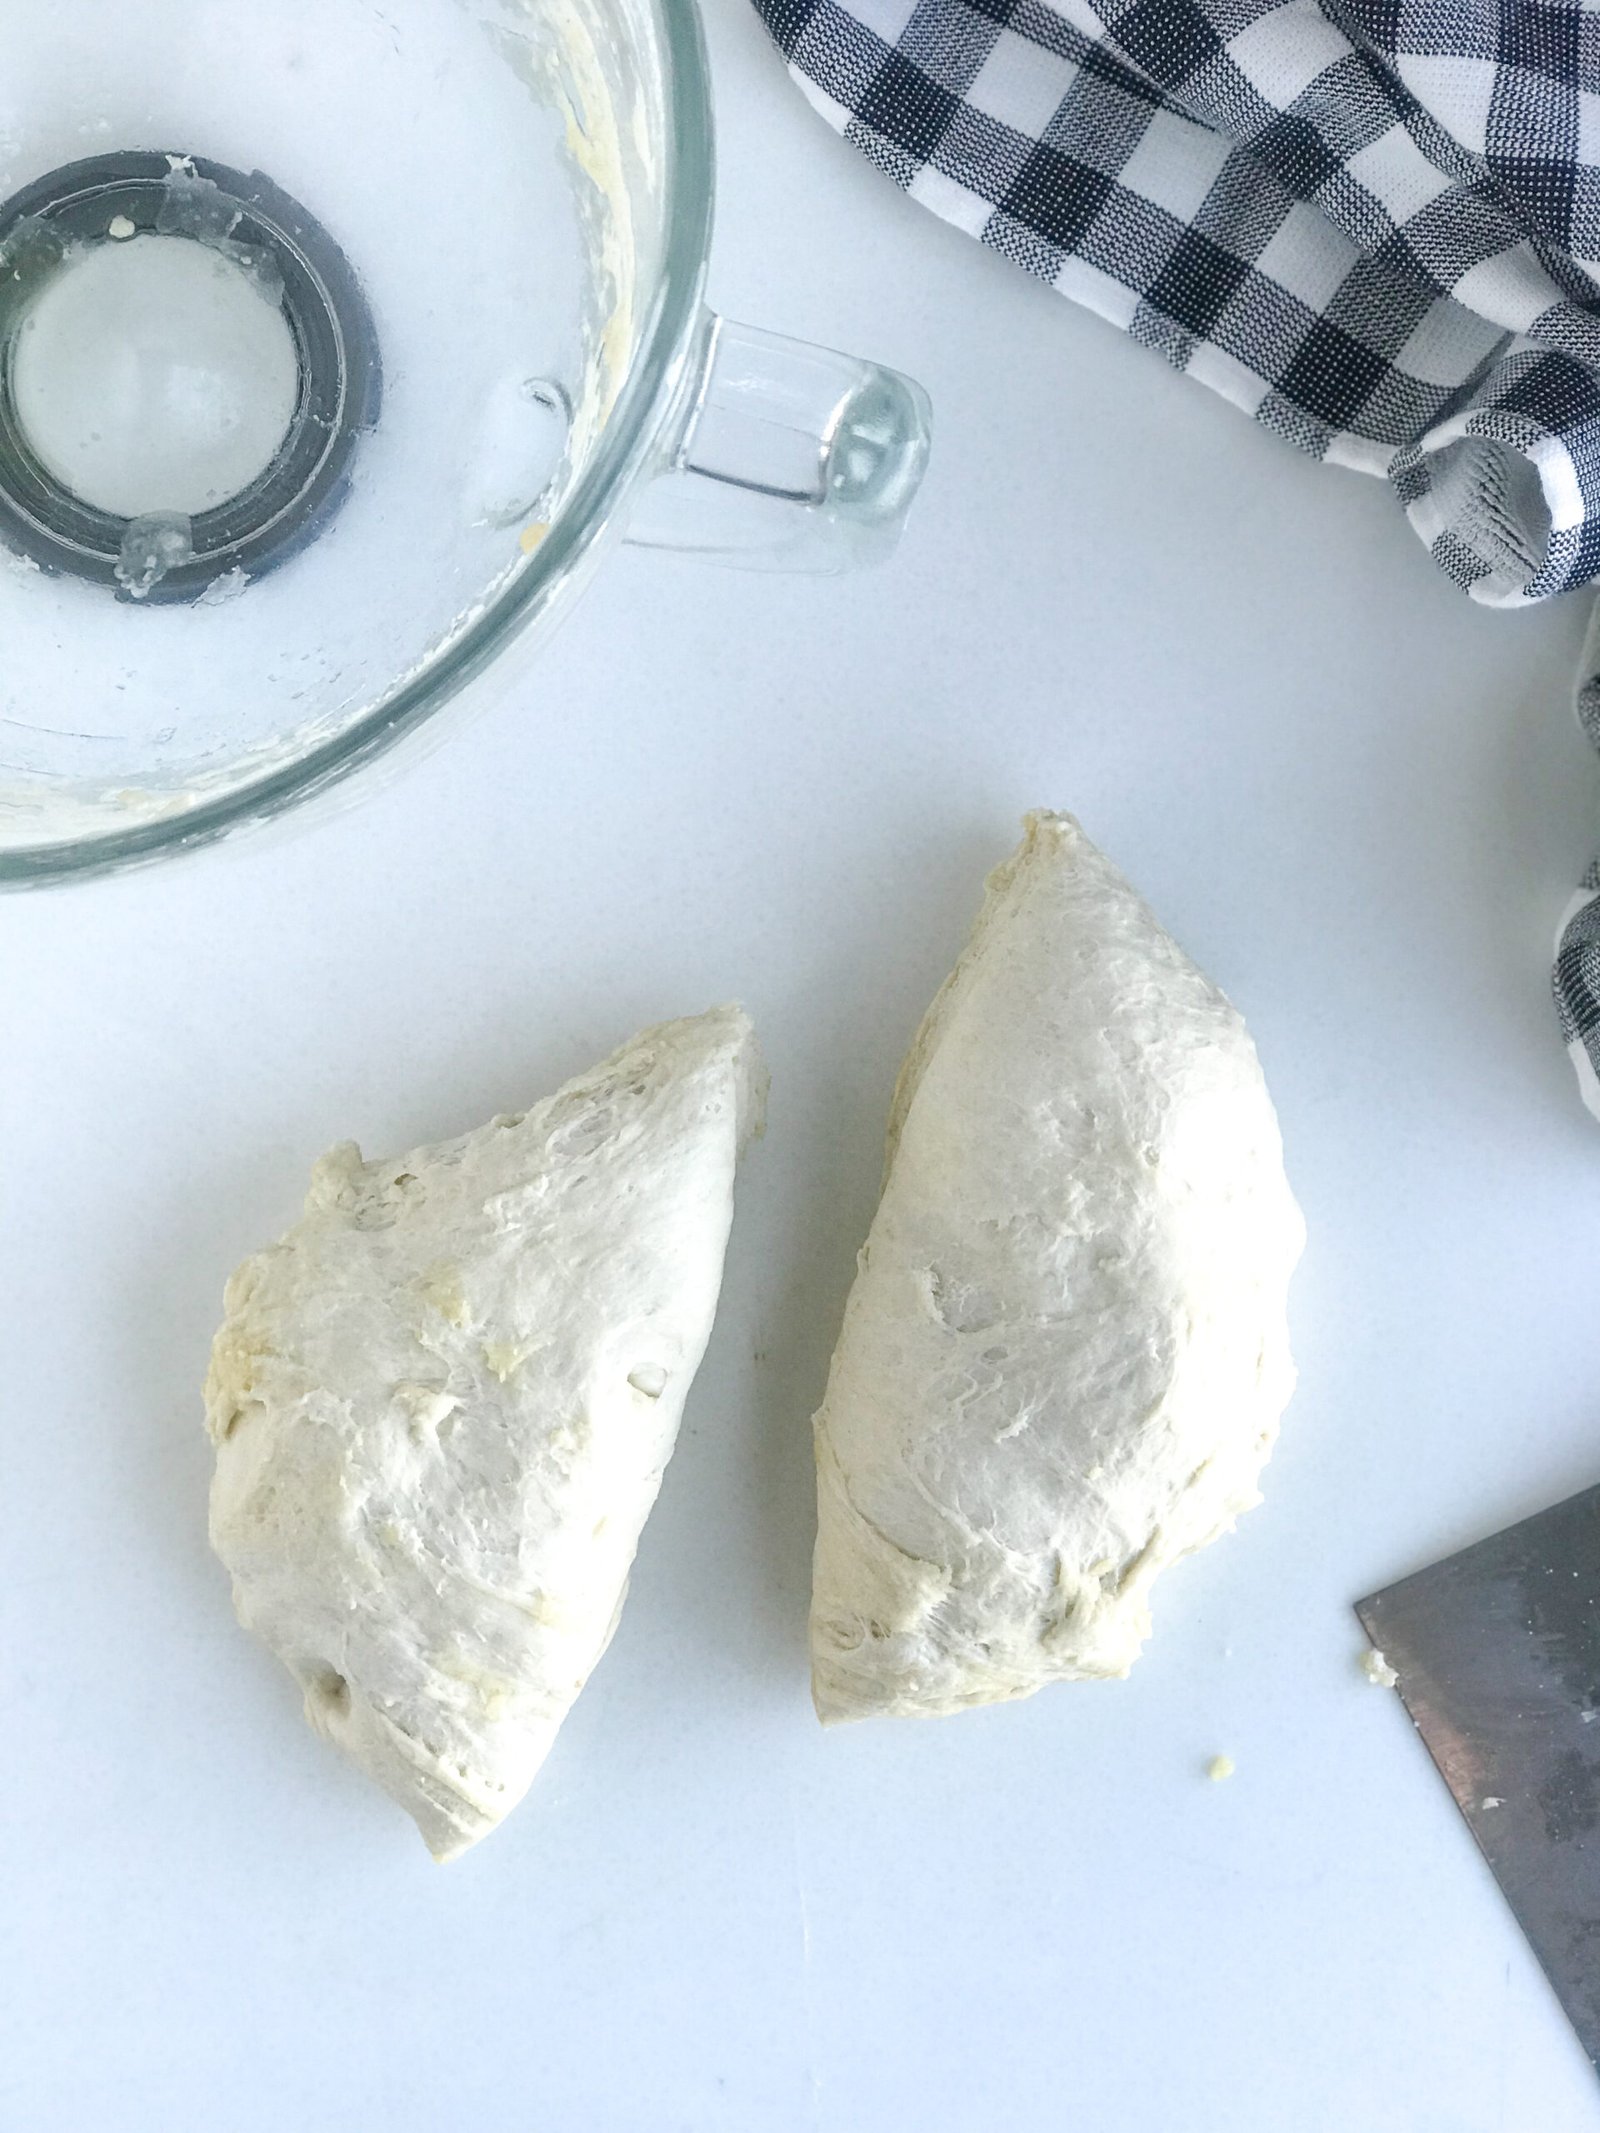
- At this point, you will want to punch the dough down and divide in half.If you plan on freezing one of the doughs, then shape it into a disk, wrap in plastic wrap or place in a large ziplock bag, try to remove as much air as possible – label and freeze.
- Preheat your oven to 425F and if you’re using a pizza stone, place it in the oven to warm up as the oven preheats. If you’re using a sheet pan, no need to preheat it.
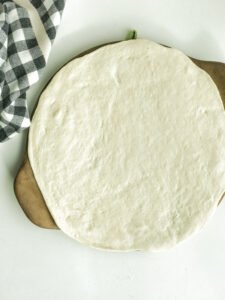
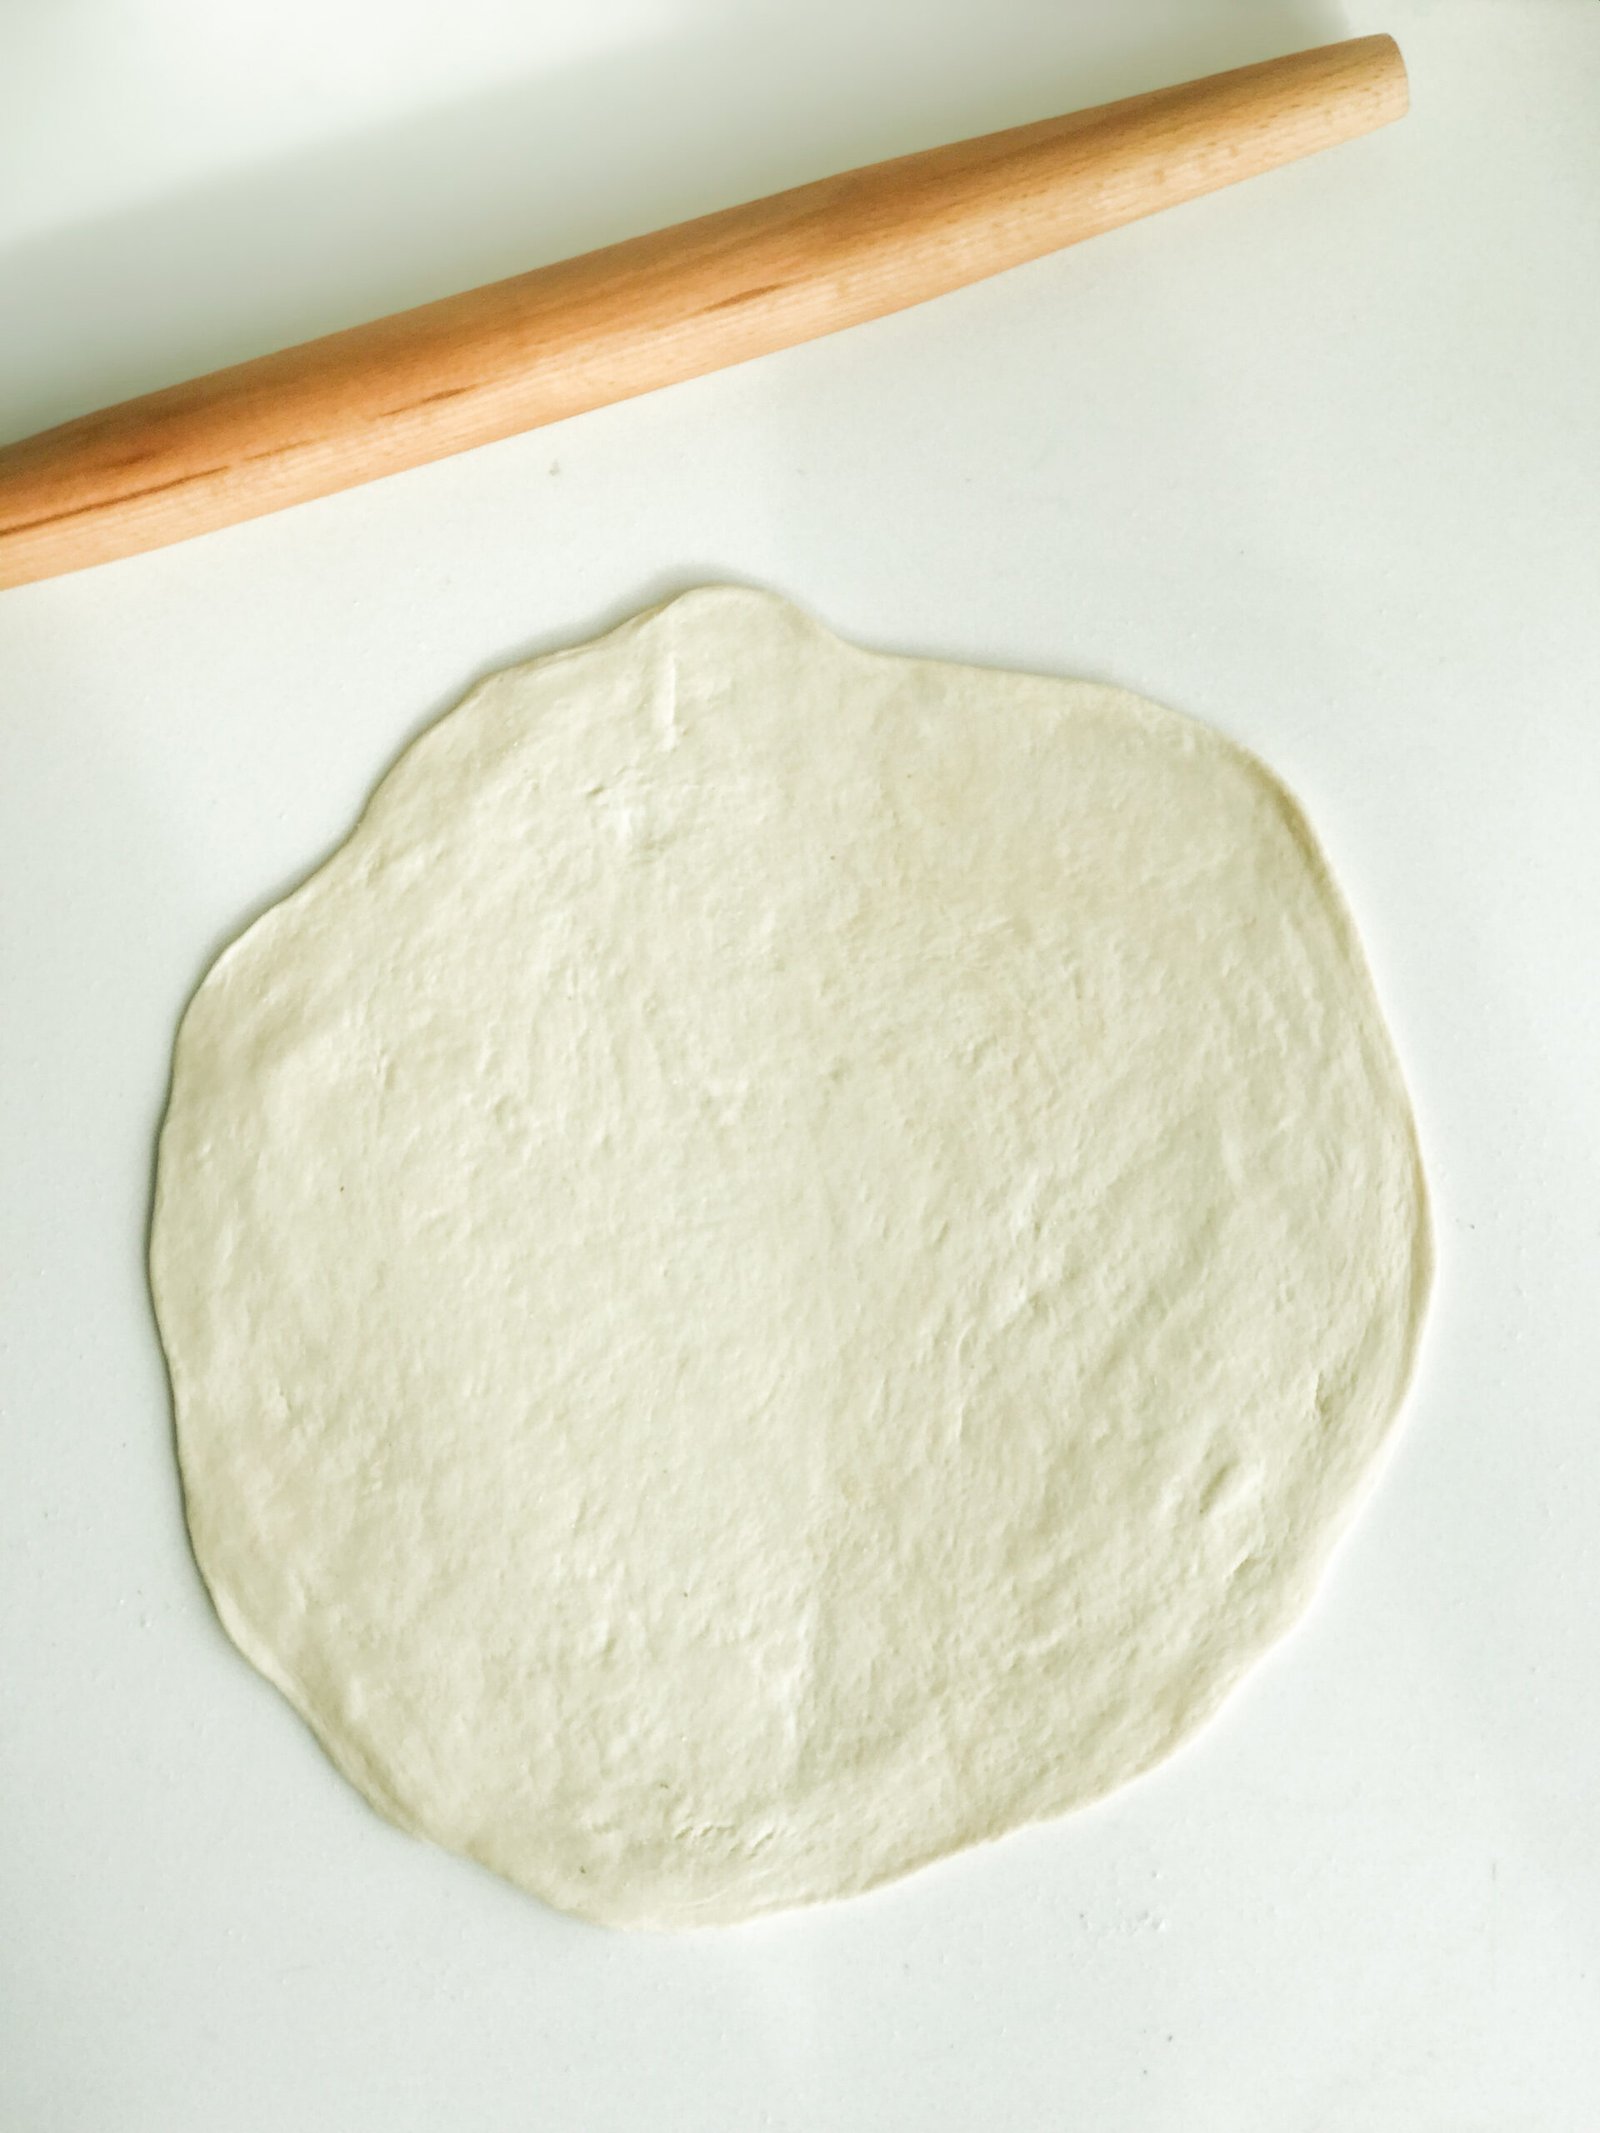
- I sprinkle the counter with corn meal to help prevent it from sticking and it will help create a crispier crust. Roll it out, until it’s about 1/4 inch thick, you may want to turn it between rolls to make it a circle shape.
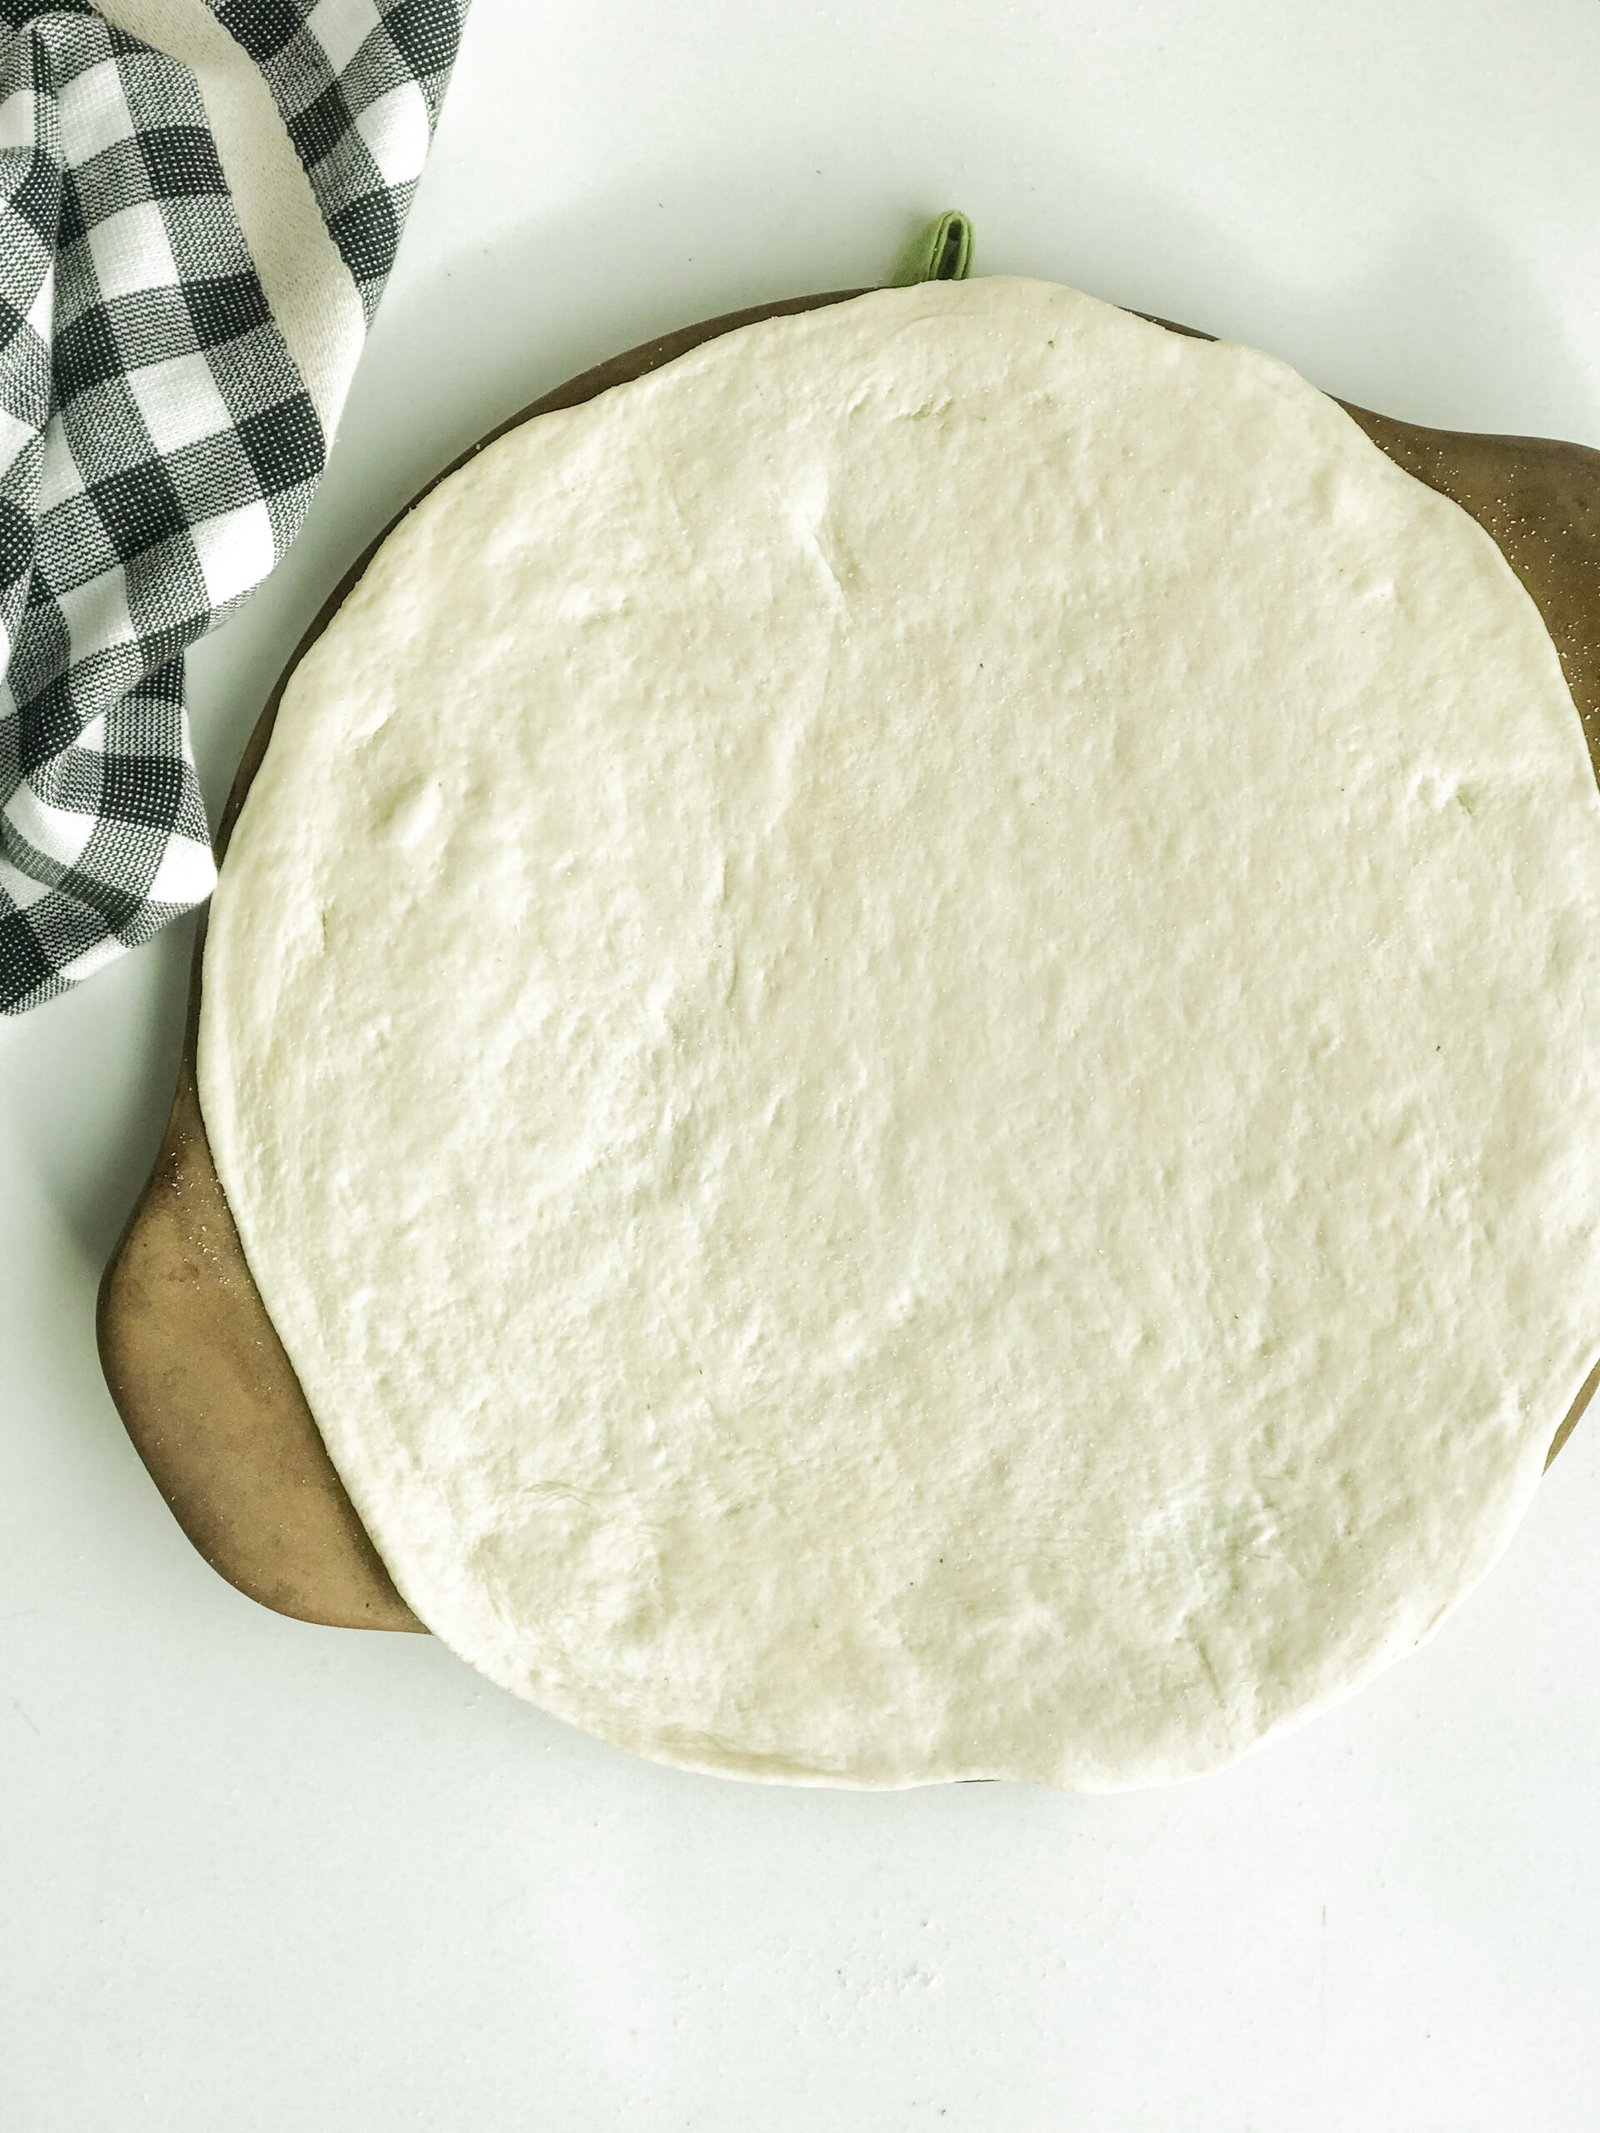
- Sprinkle corn meal on your pre-heated pizza stone or sheet pan. Place your rolled out dough on the stone or pan.Drizzle with a little of olive oil, this helps the crust from becoming soggy from the toppings.
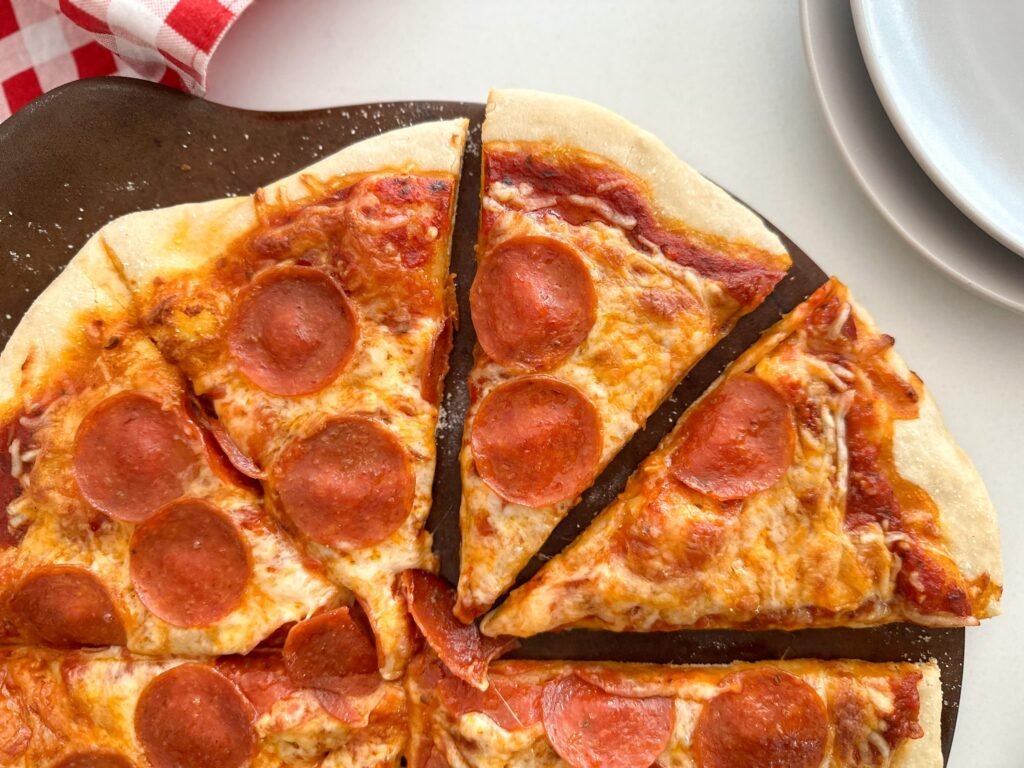
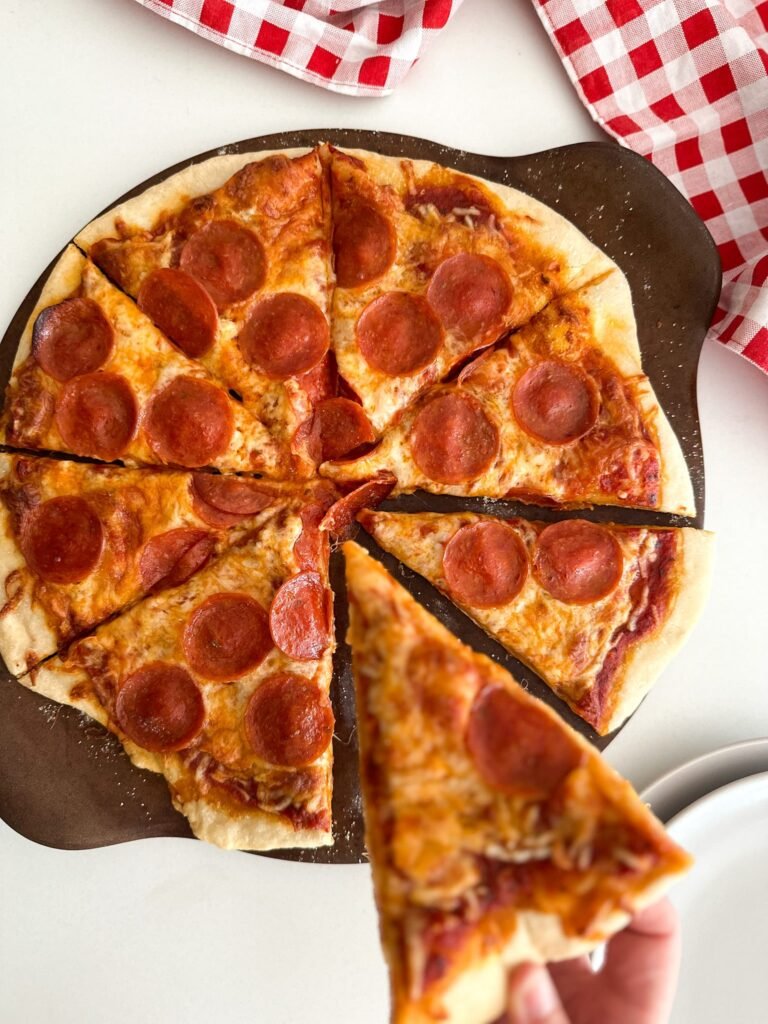
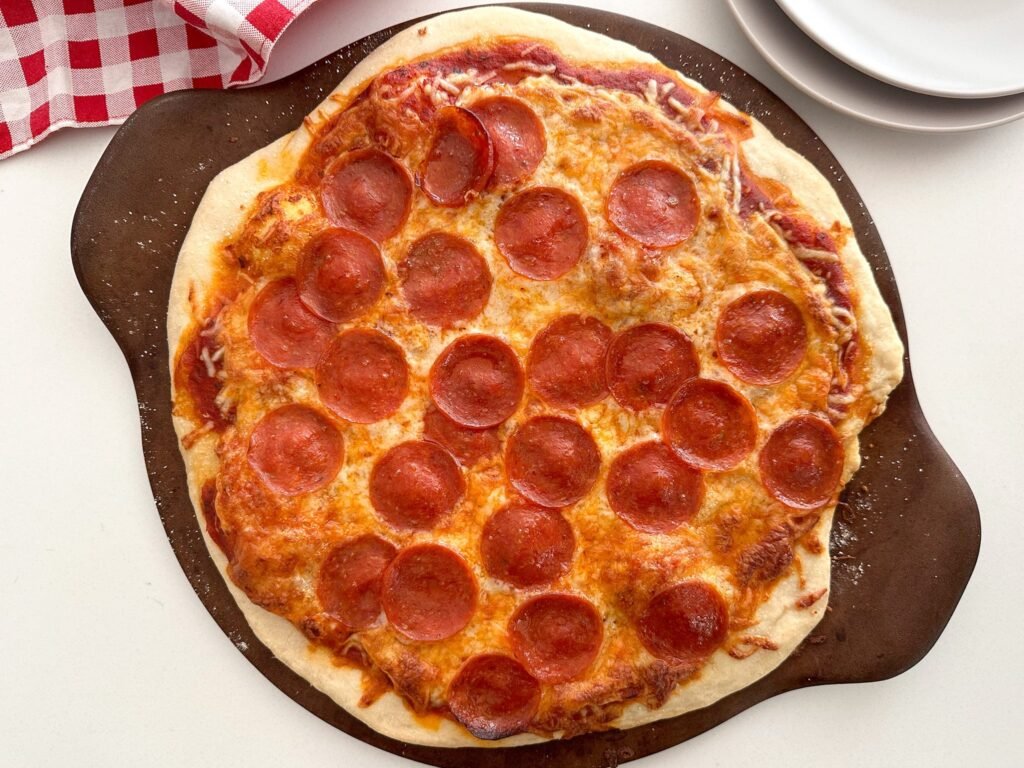
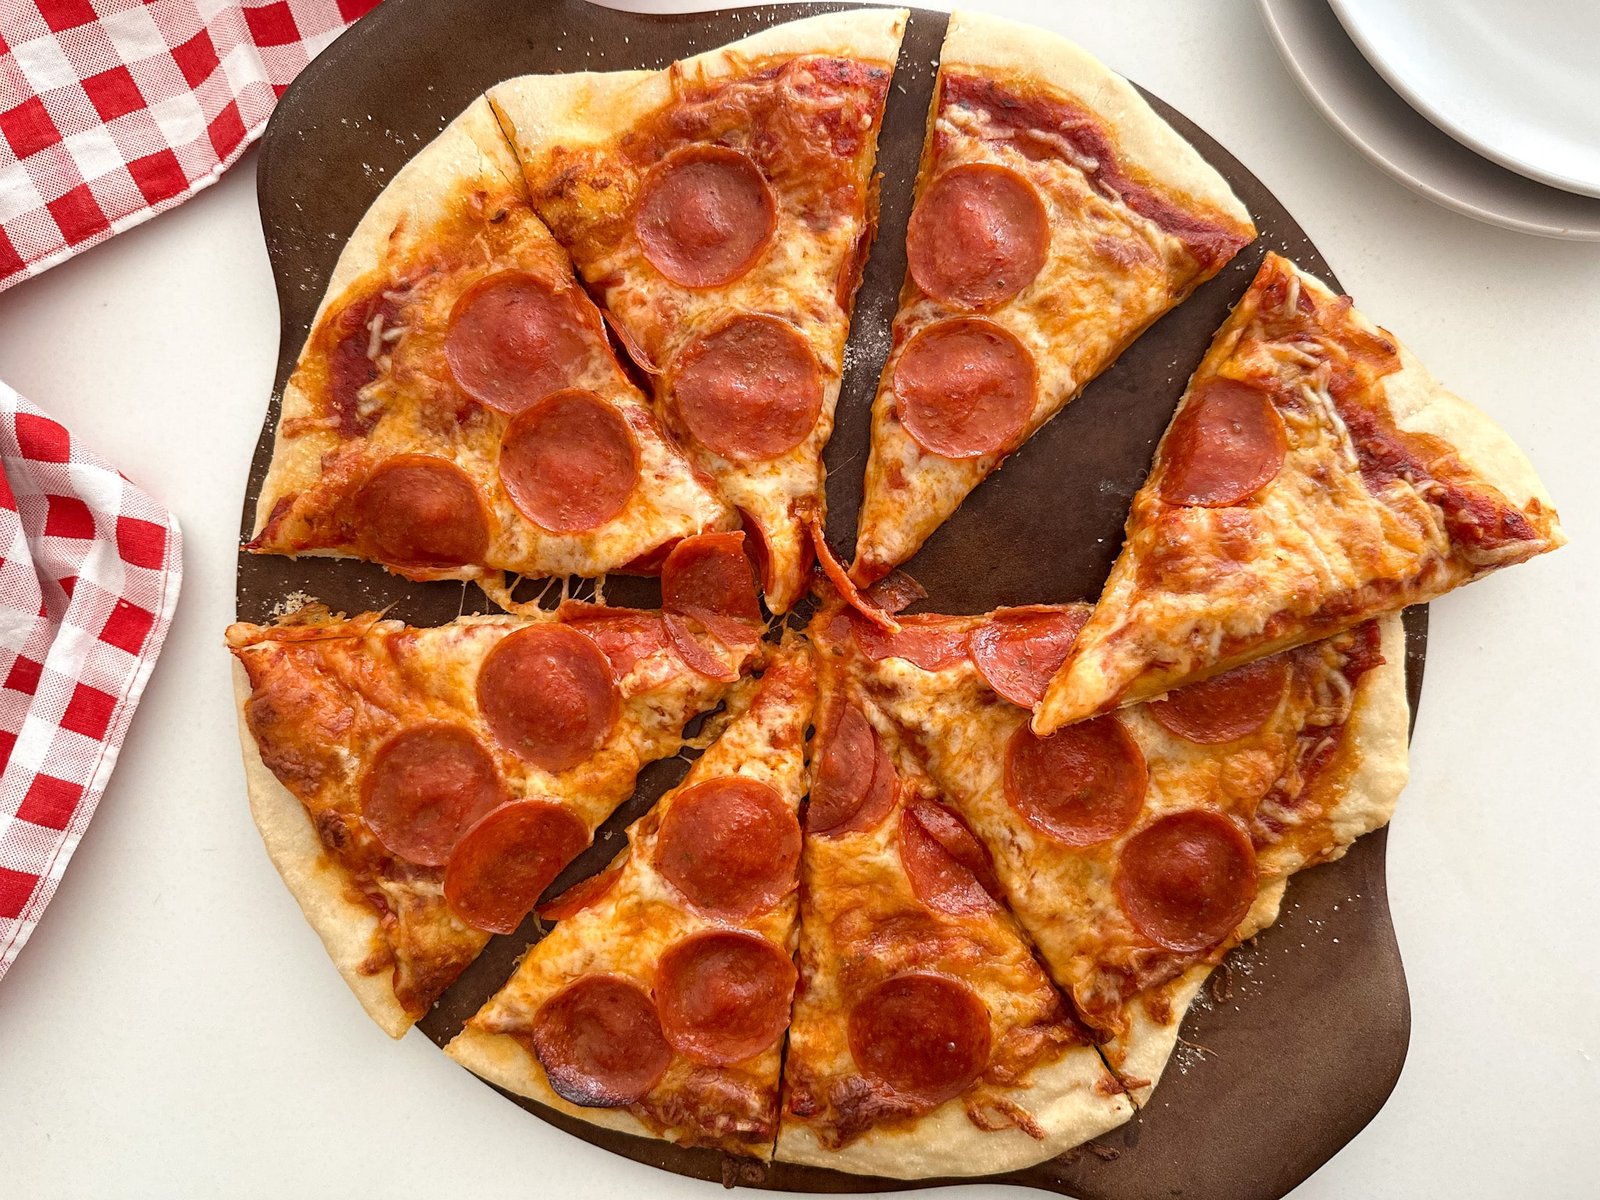
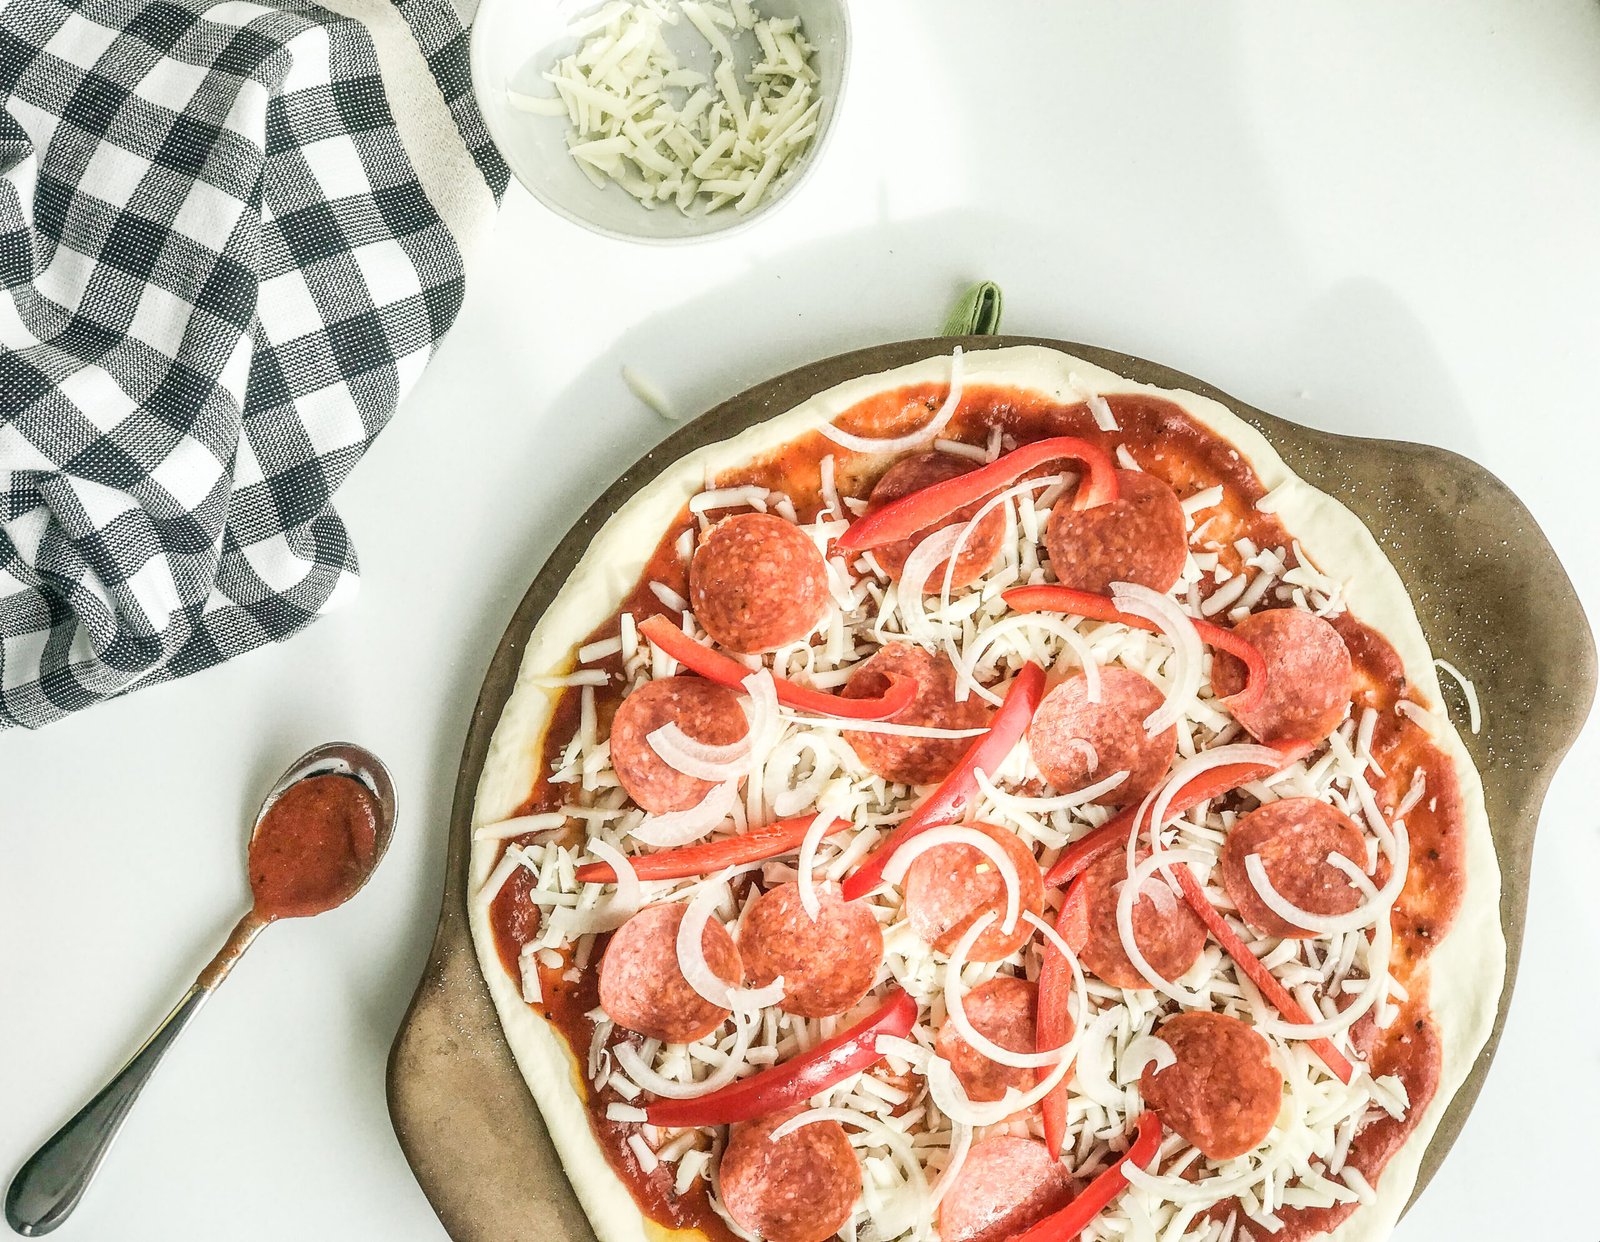
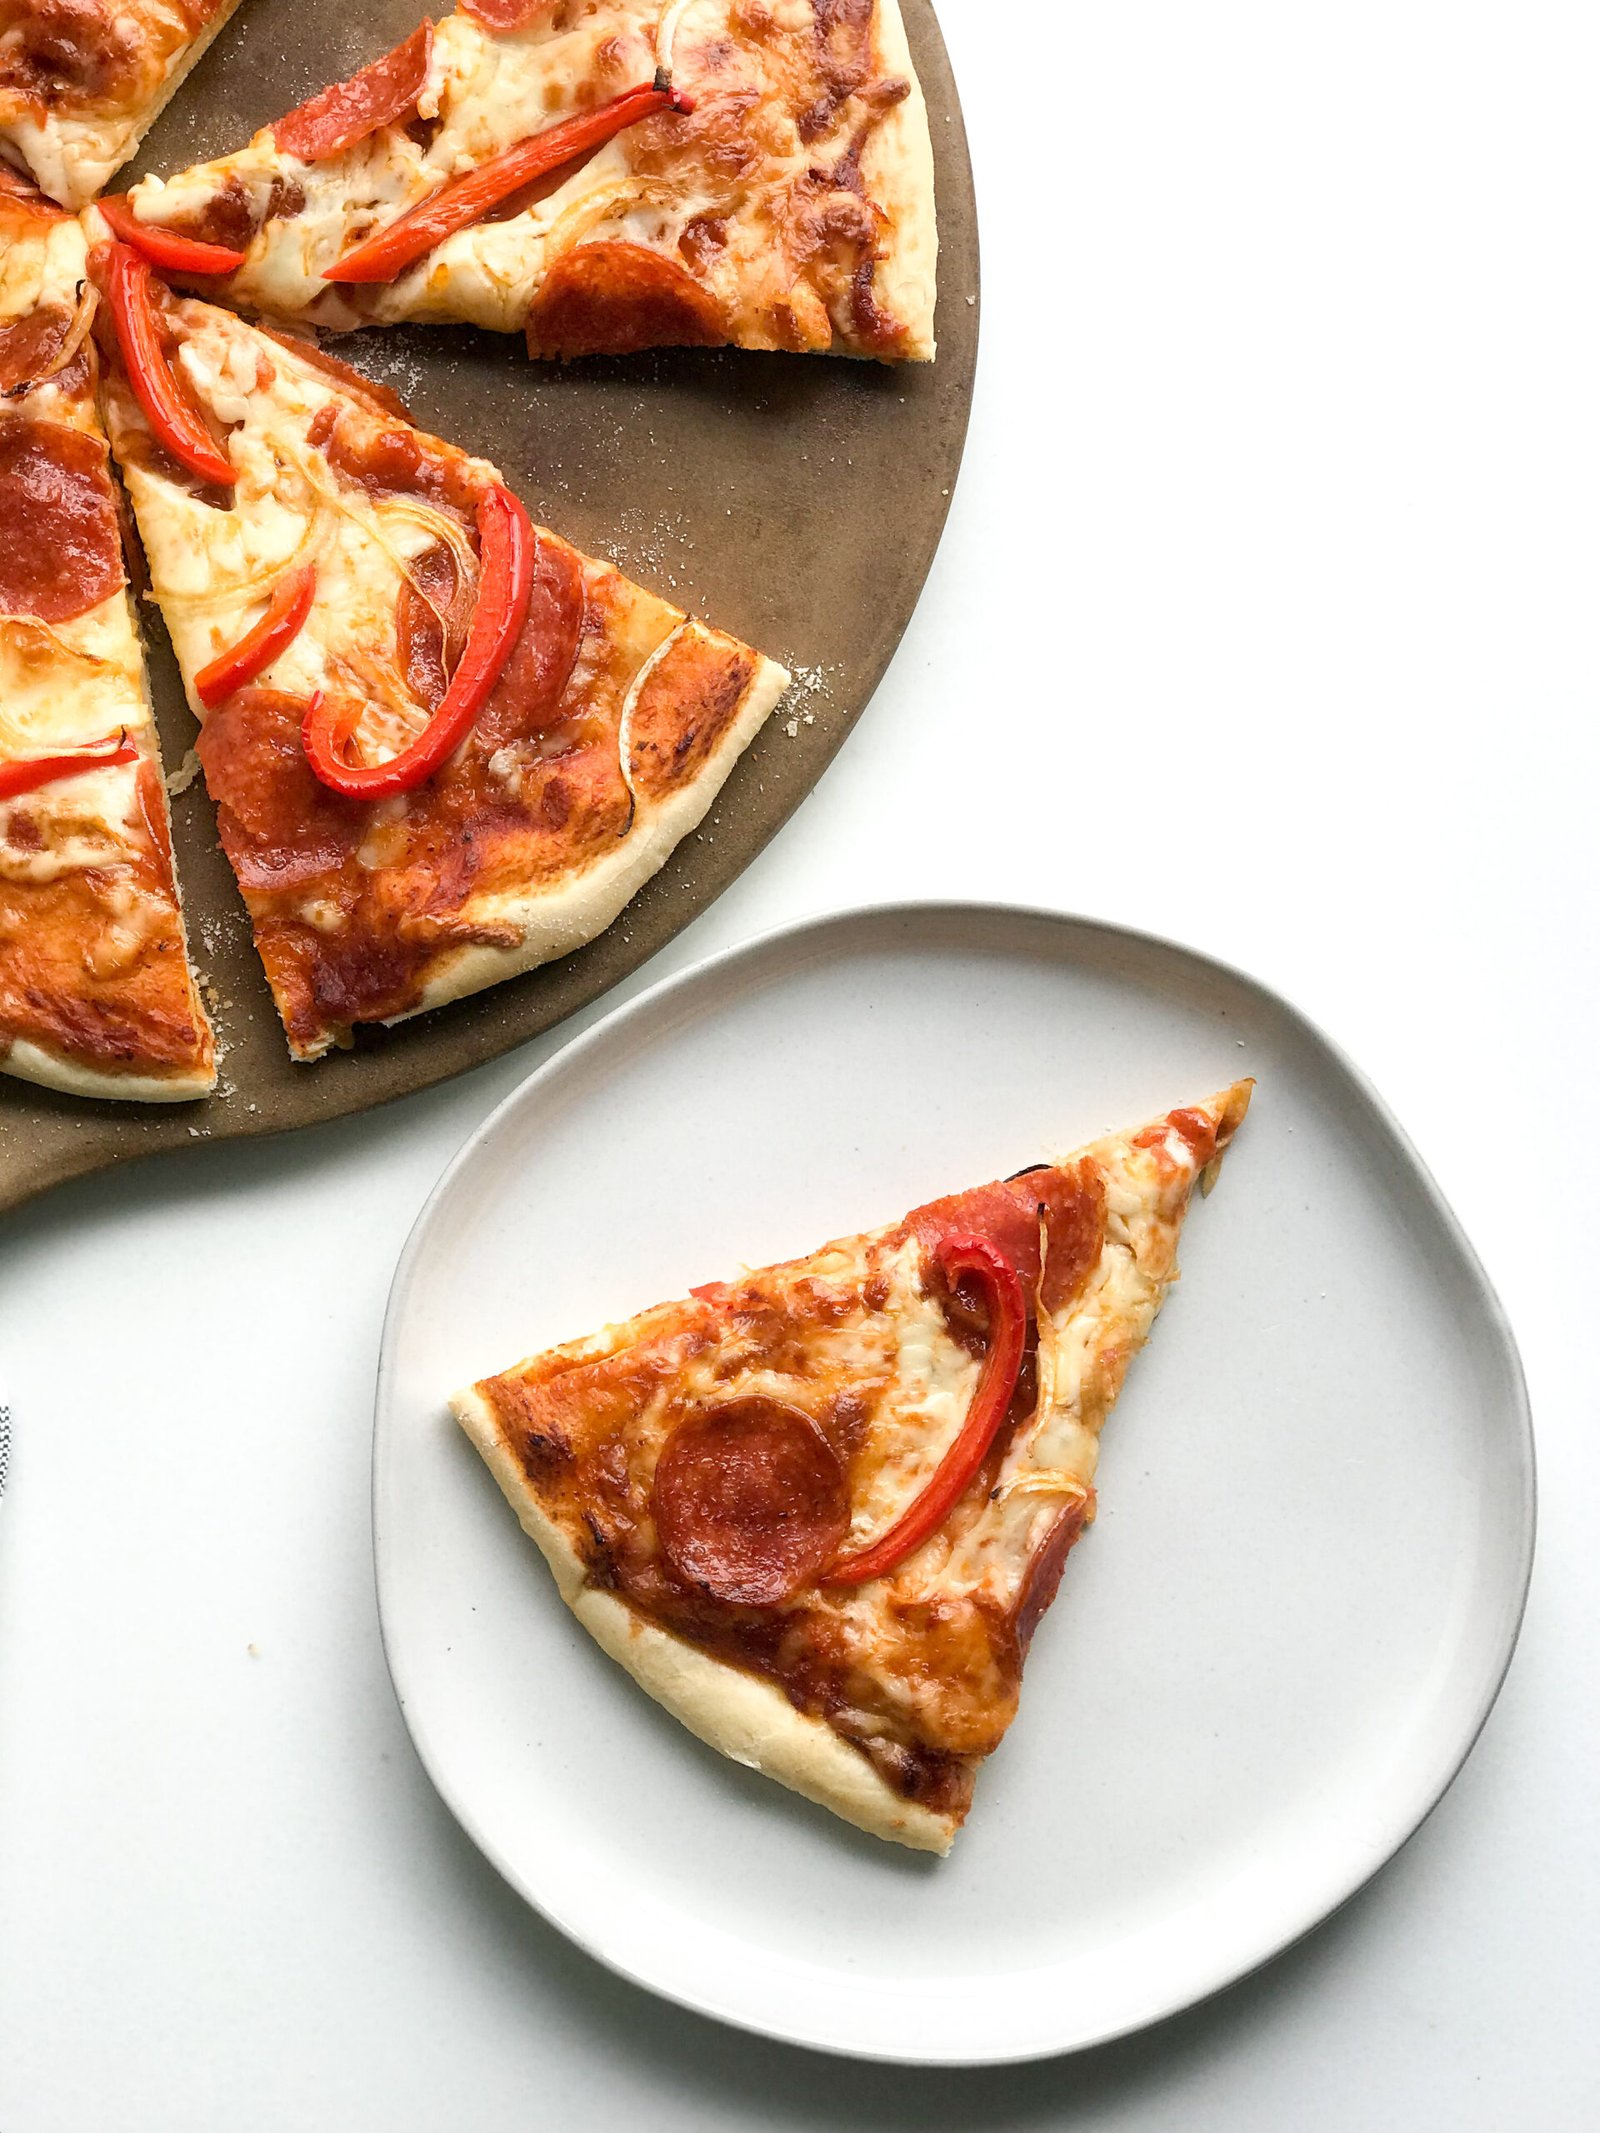
- Add your toppings.For the pizza here, I sprinkled on about 1 cup of shredded mozzarella cheese, thinly sliced onions, red peppers, and pepperoni.

- Bake at 425F for 10-12 minutes.

Nutrition
How to Freeze and Defrost
If you are making the Chicago-Style Deep Dish Pizza, you will need to use two pizza doughs, this entire recipe. If you are only making one pizza, freeze the second!
To freeze, cut the dough recipe into two pizza portions. In a freeze-safe ziplock bag, add one pizza dough. Label and freeze.
To defrost, place in the refrigerator a day or two before you want to use it and let it thaw out slowly. When you are ready to make the dough, remove from the refrigerator for about 30 minutes to help take some of the chill off.