There are so many pizza crusts out there in the world. I love a crust on the thinner side without much poof, sturdy enough to pick up to bite, but soft and pillowy at the same time – this crust does it all. Crust shouldn’t overshadow the toppings, it should compliment them. This whole wheat pizza crust is perfect for any white-style pizza.
Homemade whole wheat pizza crust may intimidate some of you but you’ll fall in love with it if you try it. Some of the reasons I enjoy making homemade crusts are because the ingredients are simple, it tastes fresh and most importantly you can make it days ahead of time. An added bonus is that it is a money saver, you get two crusts from this recipe which means you can make two different pizzas at the same time, or save one in the freezer for later.
Have fun with it! It’s the perfect way to make memories – a fun Friday night date-night in or in the kitchen with the kids. I have a favorite memory of making pizza with my nephew – he loved helping grate the cheese and putting on the toppings. It was years ago, but it was so much fun that it stuck with me. That’s what it’s all about, this is the reason I write recipes so that you have new ways to make memories with those you love.
See notes below recipe for details on how to make it ahead and how to save it in the freezer.
Whole Wheat Pizza Crust
Ingredients
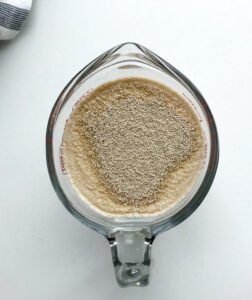
- 1 ½ cups Warm Water
- 1 tsp Dry Active Yeast
- 1 tsp Sugar
- 2 cups All Purpose Flour
- 2 cups Whole Wheat Flour
- 2 tsp Kosher Salt
- 1 TBSP Olive Oil plus some to coat the bowl
Instructions
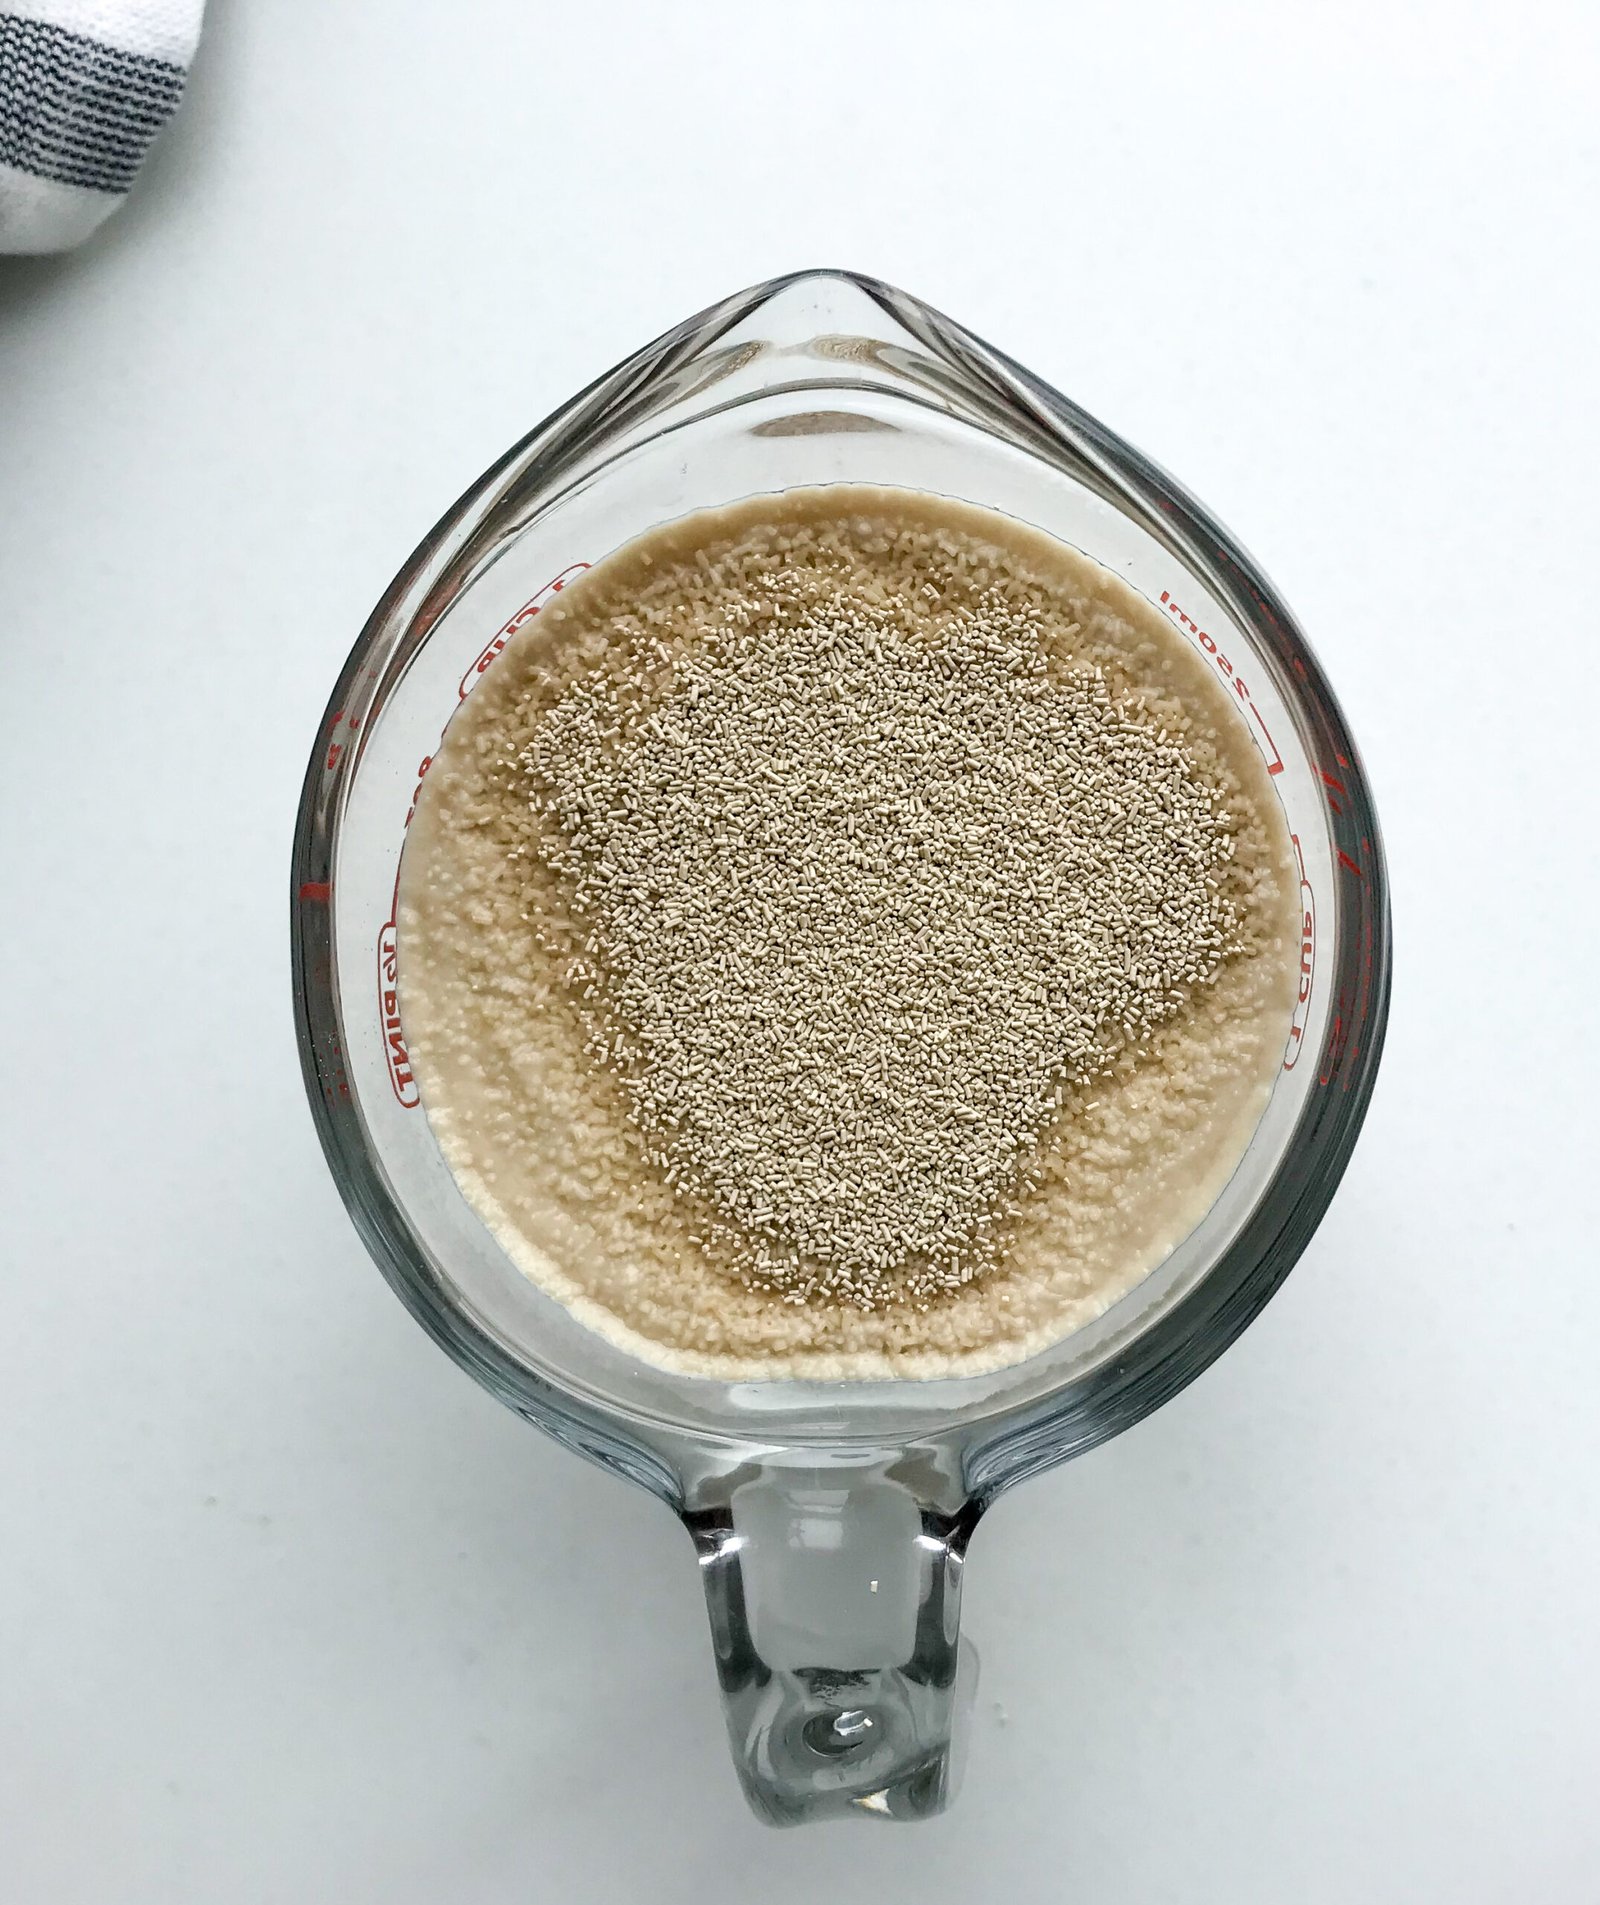
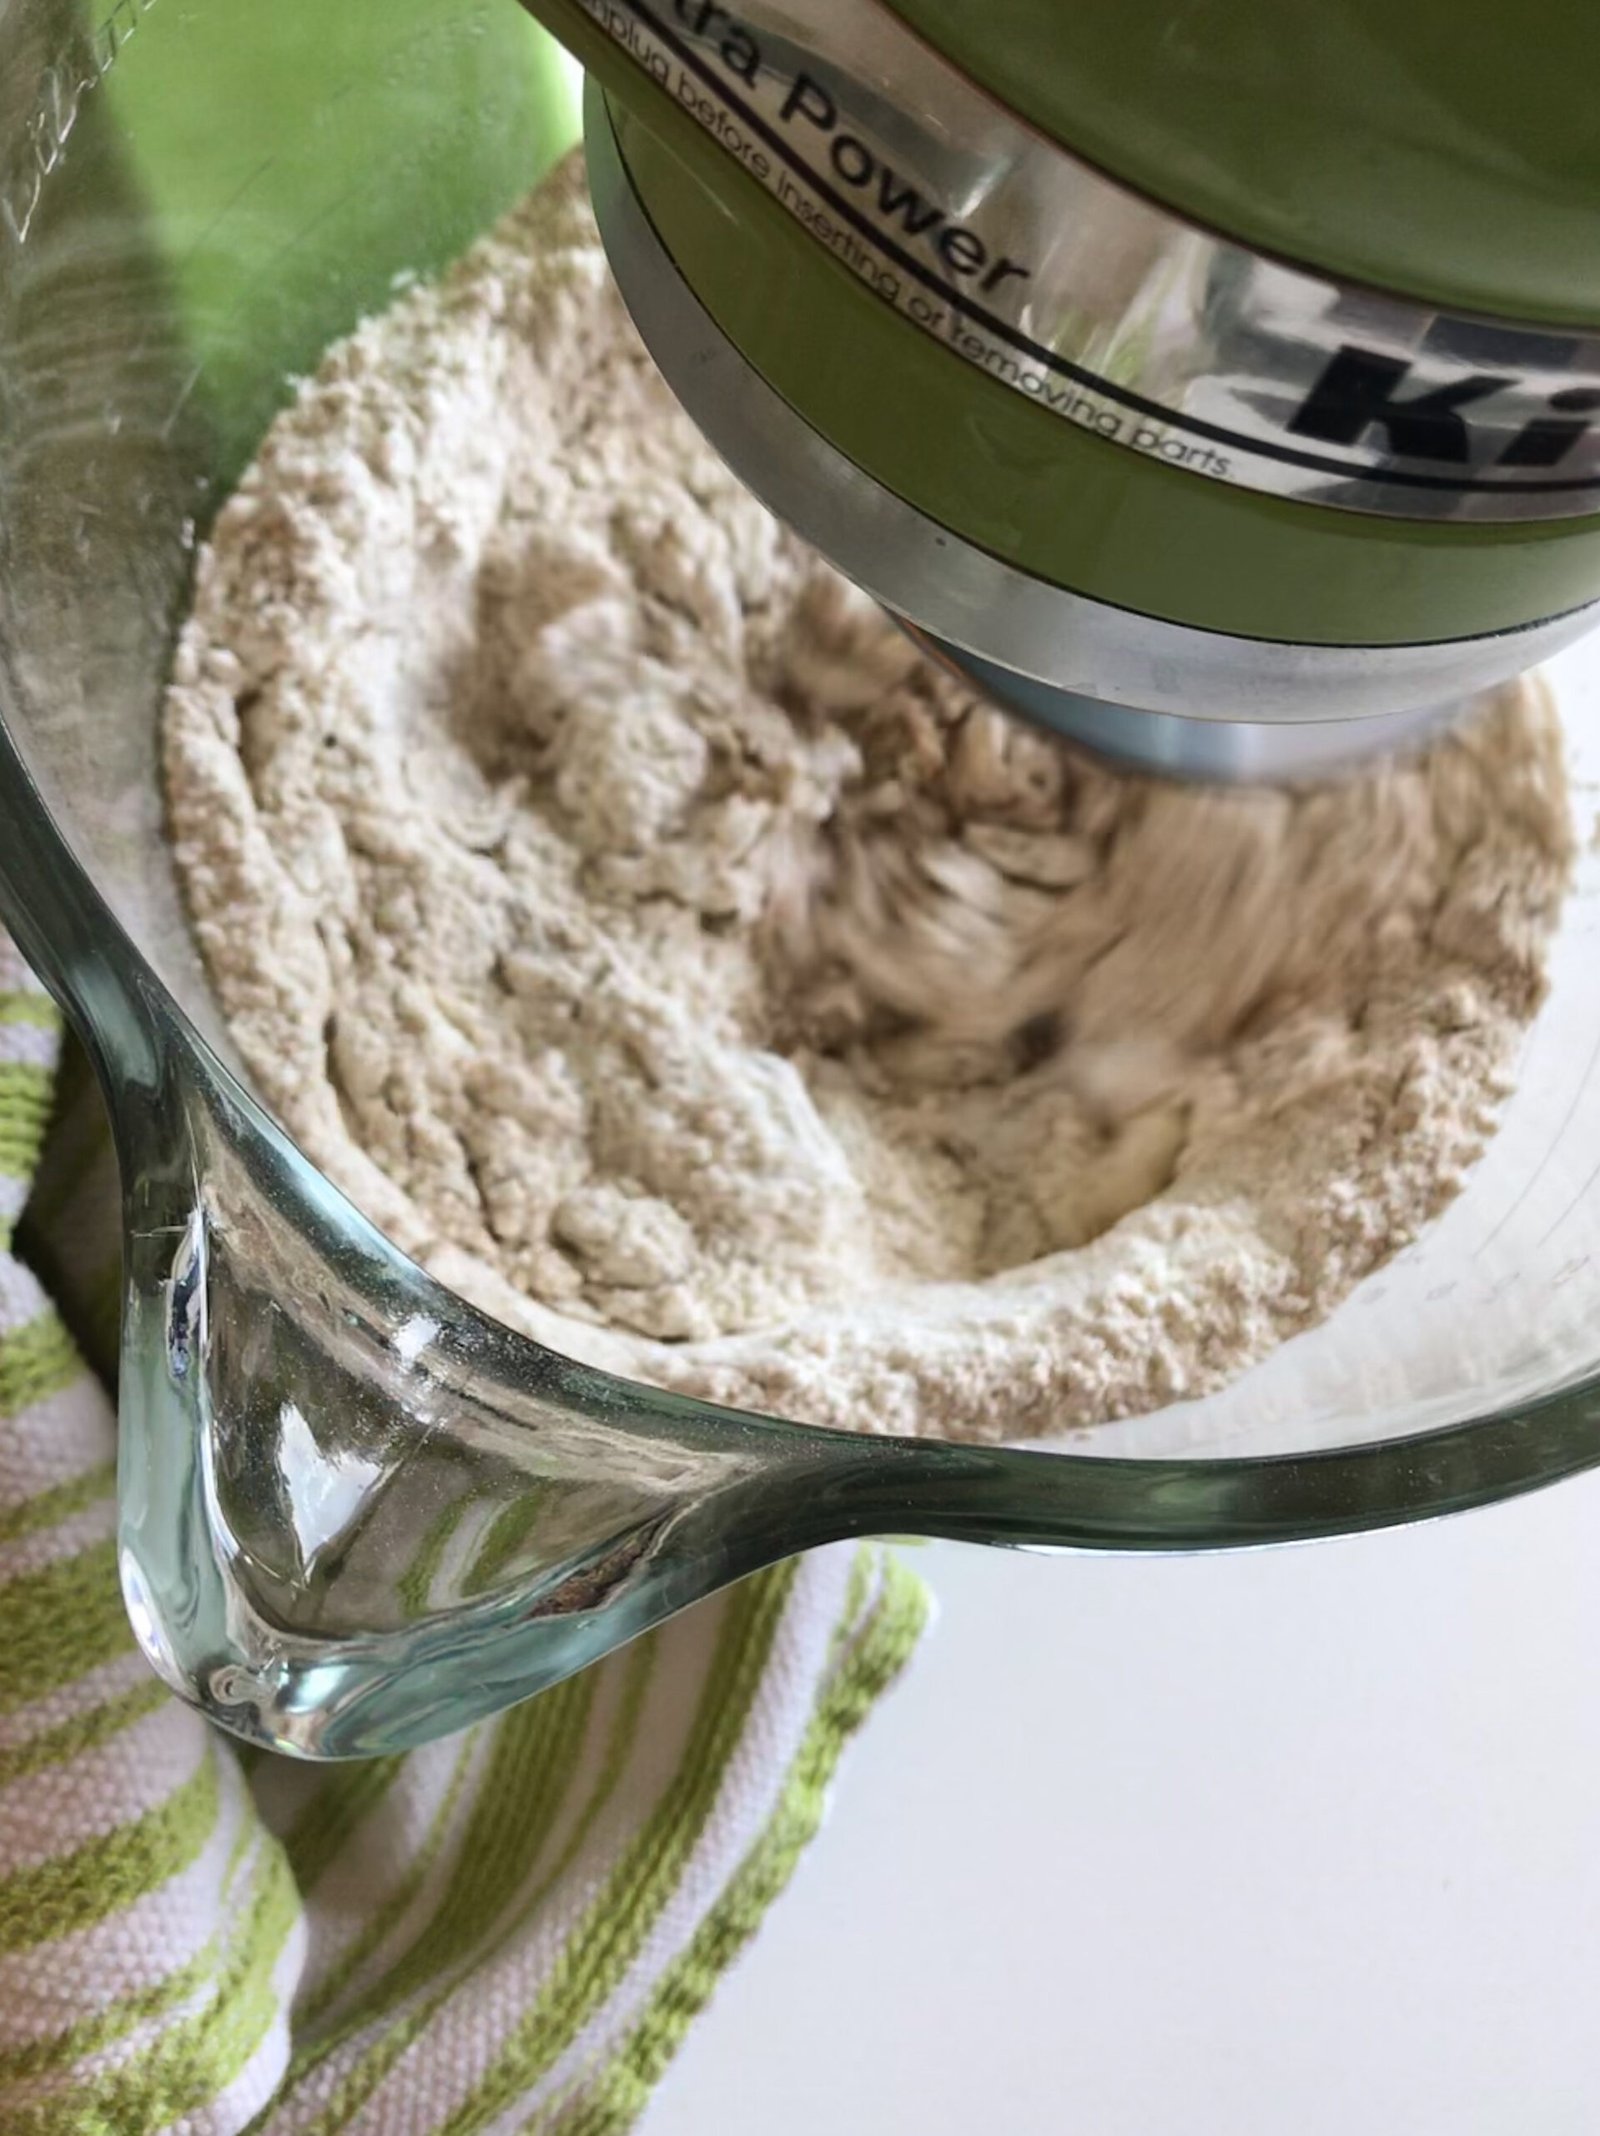
- Set up your Kitchen Aid Mixer with the hook attachment. Combine the warm water, yeast and sugar. Let it sit for about 5 minutes. The hardest part of this recipe is the water temperature: You will want the temperature to be around 110F in order to active the yeast. Yeast needs to be activated for it to have any chance in helping dough rise. If your water is not hot enough, it will not work and if your water is too hot (120F+) it will start to kill the yeast. If you don’t have a thermometer that’s okay, I usually just run the water until it’s luke-warm, not cold but also not hot enough to wash dishes, you want that annoying warm water that makes you think your water will never get hot.
- During that 5 minutes, the yeast will proof, which means it will tell you that it’s good yeast because it should look foaming or bubbly (it should be apparent that it’s active, if it still looks like it did when you added it to the bowl 5 minutes ago the yeast is bad and you will need to start over with new yeast)
- In a separate bowl, measure out the flours and salt and set aside. Grab your olive oil too!
- In your mixing bowl, add in the water and yeast mixture, your flours, salt and olive oil.
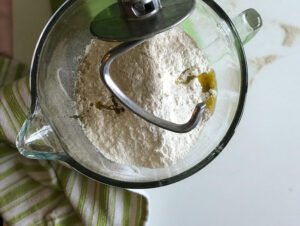
- With the hook attachment, on slow, start to combine the ingredients.

- Once the flour is mostly combined and it doesn’t seem like it will make a mess, turn the speed up to medium/medium high until the dough starts to form into a ball, this may take a few minutes.
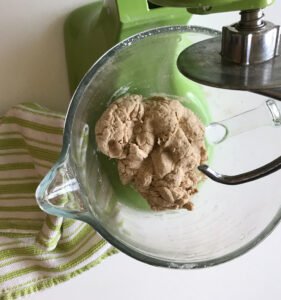
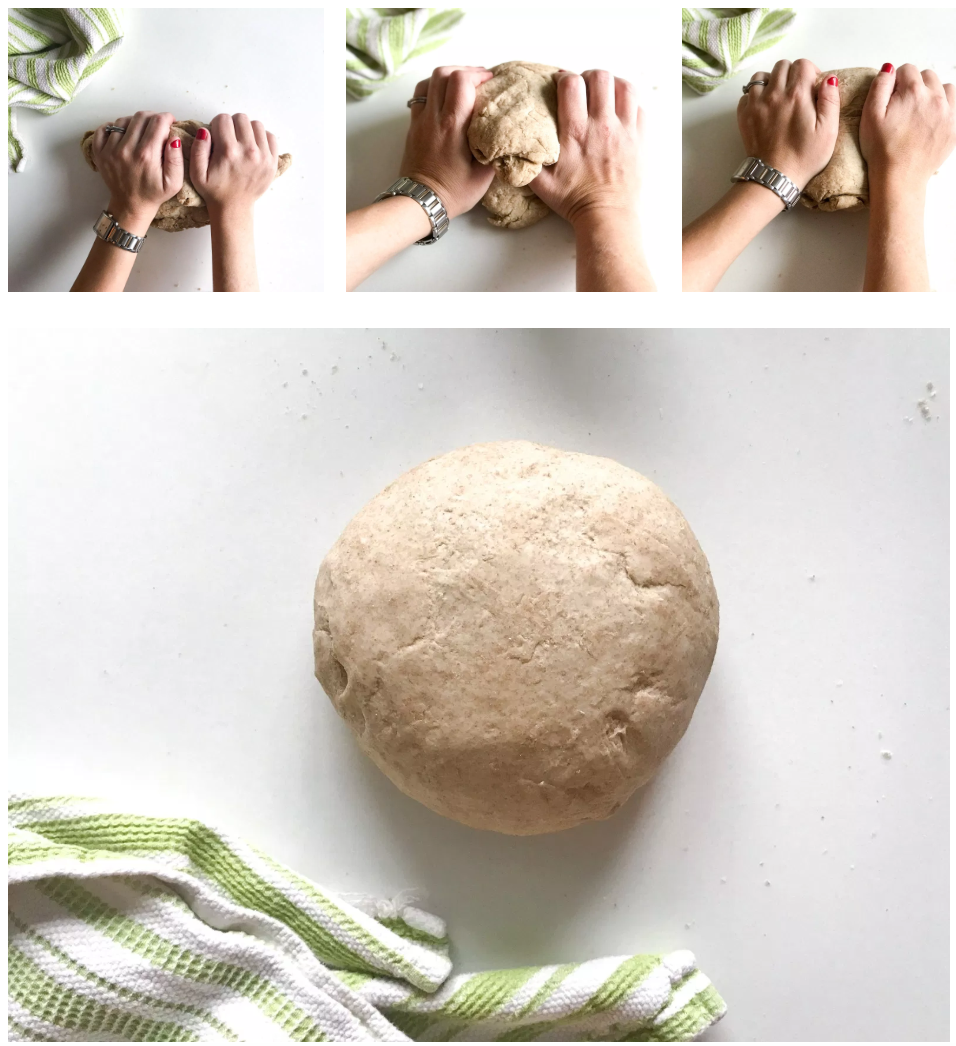
- The hook does most of the kneading, but you will want to take it out and hand knead the dough for 1-2 minutes until to starts to look smooth.

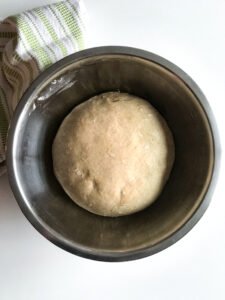
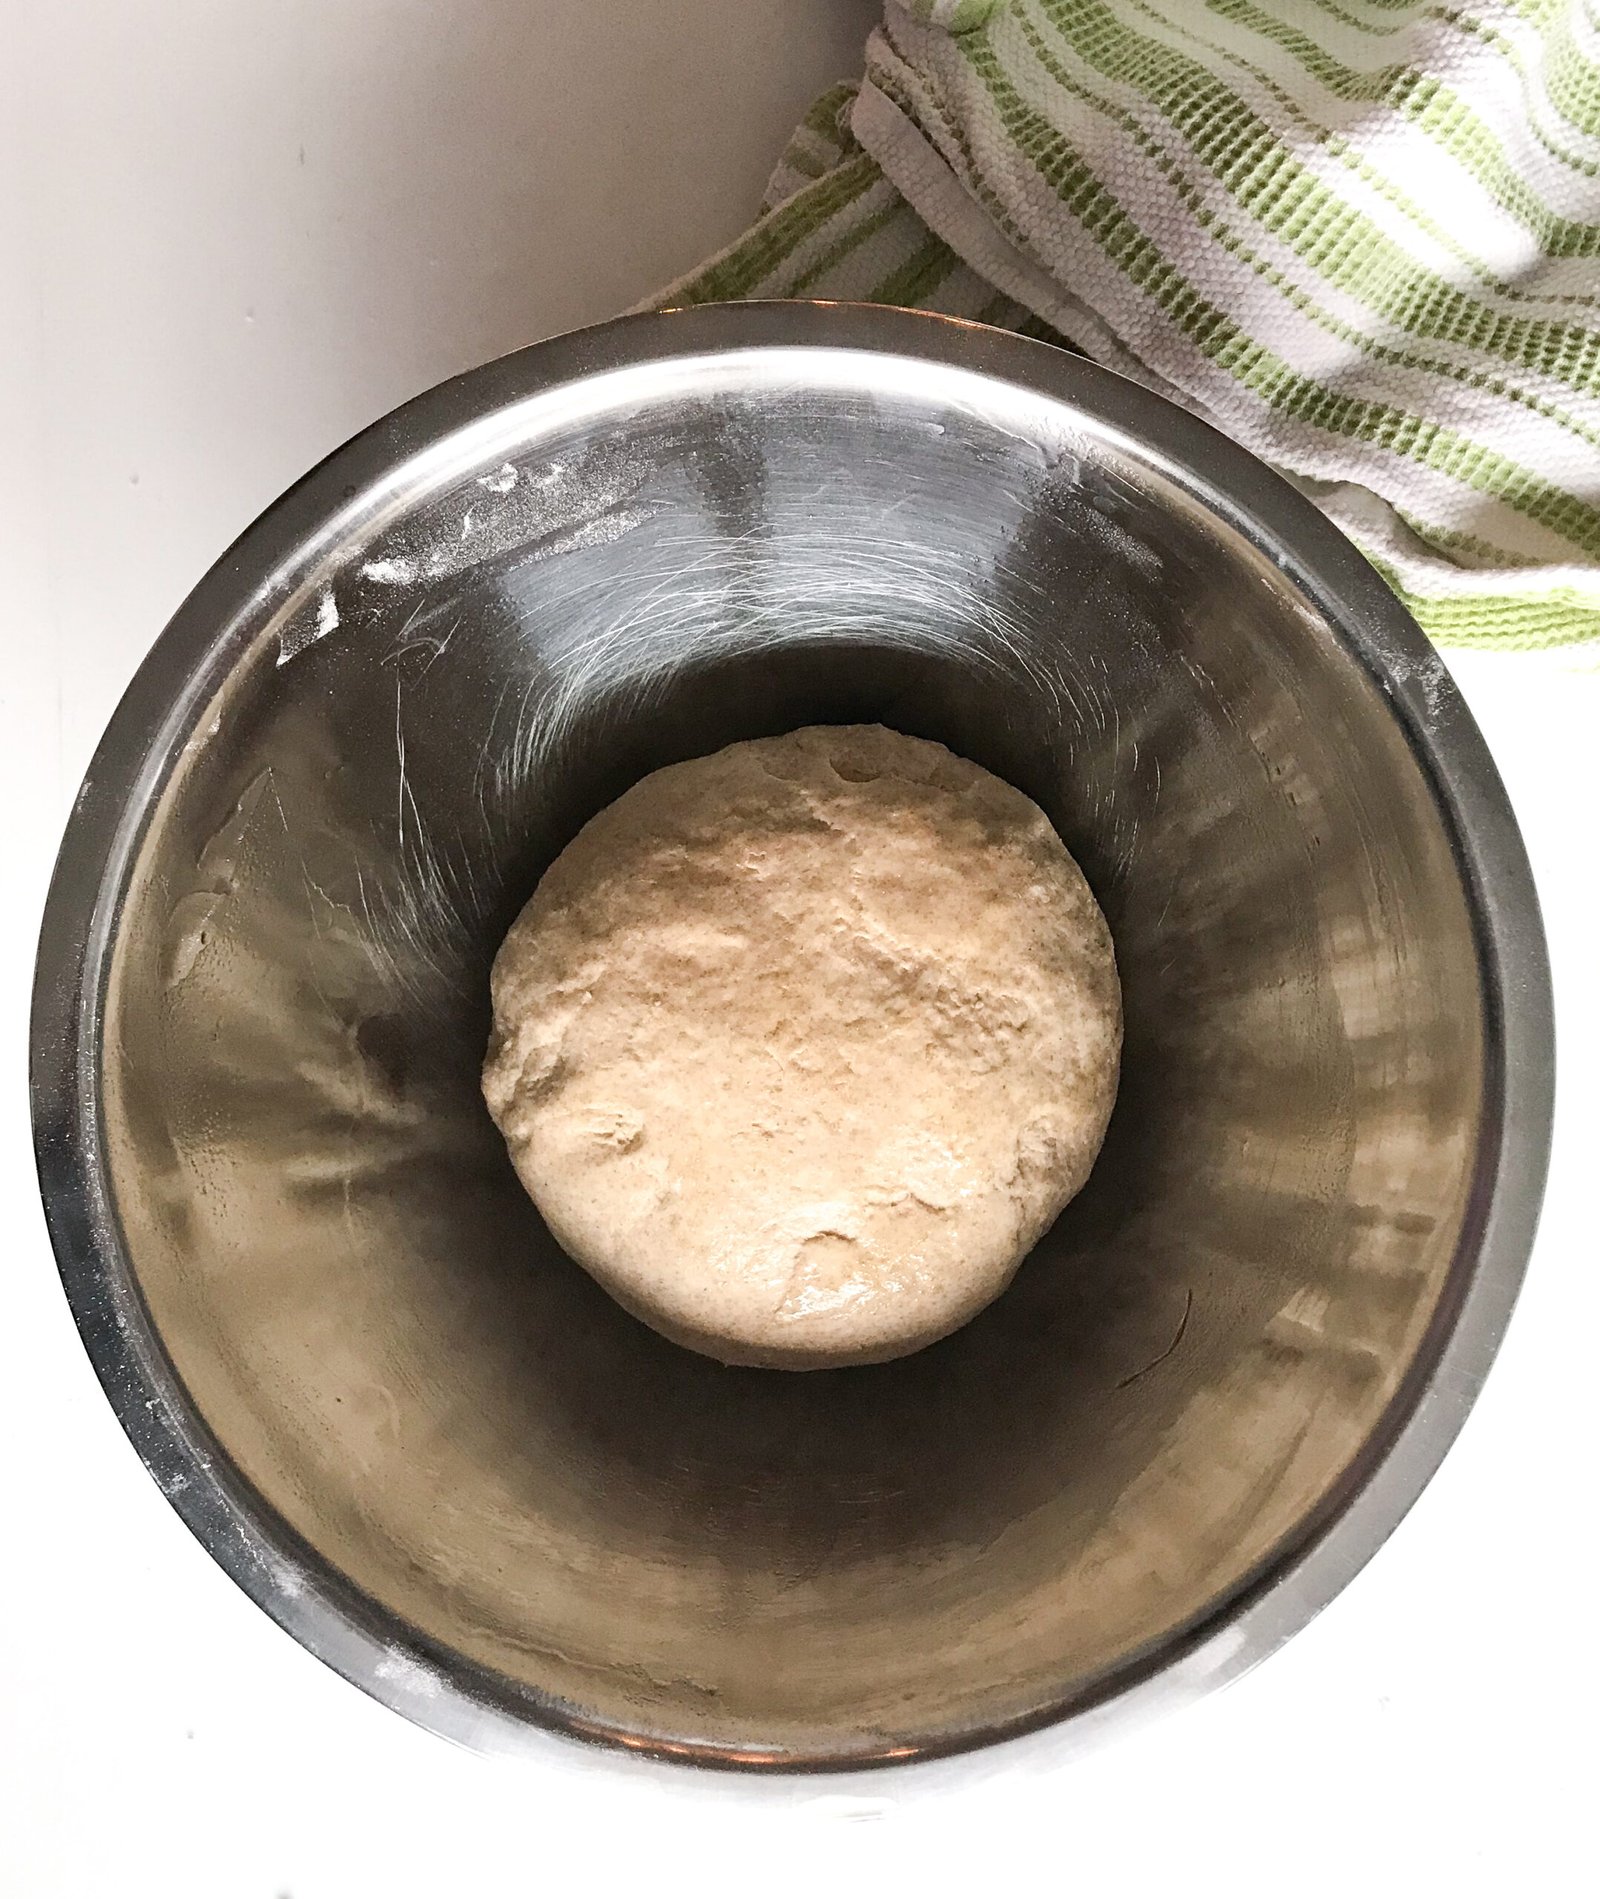
- Place dough in bowl drizzled with olive oil.

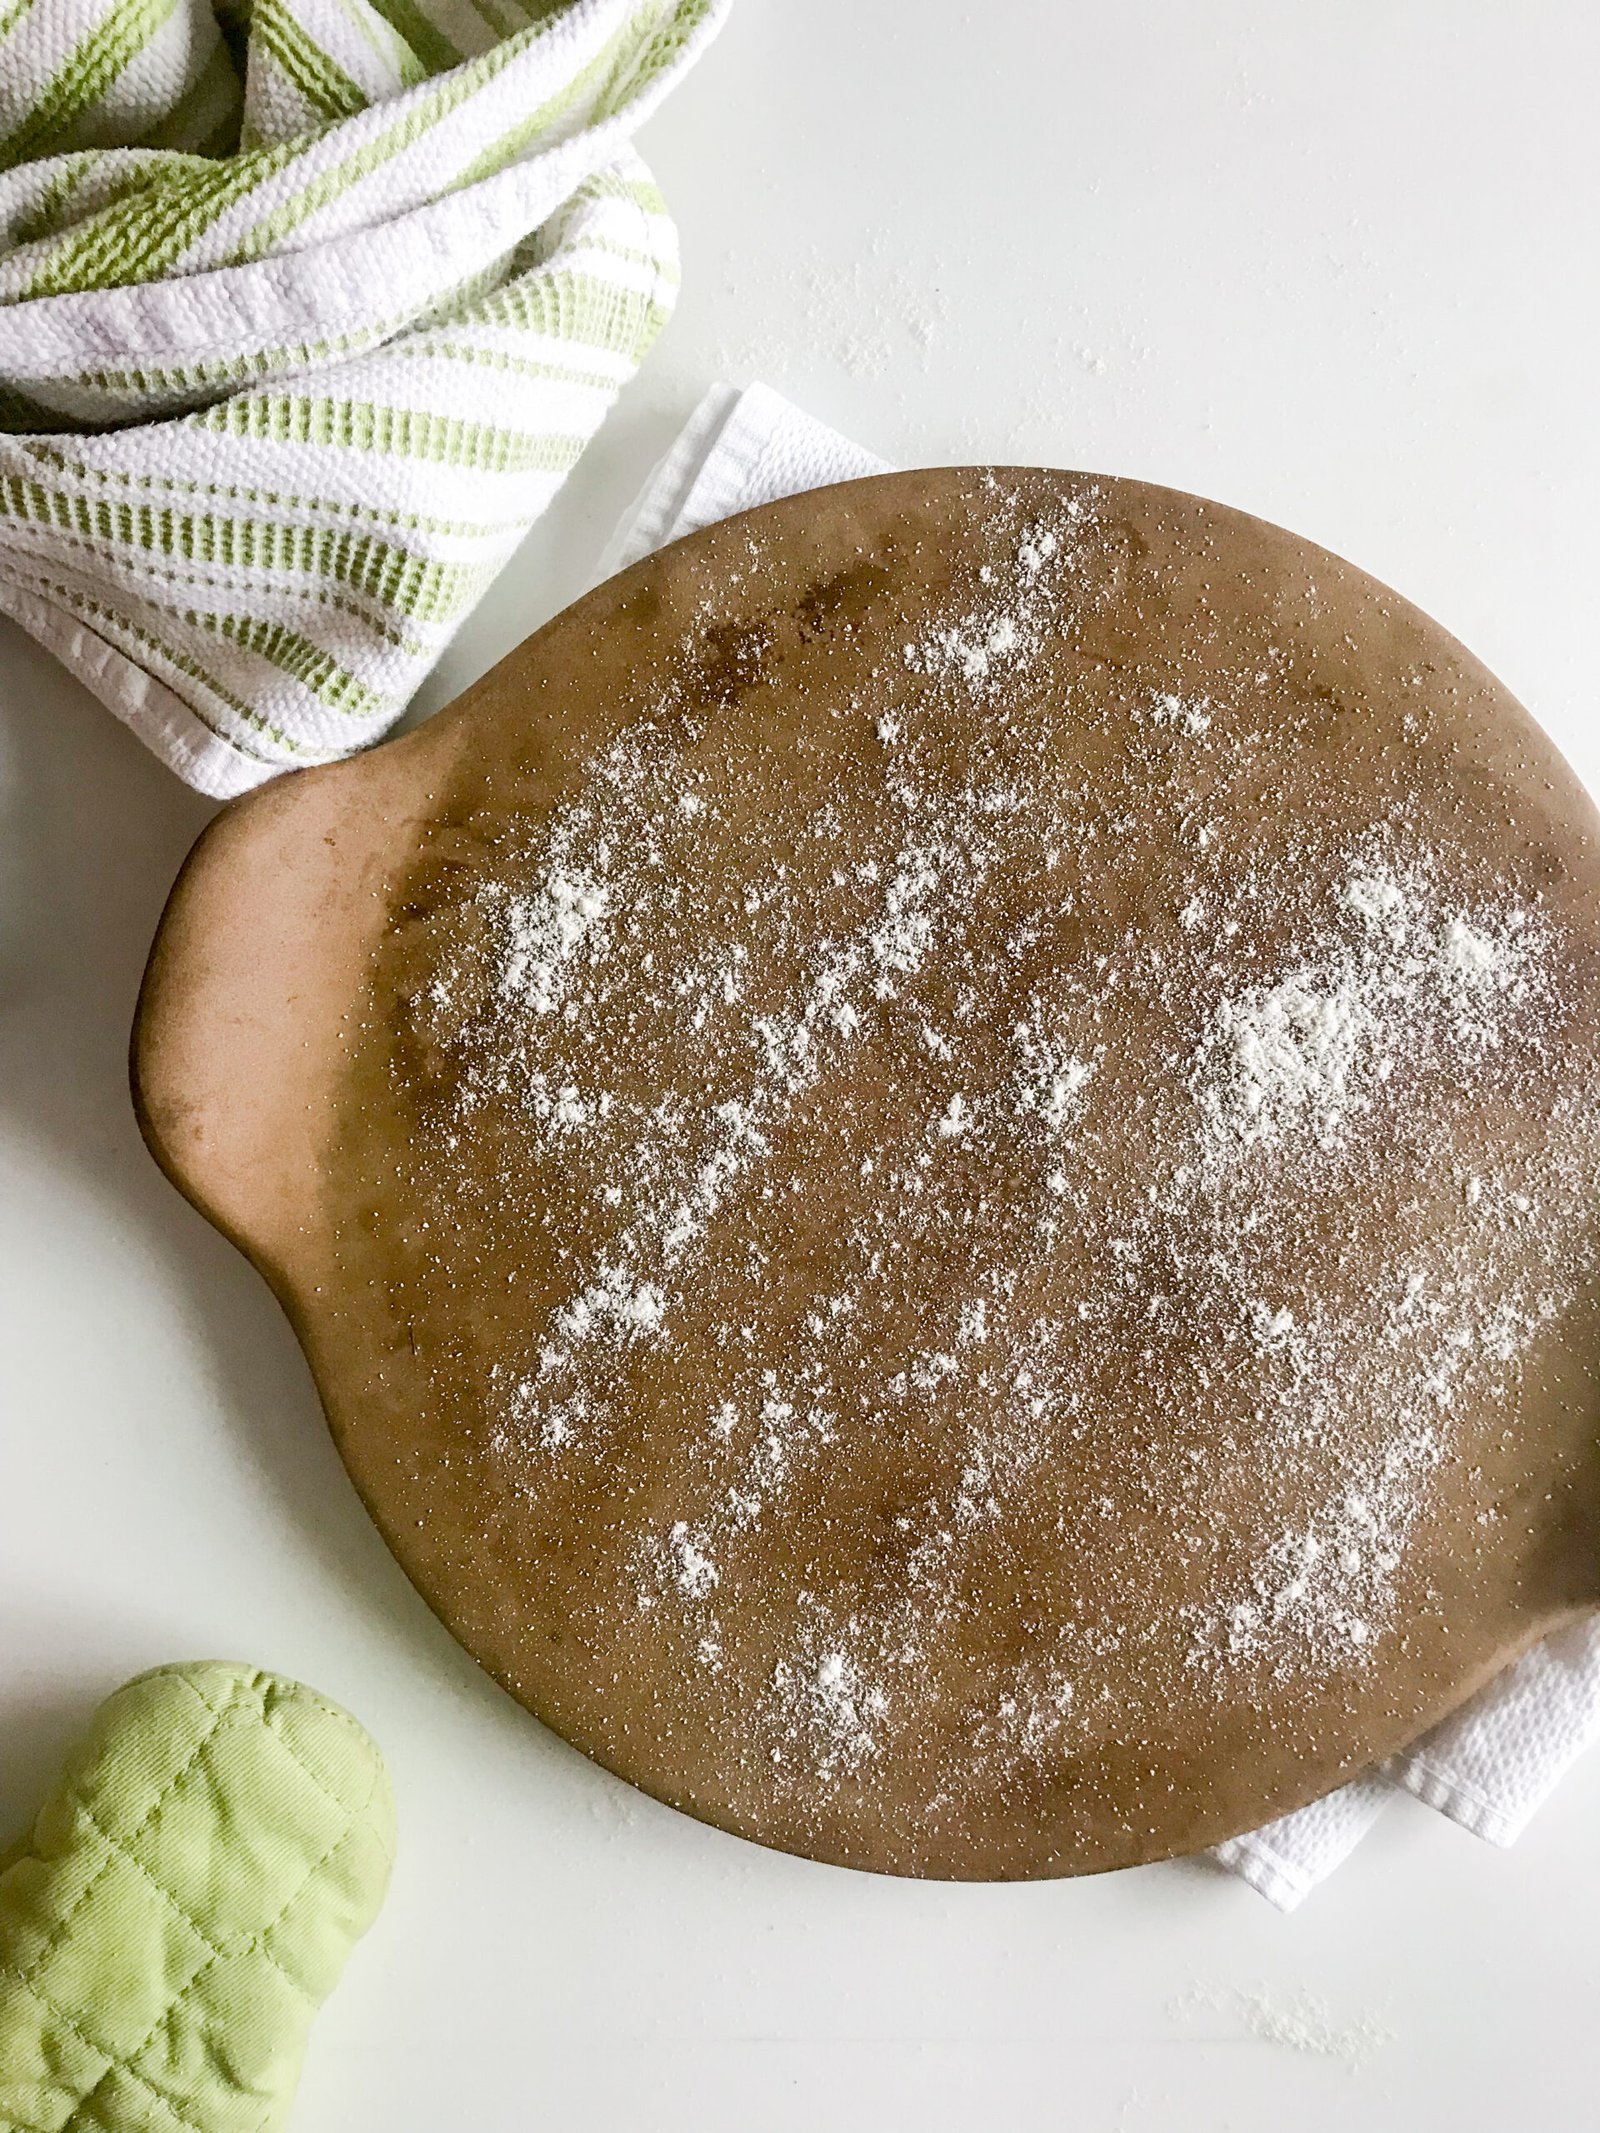
- Cover and let is rise. See below for all the rising options in the notes section. If you have time, I recommend placing it in the refrigerator for at least 24 hours.
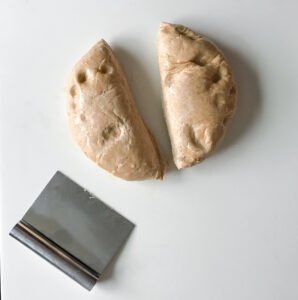
- This recipe makes two crusts! After it rises you will want to divide it in half. If you’re only making one pizza. See notes section for how to freeze and save your second crust for later.
- Preheat your oven to 425F and if you’re using a pizza stone, place it in the oven to warm up as the oven preheats. If you’re using a sheet pan, no need to preheat it.
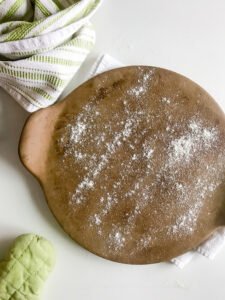
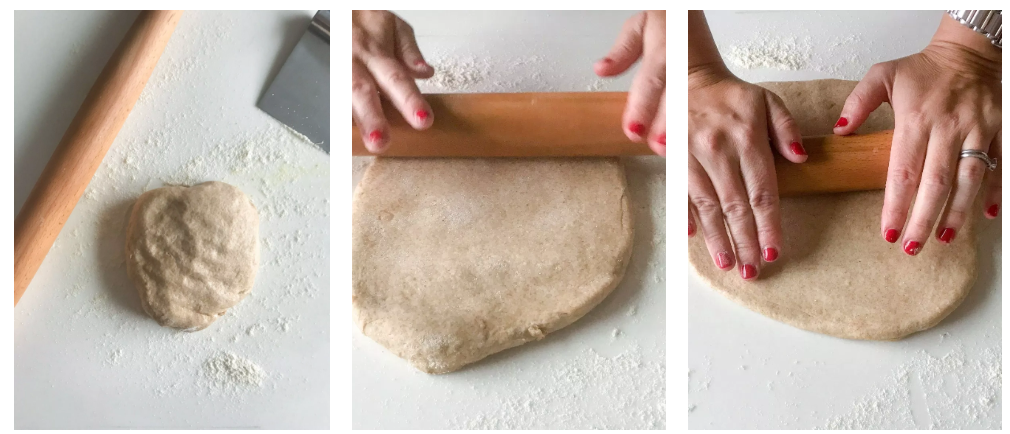
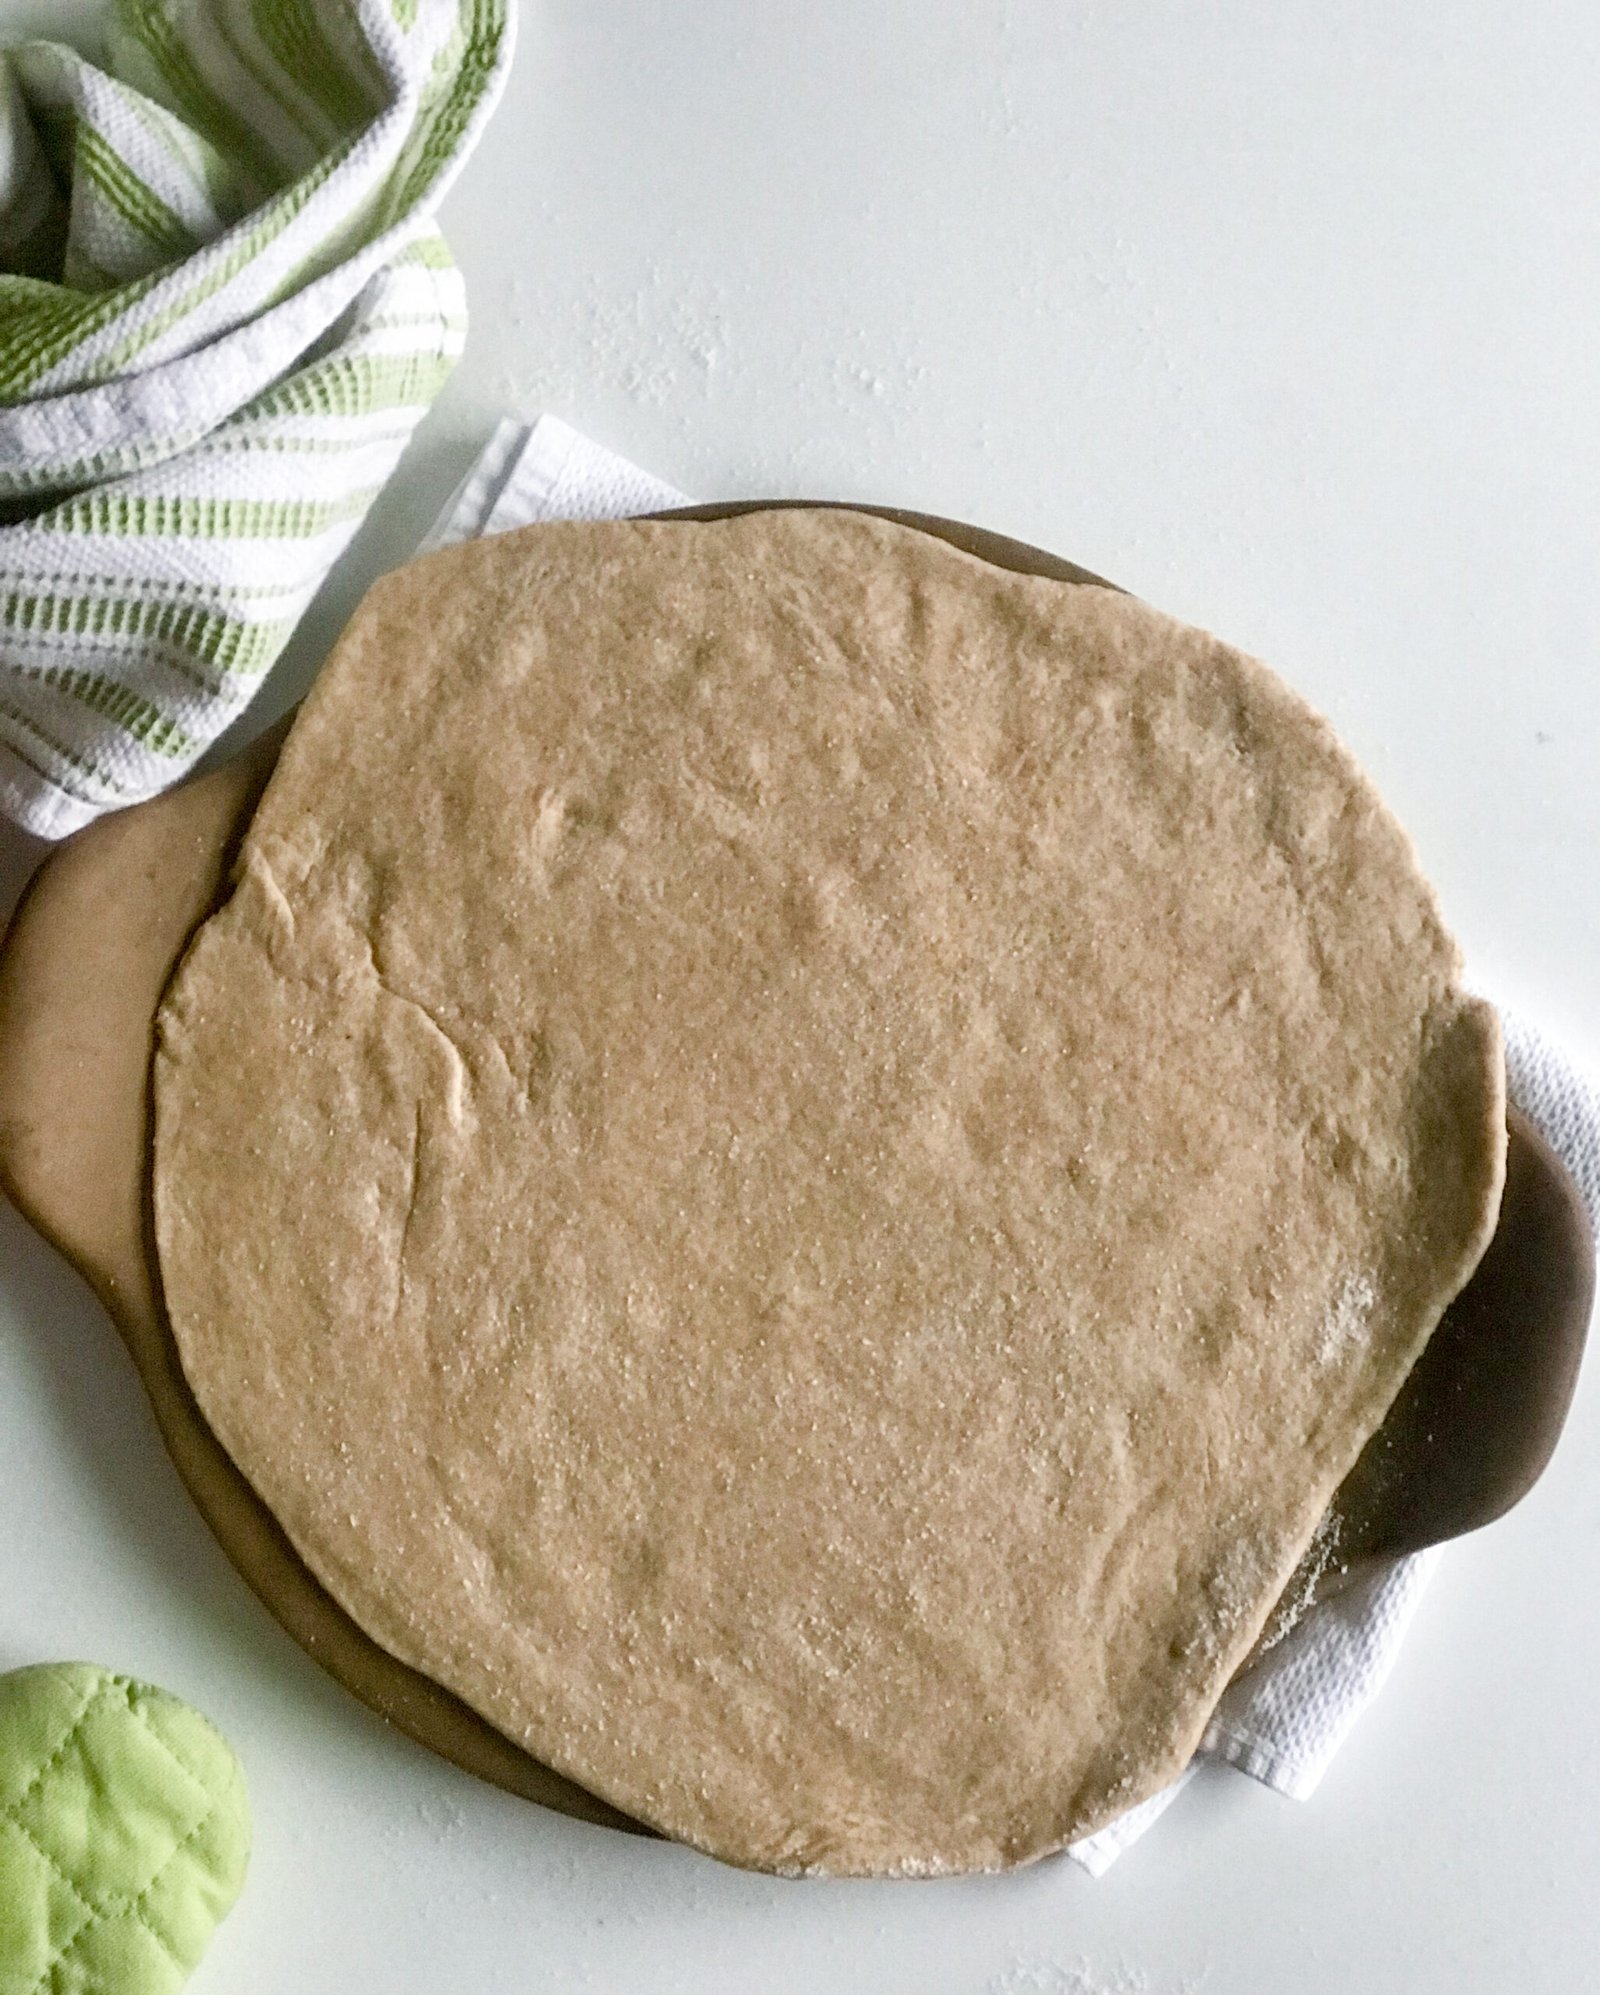
- I sprinkle the counter with corn meal to help prevent it from sticking and it will help create a crispier crust. Roll it out, until it’s about 1/4 inch thick, you may want to turn it between rolls to make it a circle shape.

- Sprinkle corn meal on your pre-heated pizza stone or sheet pan.
- Place your rolled out dough on the stone or pan, drizzle with a little of olive oil, this helps the crust from becoming soggy from the toppings.

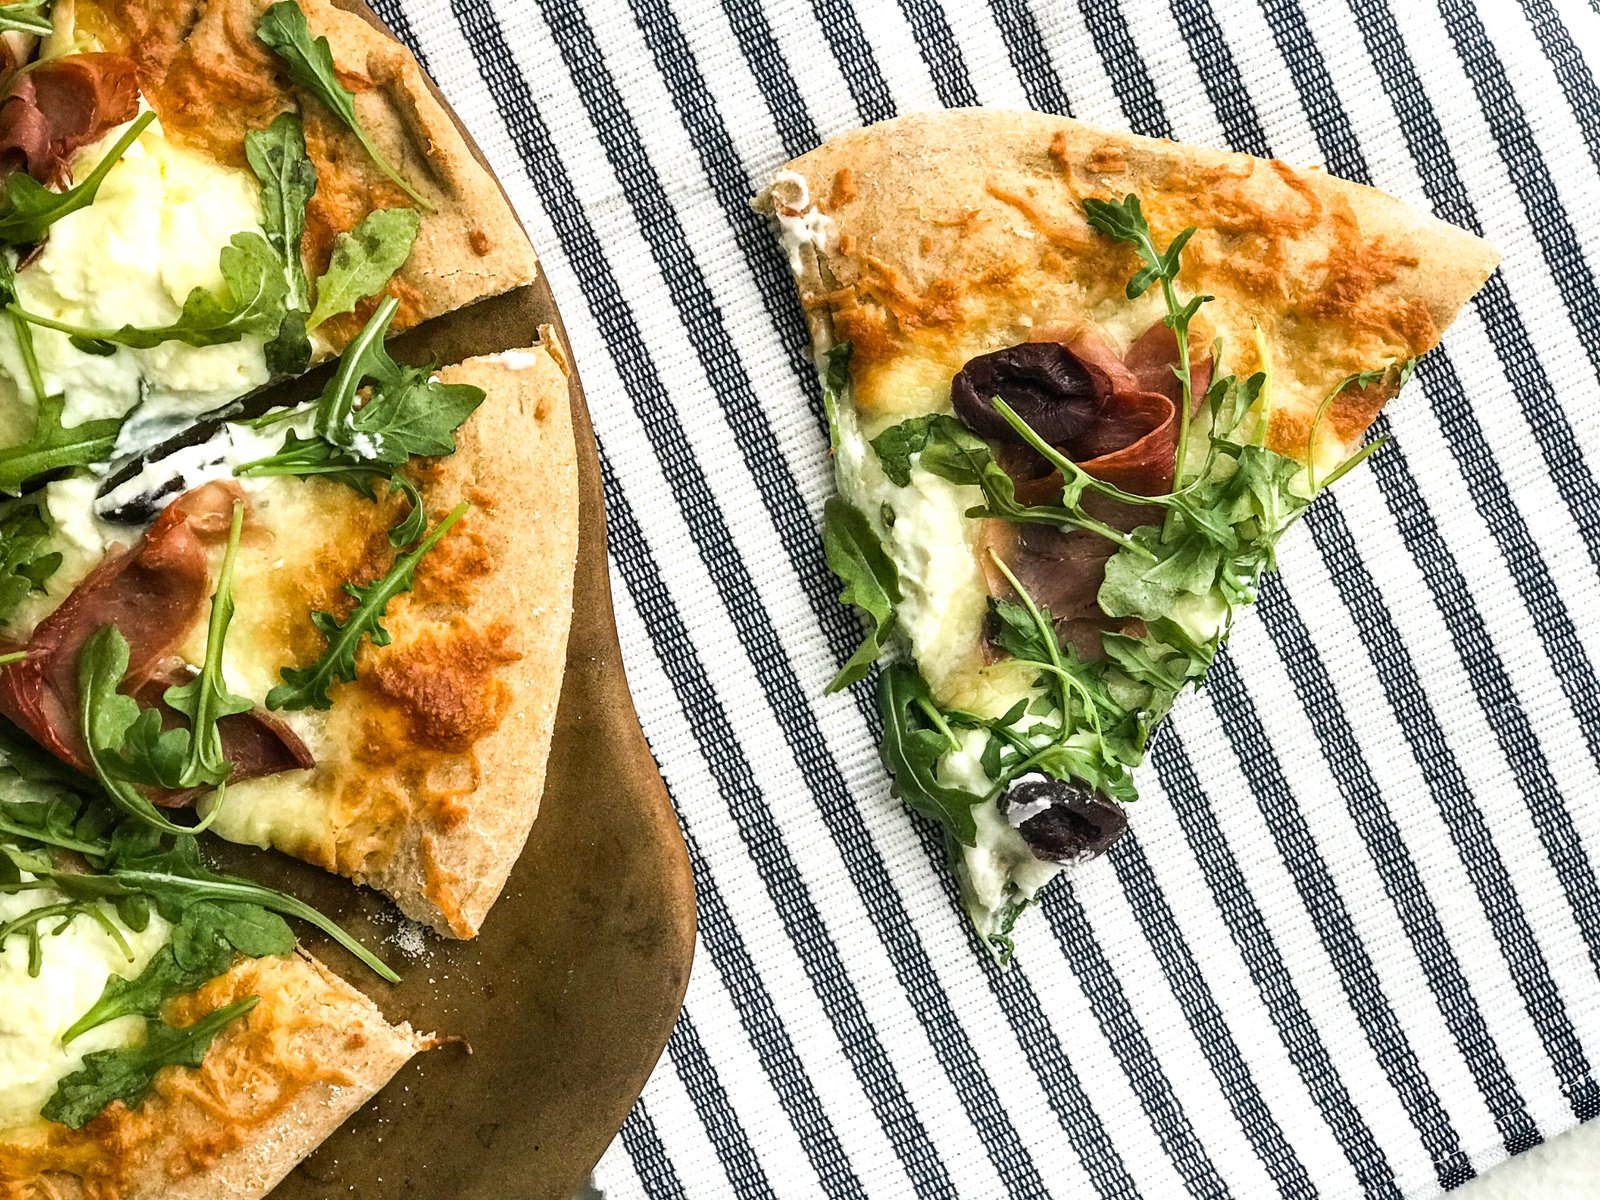
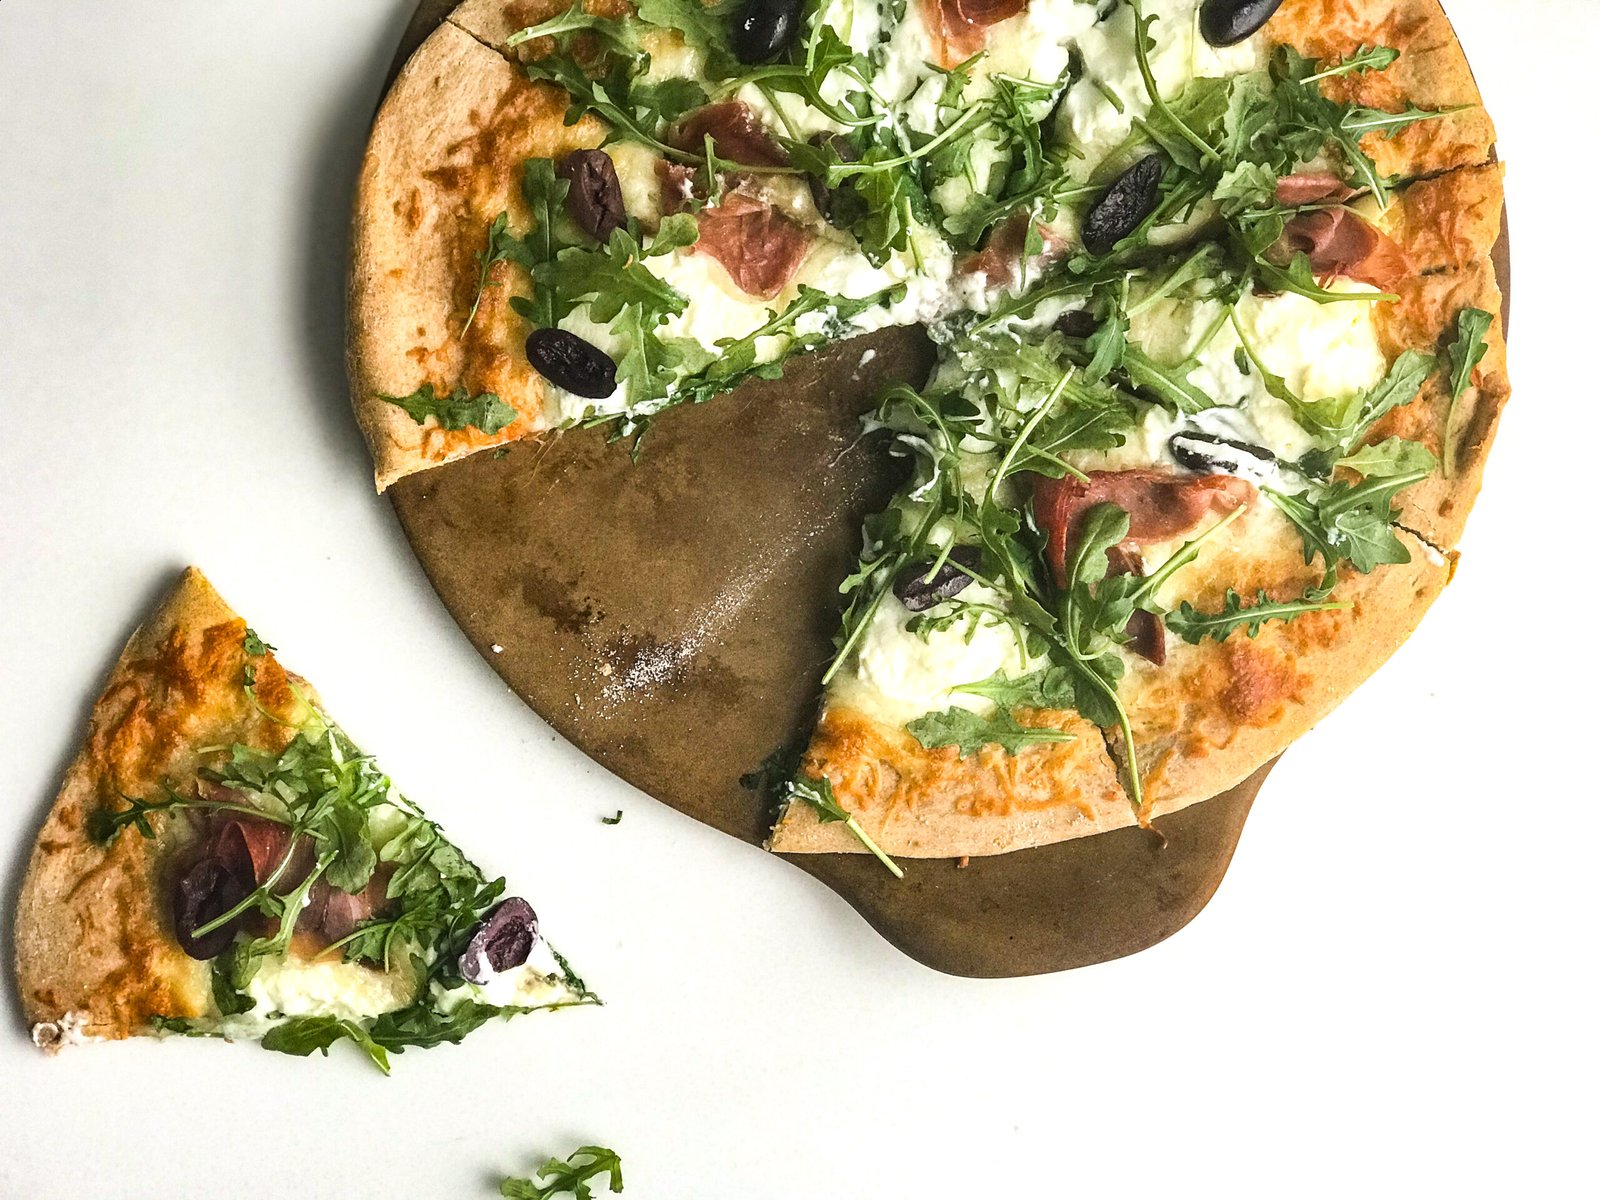
- Add your toppings.For the pizza here, I sprinkled on about 1 cup of mixed Italian cheeses, sliced prosciutto, a few dollops of ricotta cheese and sliced Kalamata olives, then once it was out of the oven I topped it with some arugula – it was delicious.
- Bake at 425F for 10-12 minutes.


Nutrition
Notes:
You can cover it with a clean dish towel and place in a warm place to let it rise, it will take about an hour and it should double in size.
Recommended: You can cover it with plastic wrap and place it in the refrigerator for 24-48 hours and it will slowly rise and double in size. Take it out and let it come up to room temperature to roll out.
Corn Meal is the key to having a crust not stick to the pizza stone or pan, sprinkle corn meal on the stone or pan before placing your dough on it.
If you’re using a pizza stone, heat it up in the oven as the oven preheats to temperature. Your pizza stone should rise in temperature slowly with the oven to prevent damage. Just be careful when you take it out to put the pizza dough on it because it will be very hot.
Warning this makes two crusts! You can make two pizzas or once your split the dough you can freeze one crust for the future. Take it out of the freezer and let it thaw out in the refrigerator, I usually do this the night before I want to use it. Then take it out and let it come up to room temperature to roll out